That Time I Started a Basement Renovation on a Whim: Part II – Repairing and Painting the Crumbling Concrete Floor

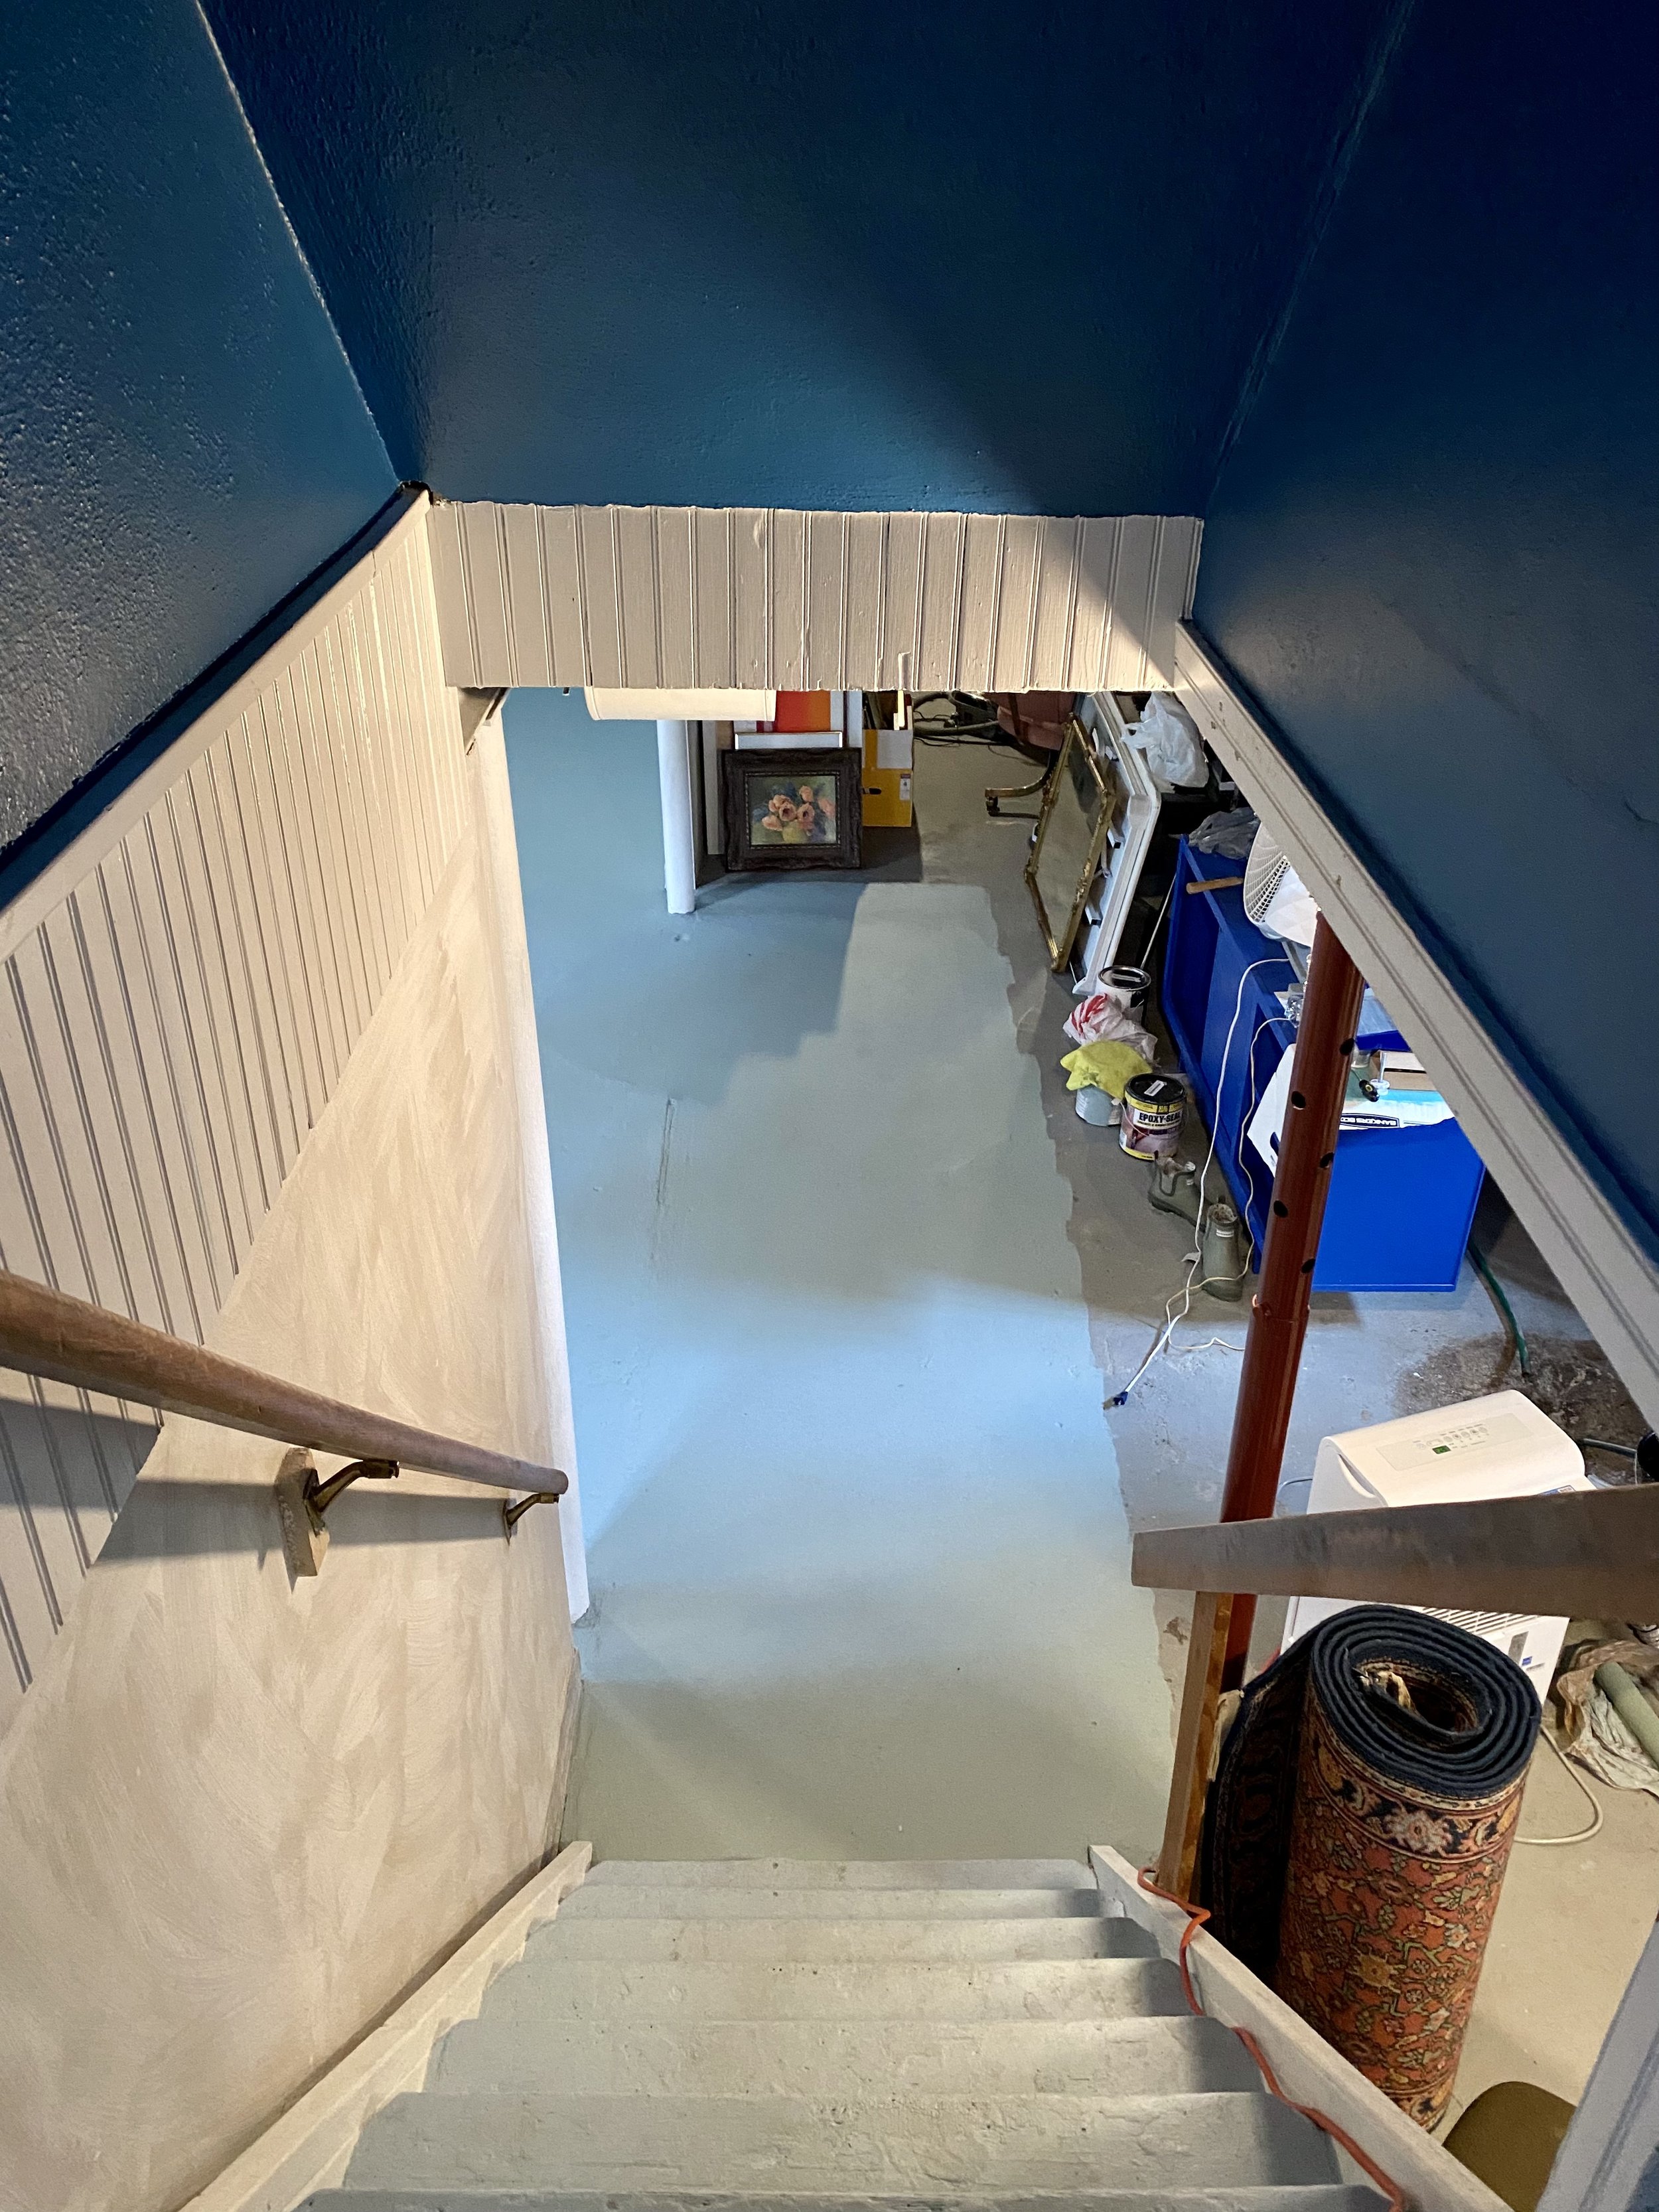
Hello again. Let’s get back into my novice renovation antics, this time re: my crumbling basement floor. In Part I, we left off after my impromptu stairs-and-back-stairwell glow up. That wrapped up in May of last year and left the basement looking like this.

Having dipped my toe in the intimidating waters of fixing up our unused, partially, but not really, finished basement, I felt my confidence growing. But also present was the nagging suspicion that I was still in way over my head.
So I decided to paint the walls next. I needed a manageable project to tide me over until I mustered some more courage.

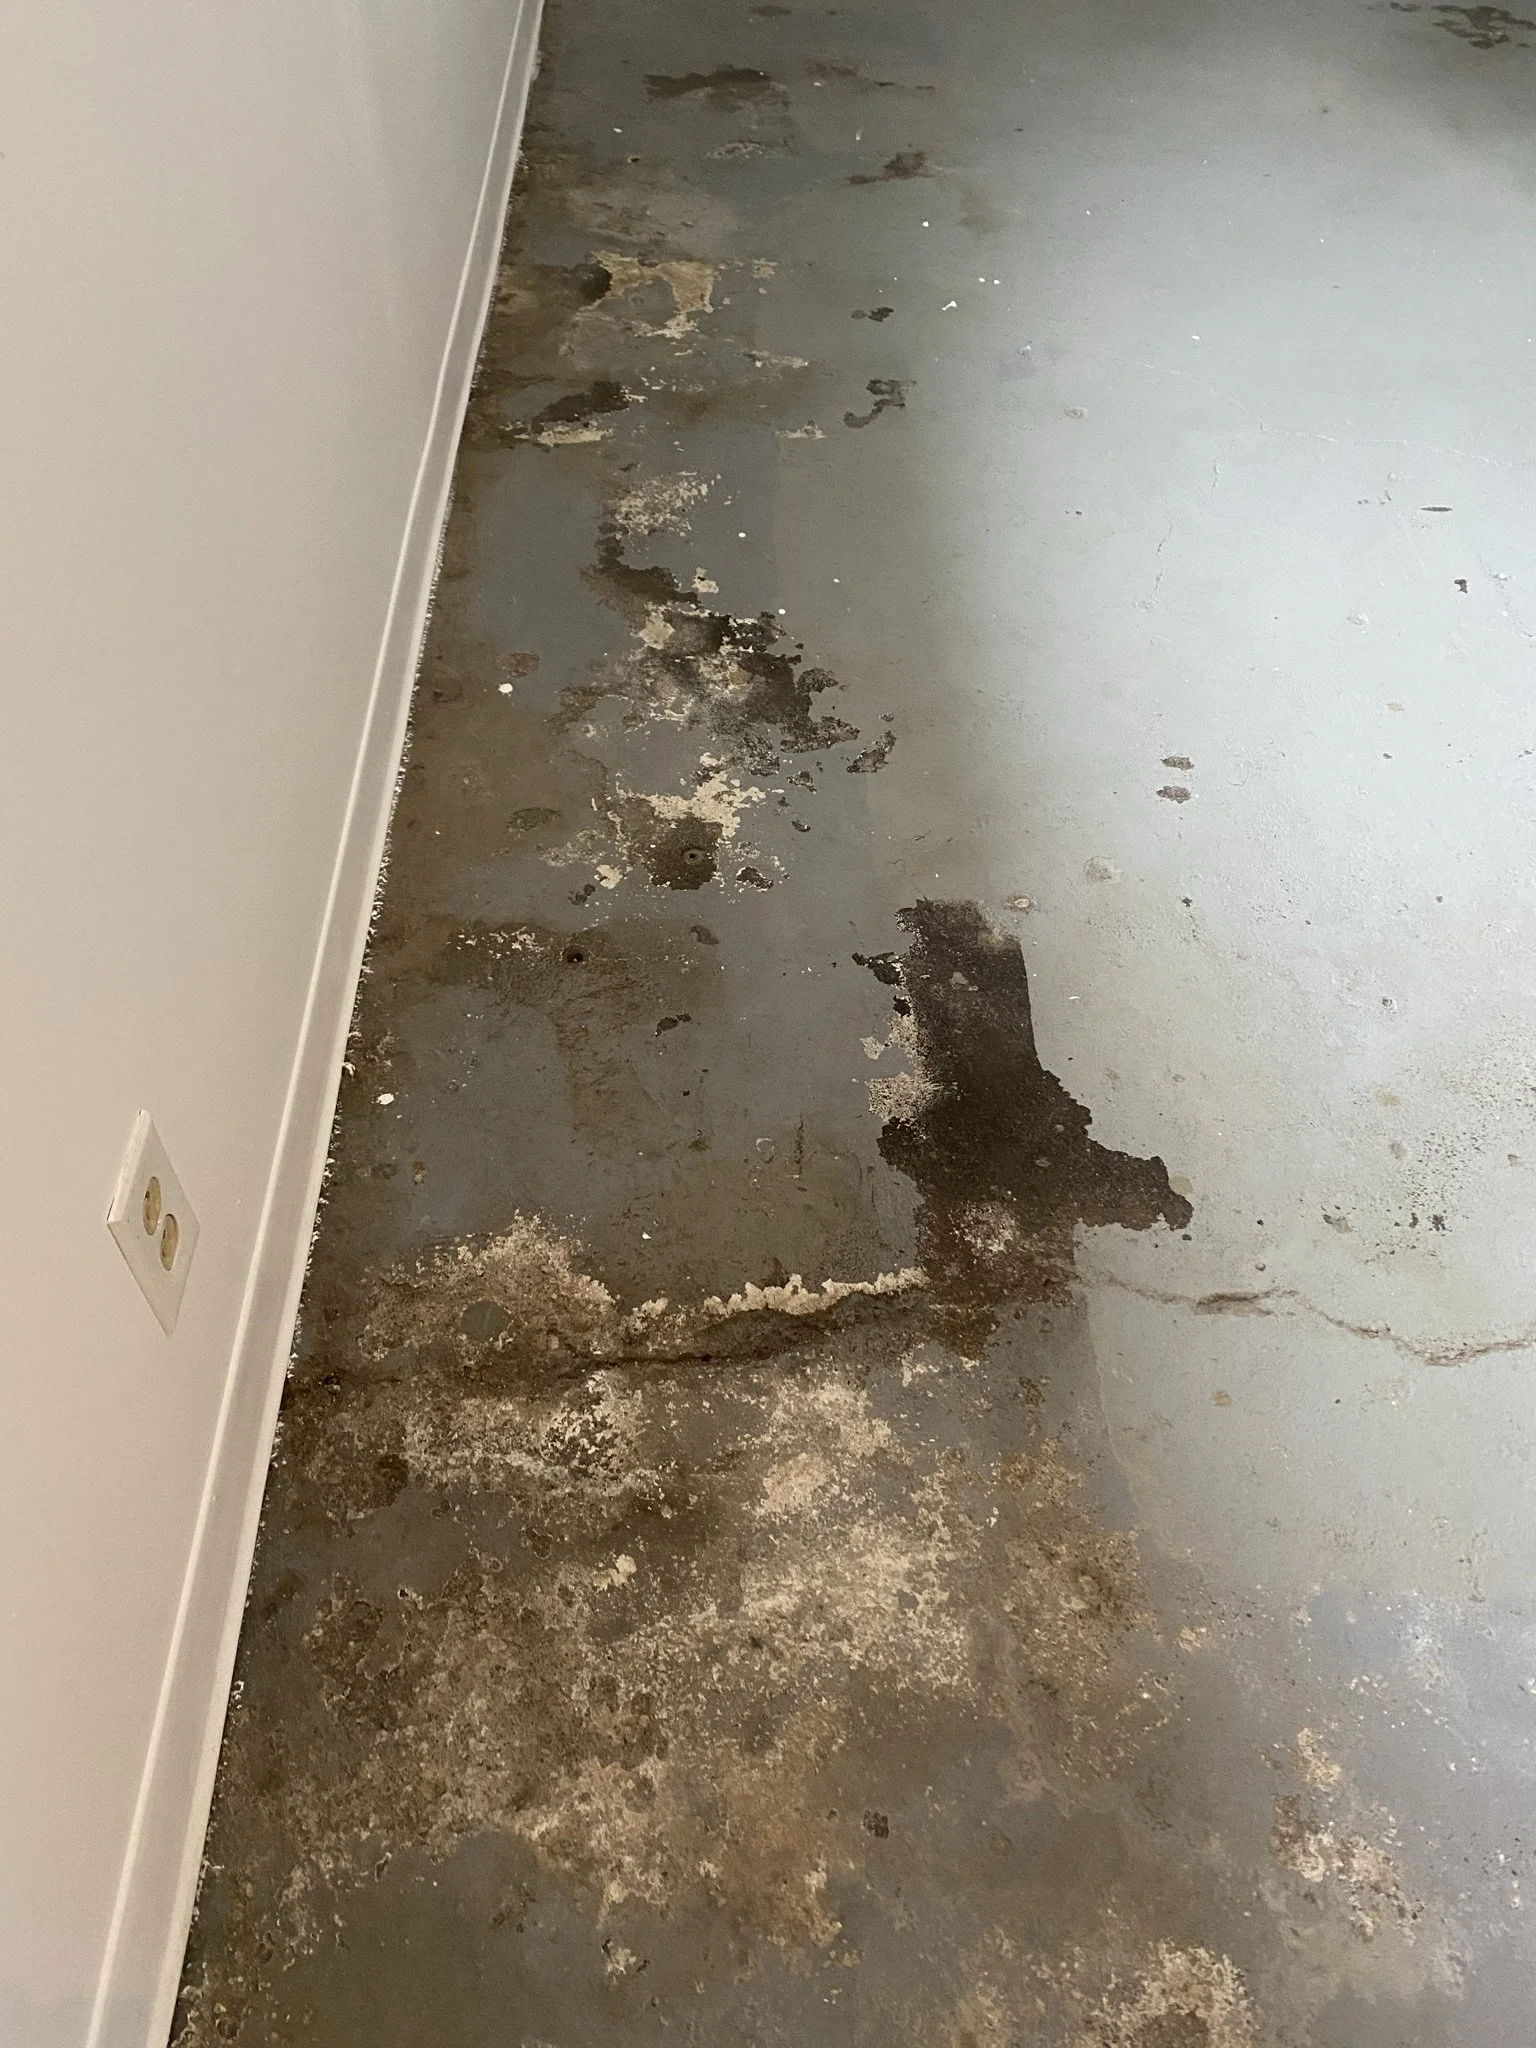
Still, I couldn’t ignore this view for too long.
Using a two-part epoxy mix, I worked in small batches – whatever time an episode or two of Daniel Tiger could afford me – and filled in all the large cracks. The instructions were clear and once I got into it, the process was not at all difficult. I made sure to mix up only a little bit at a time because it dried very quickly. For the gigantic crack above, I did in 3 or 4 passes, filling it incrementally.
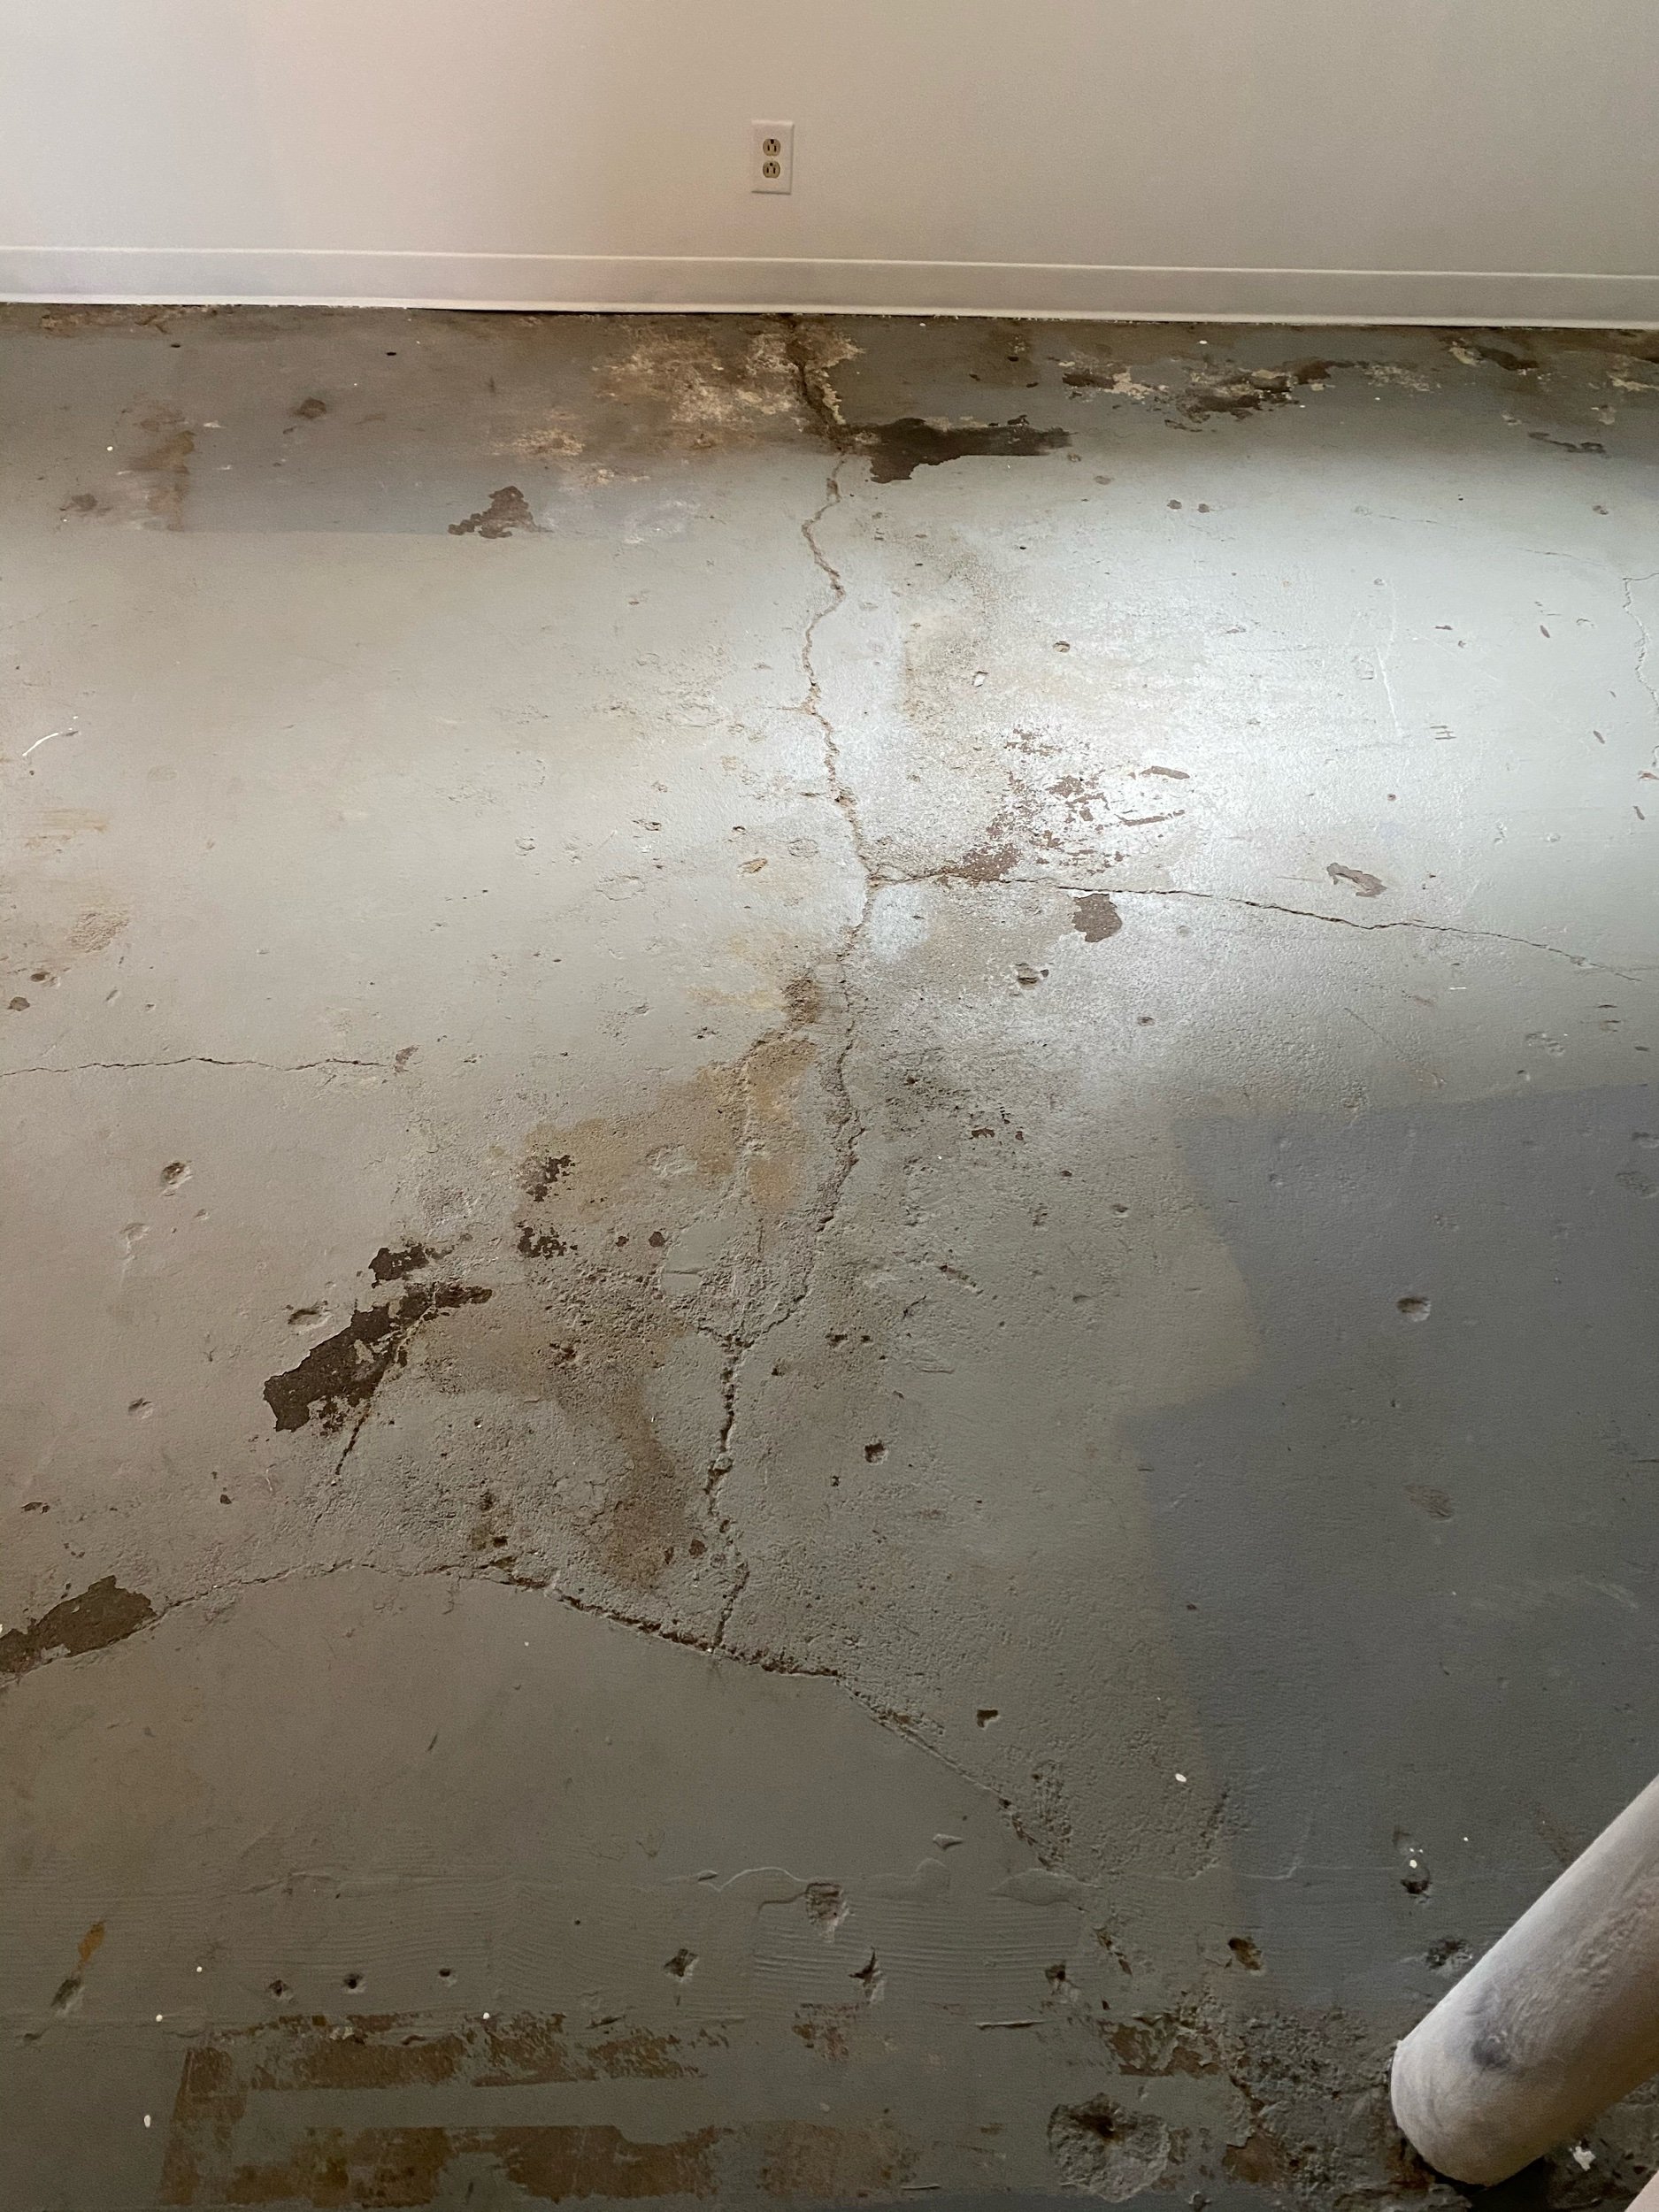
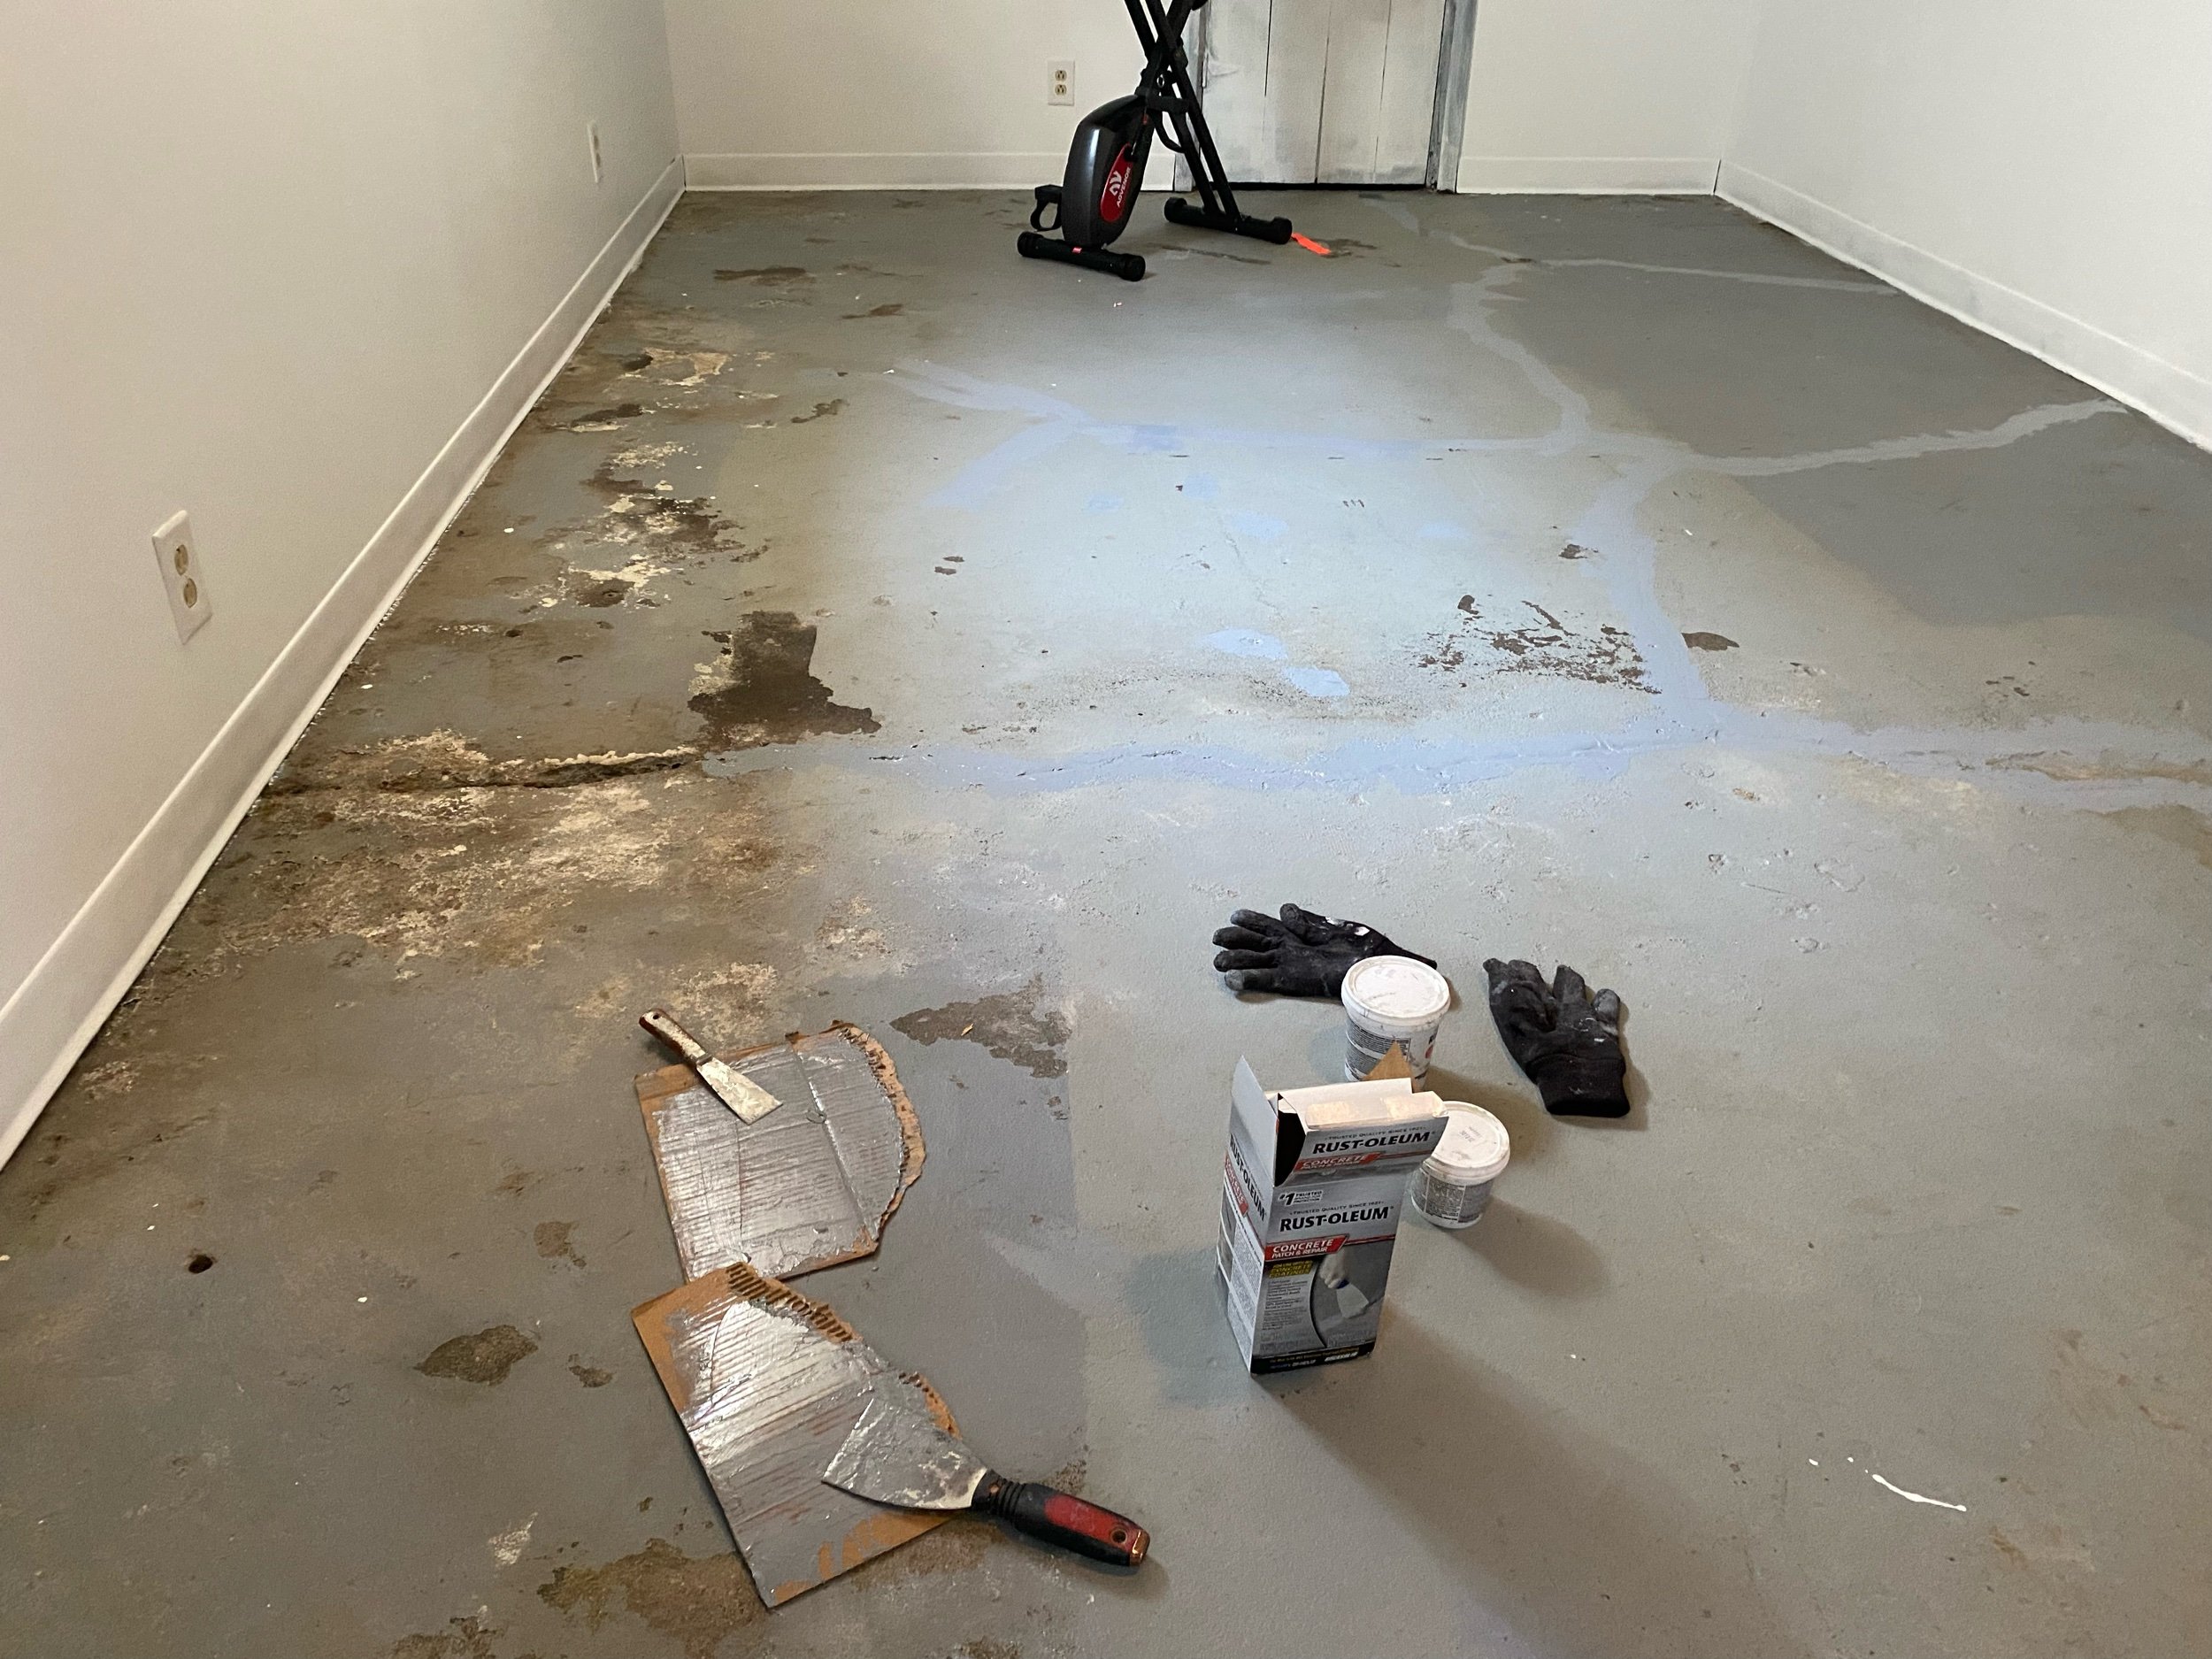
Next, I started on the perimeter of the room. This wasn’t just cracked, it was crumbling, and continued to crumble when prodded or looked at the wrong way. The Great YouTube told me I needed to make sure I removed all of the unsound concrete before attempting to patch it, so – and here’s where I’d like to remind you I am not a professional, just armed with maybe a little too much gumption, a basically $0 budget, and the wherewithal to know if I don’t just keep pushing through, and stop to get the right tools, I will lose all momentum and stall out indefinitely – I used a rubber mallet and chisel, working my way around the entire basement to hammer out all the loose concrete. This took days, and my arms felt like waterlogged pool noodles for even longer.
Once this task was complete, I spread DAP Ready-Mixed Concrete Patch over all of the areas I’d chiseled out. Then I went through and filled all the imperfections/holes in the center of the room. After it dried, I sanded with a laughable, mildly ineffective mouse sander (see aforementioned disclaimer).


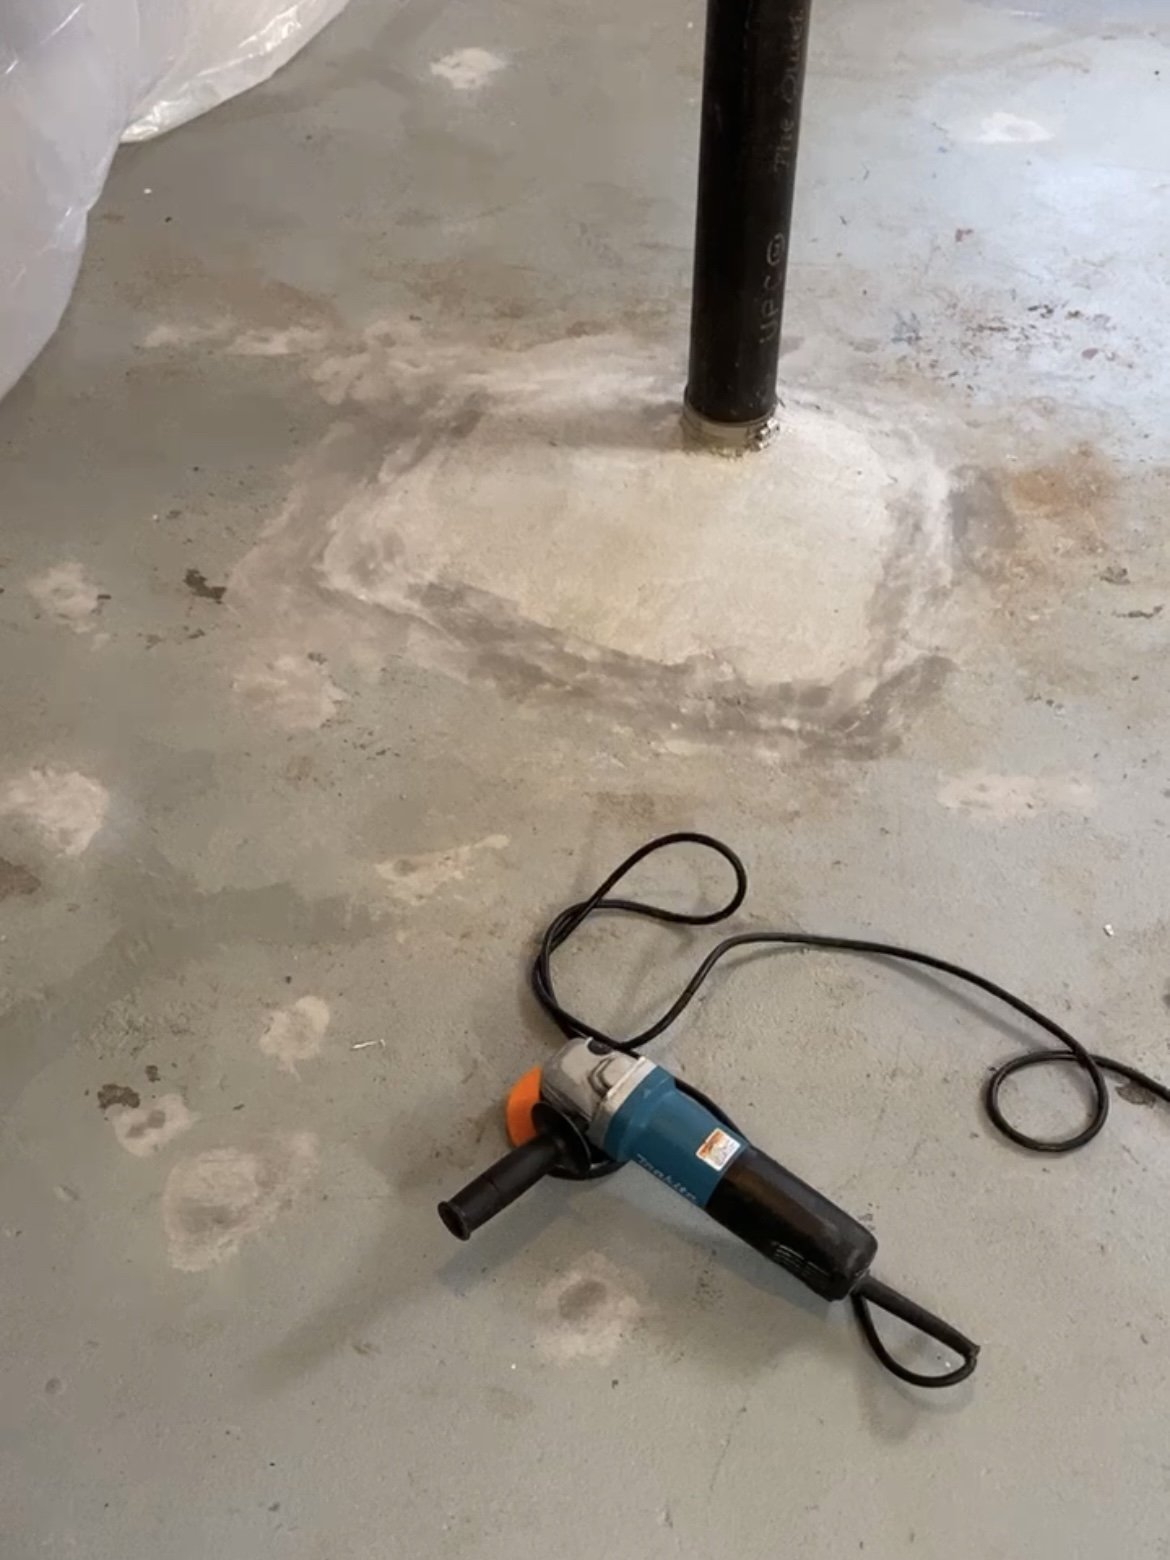
The super dark spots below are where I used hydraulic cement. The concrete was in such rough shape in those areas I wanted to make sure if there ever were any more water issues, the floors were extra protected.
I don’t know if it was necessary, but it made sense to me at the time.

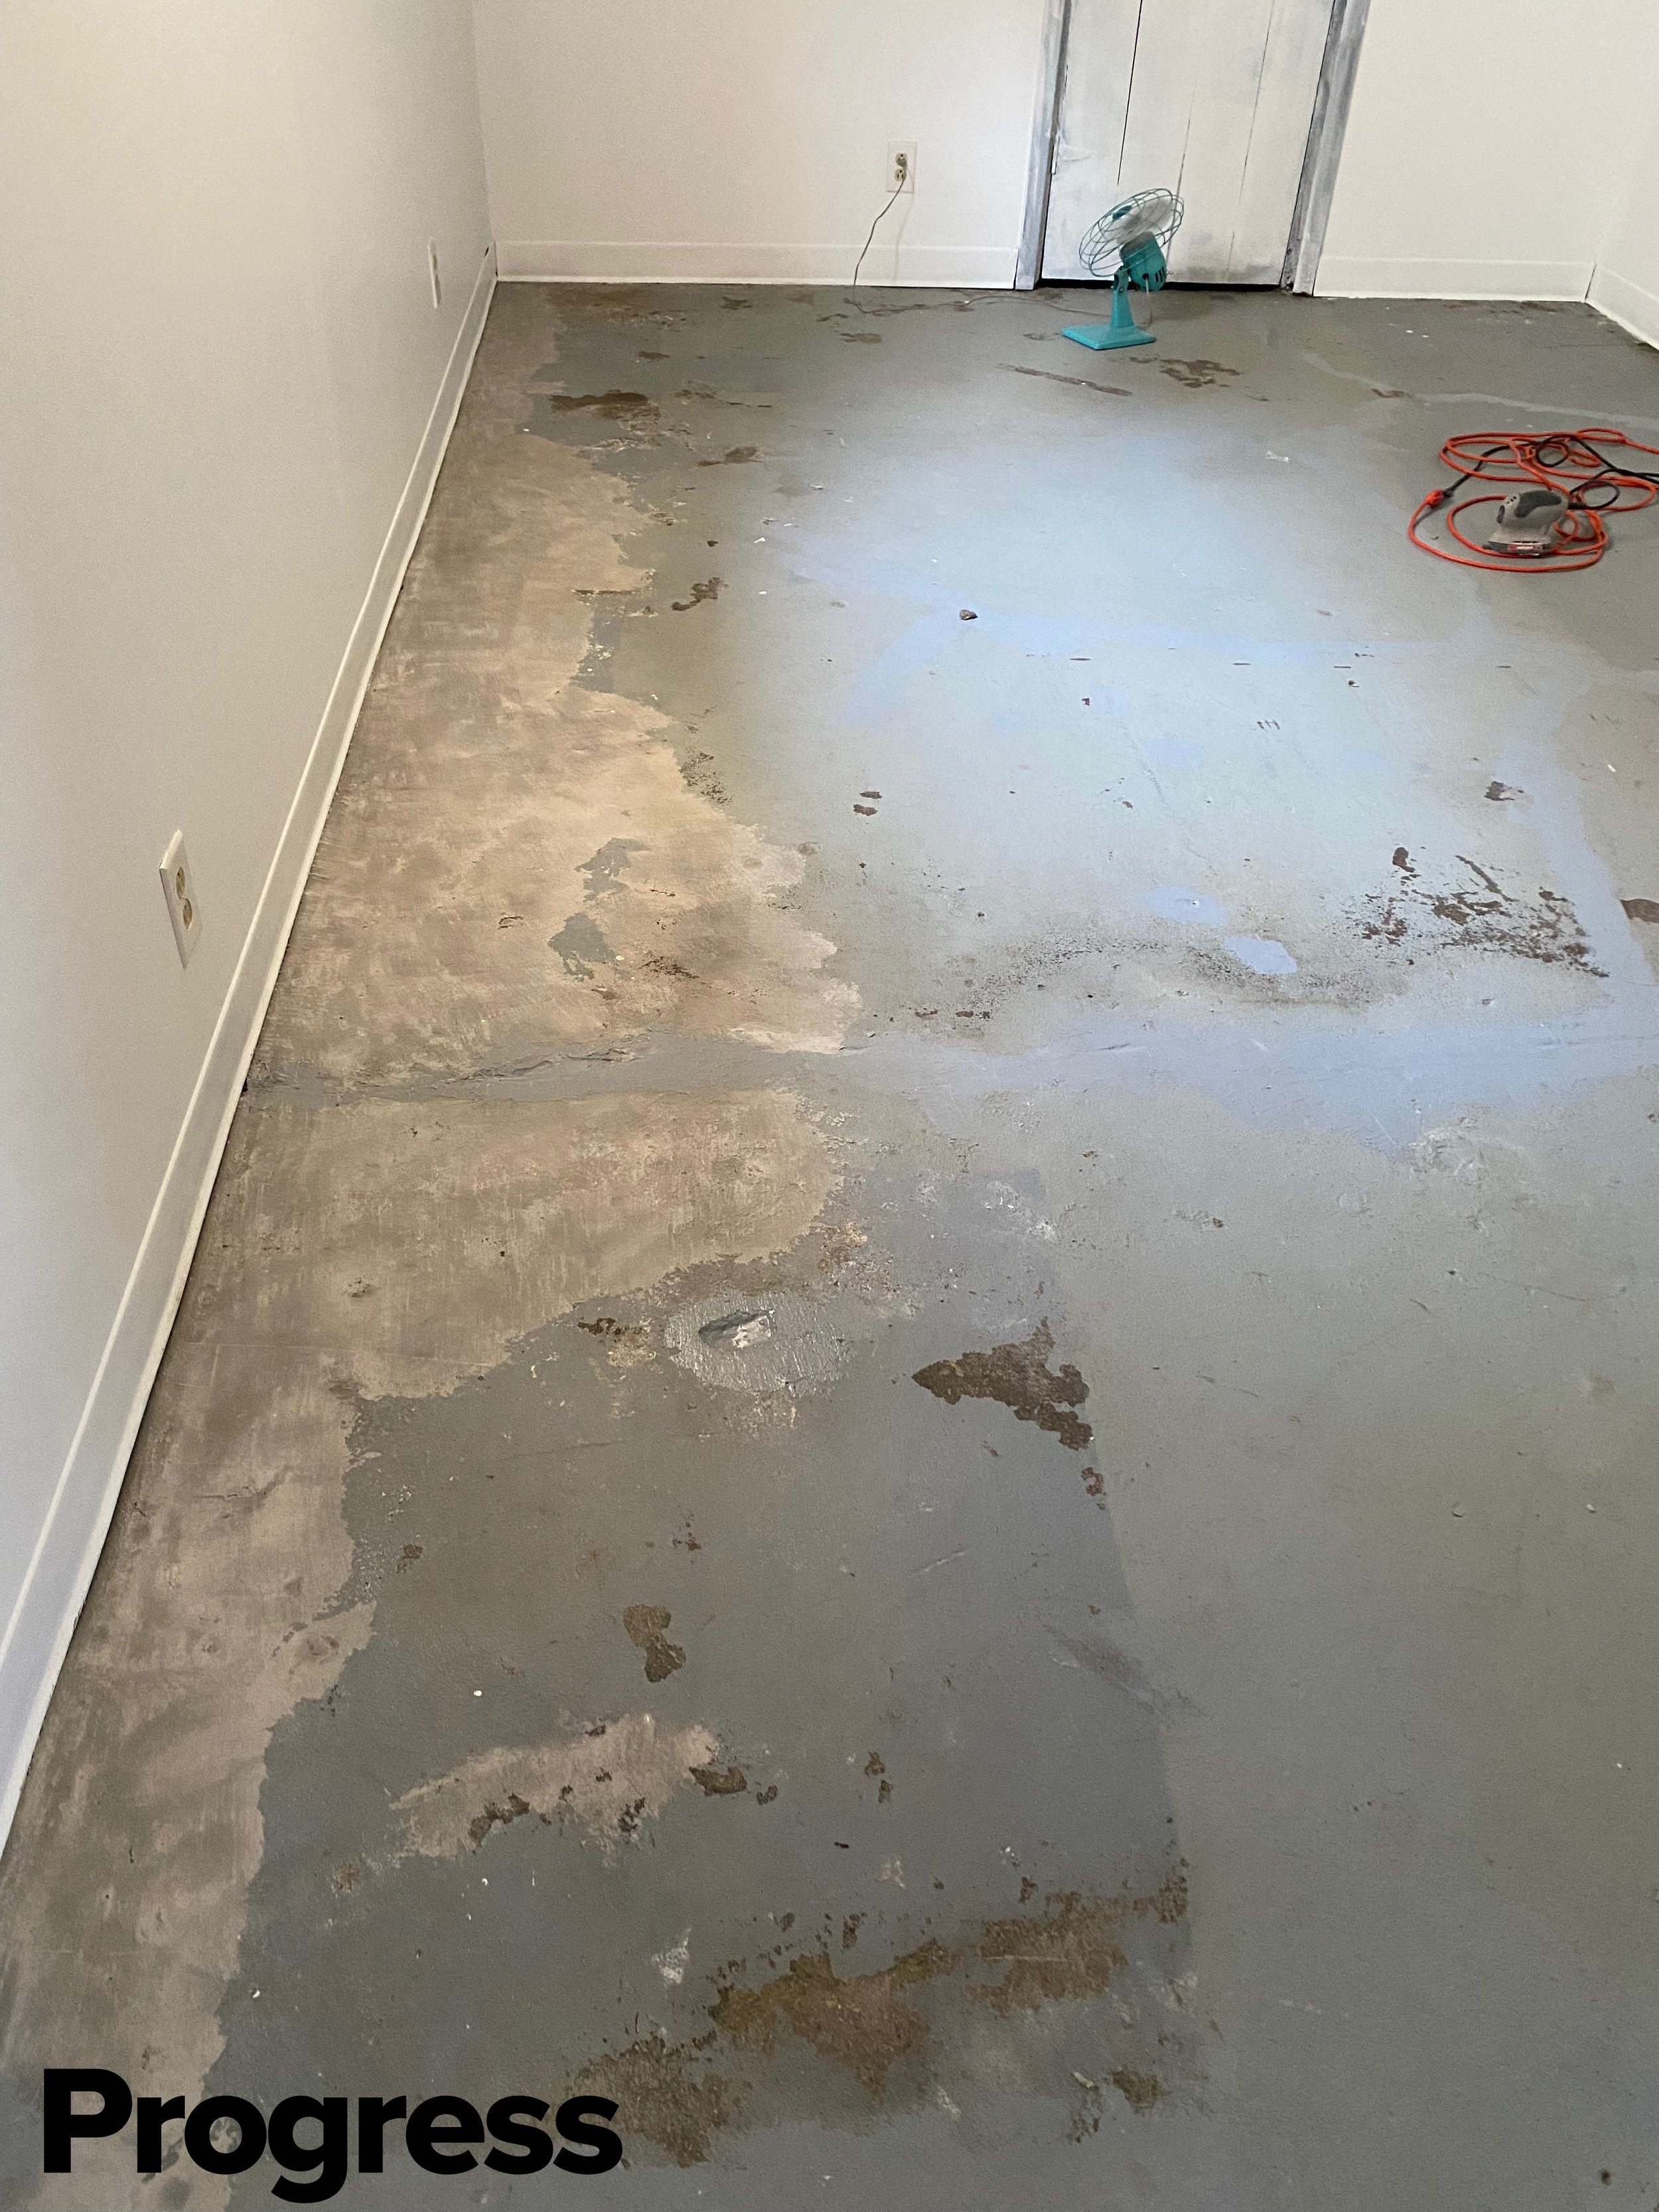
Keep in mind, this is all being done in 1-2 hour increments during nap or TV times, so this “progress” spans at least two months. By the middle of July, I had the bulk of the floor patched and smoothed, but couldn’t pretend my mouse sander was cutting it. Though the repairs felt smooth to the touch, there was still an obvious delineation between the filled concrete and the bare. I knew if I painted the floor in this shape, I’d clearly be able to see every spot I’d filled and it would look worse than the before.
So I did what I should’ve done at the beginning and rented an angle grinder. Well, in hindsight, I probably should’ve just gone with the big boy floor concrete grinder, but I was too scared to even try to maneuver it on my own. So an angle grinder was the next best choice.
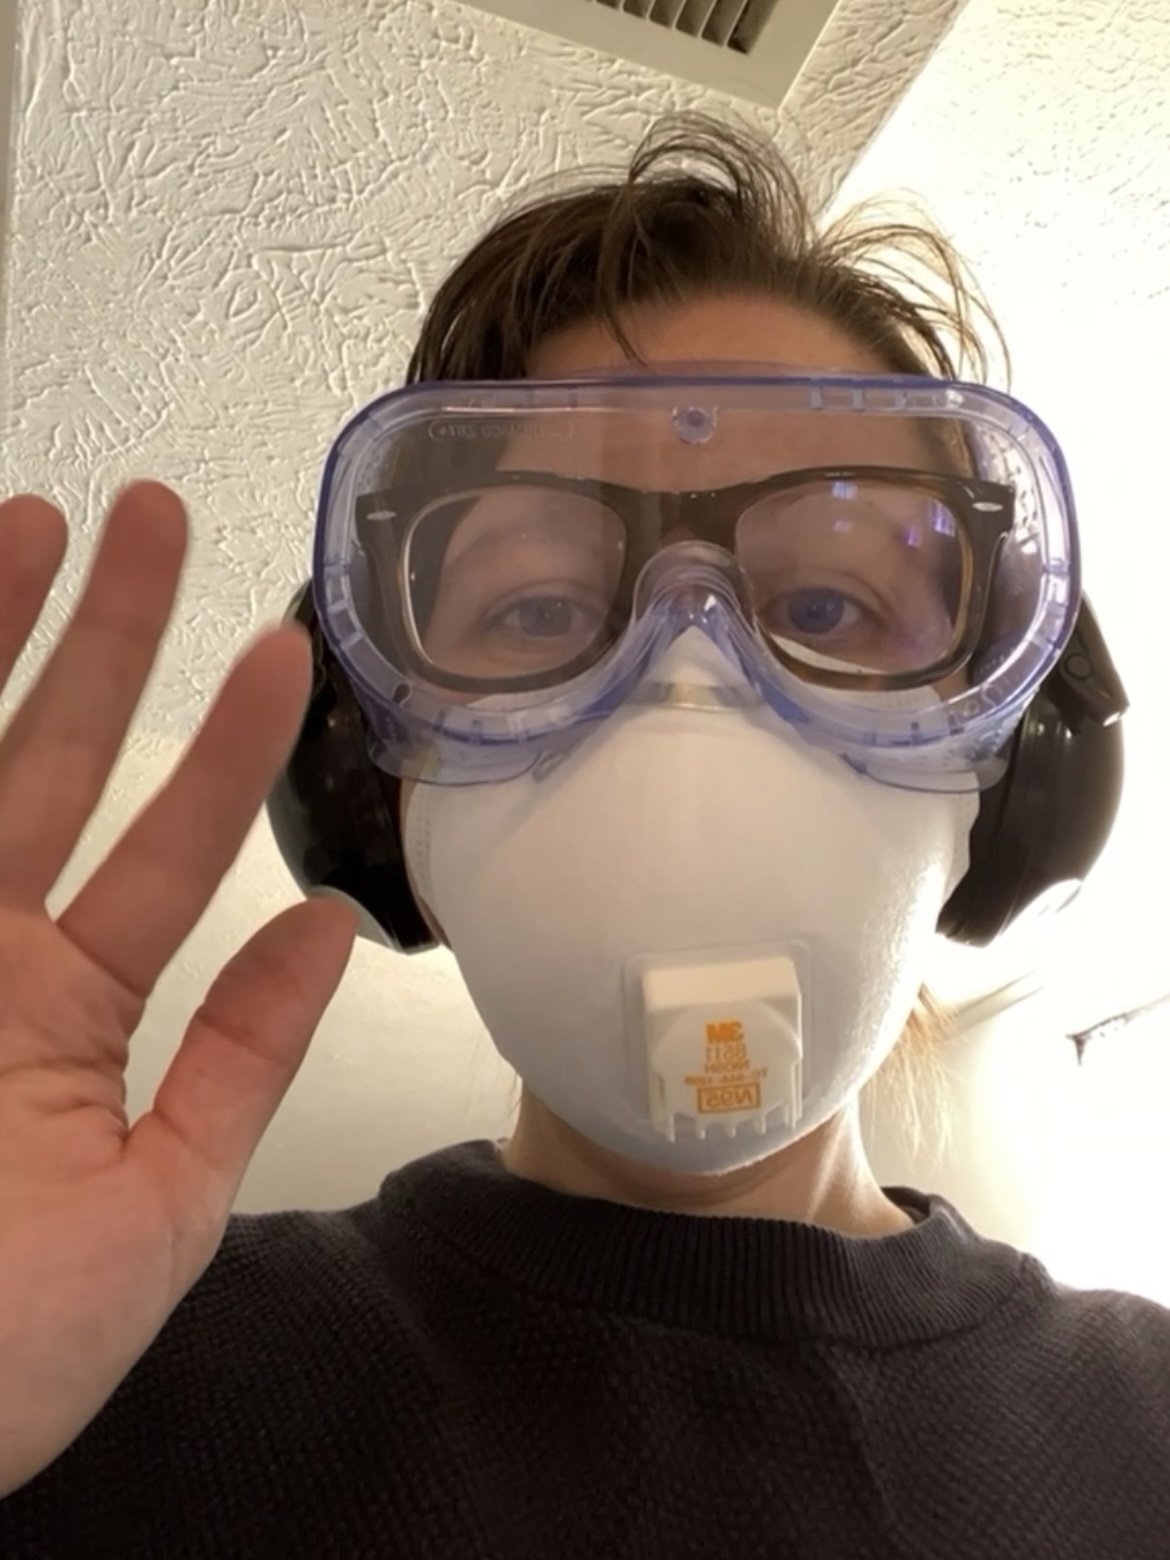

I didn’t have a dust shroud attached to the angle grinder, so the amount of dust that saturated the room was, um, intense. I had to take breaks every 30-45 minutes because I couldn’t see, then actively tried not to think about what that meant for my lungs…
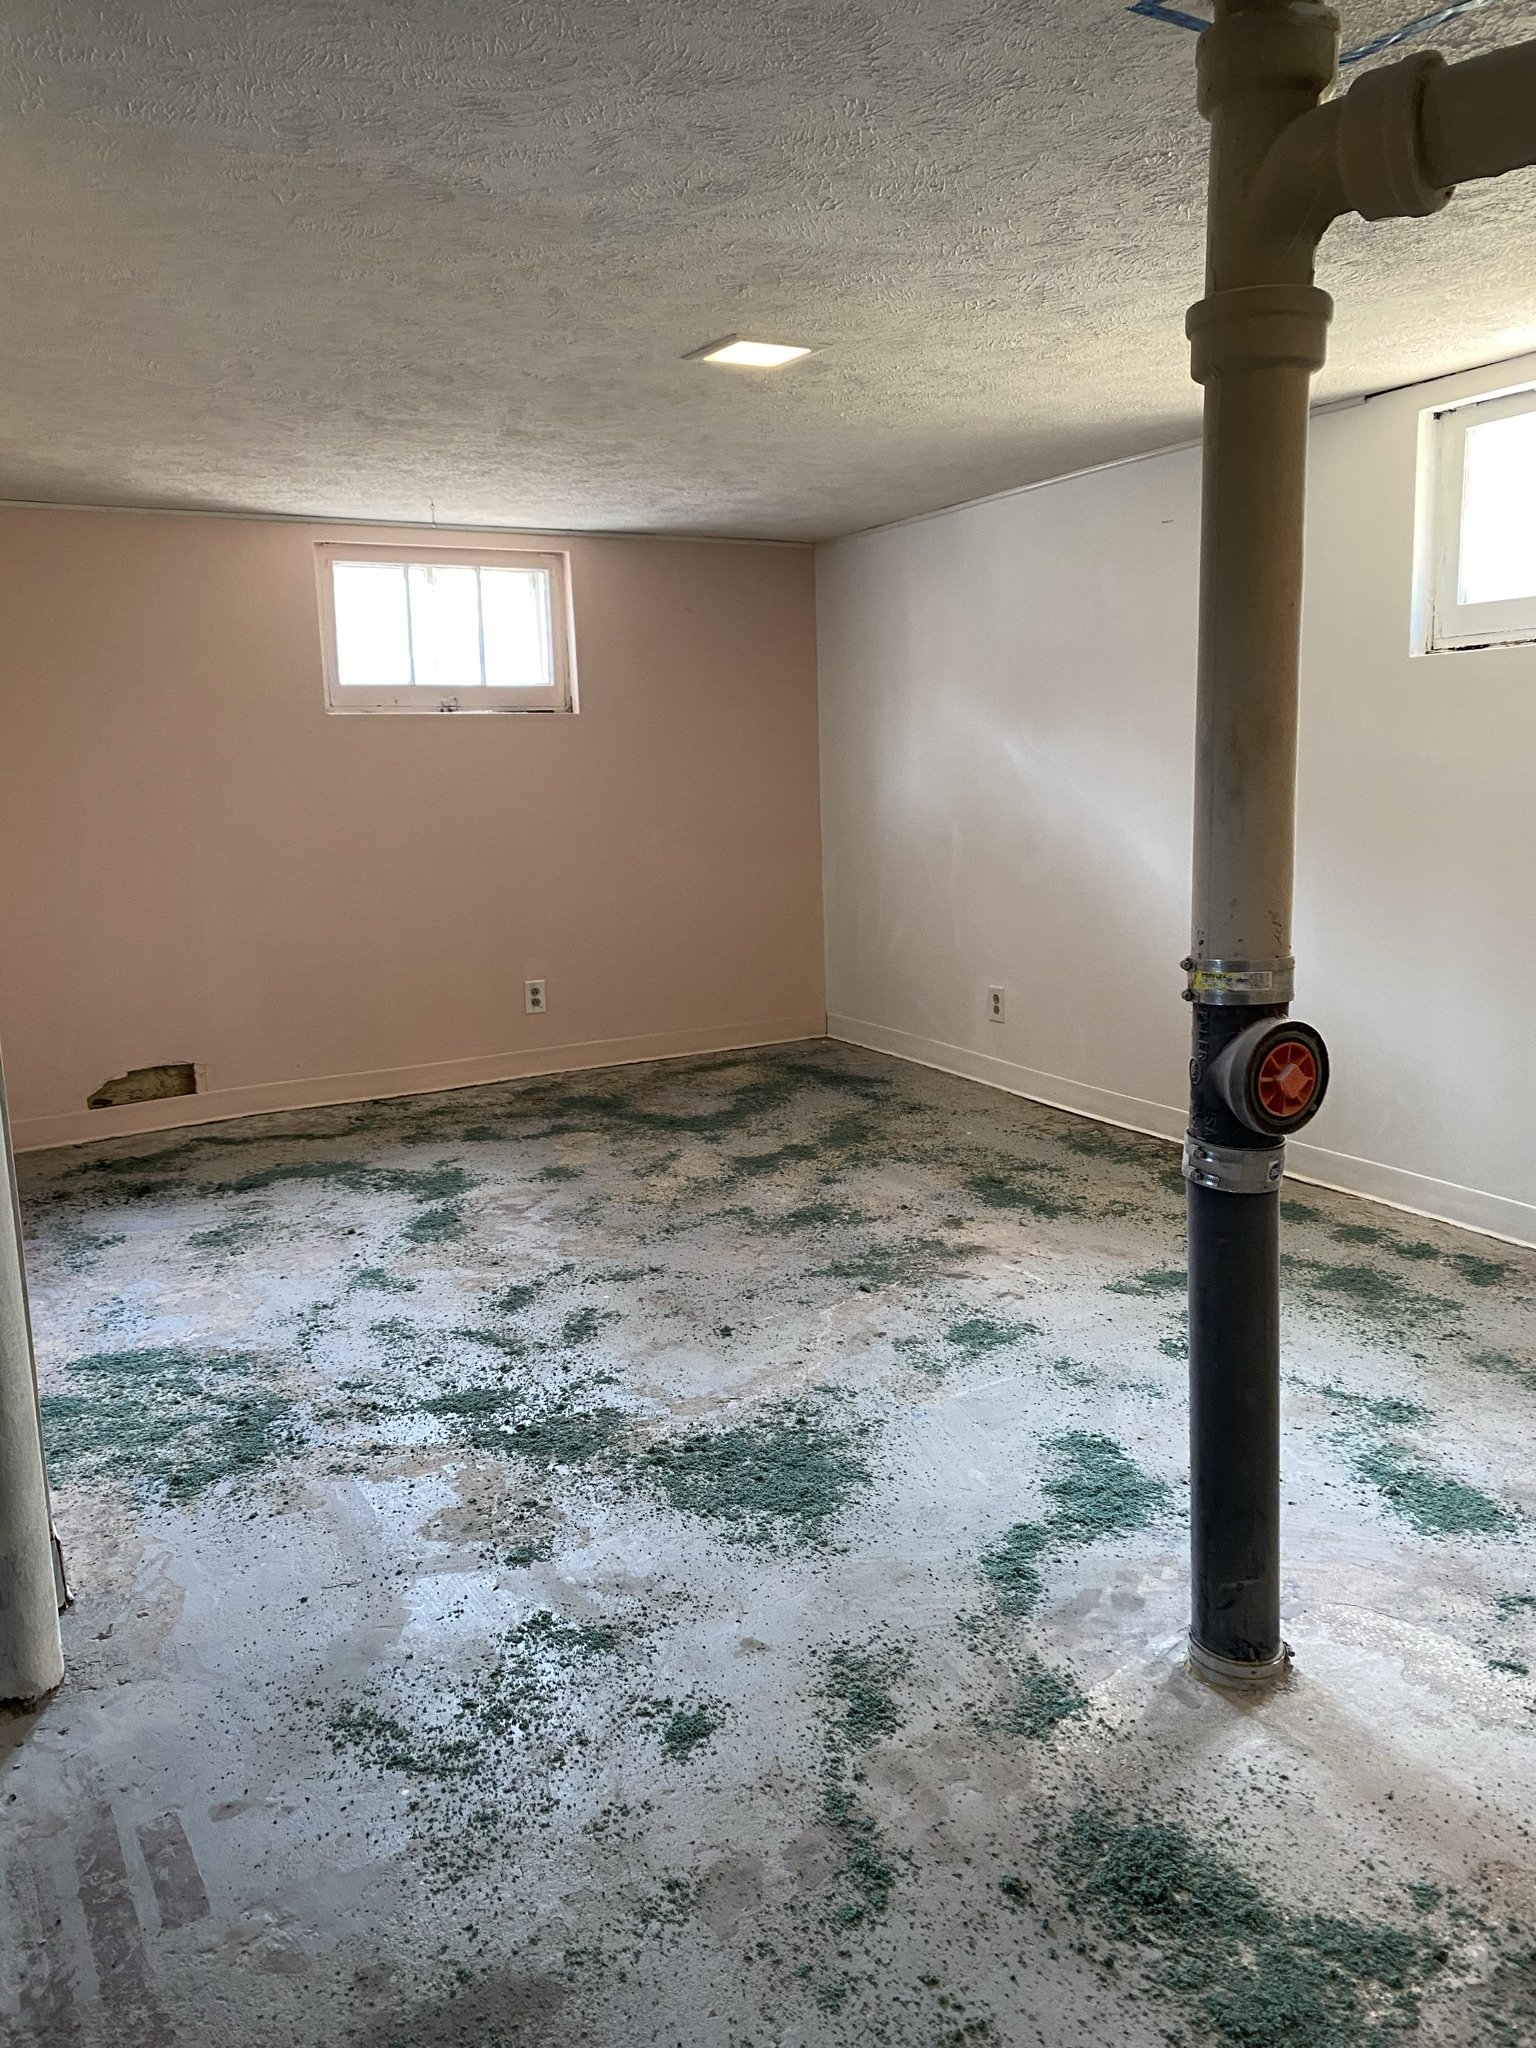
Once the dust literally settled, I had to use the equivalent of hardware store kitty litter to help me remove it from the floor and spent weeks washing it from the walls.
I couldn’t walk upright for about a week because every muscle in my body screamed at me in a shrill Susie Essman timbre for spending two days, bent in half, sanding almost every inch of this floor. Still, once I was finished, this is what the floor looked like.
Terrible. But also smooth.


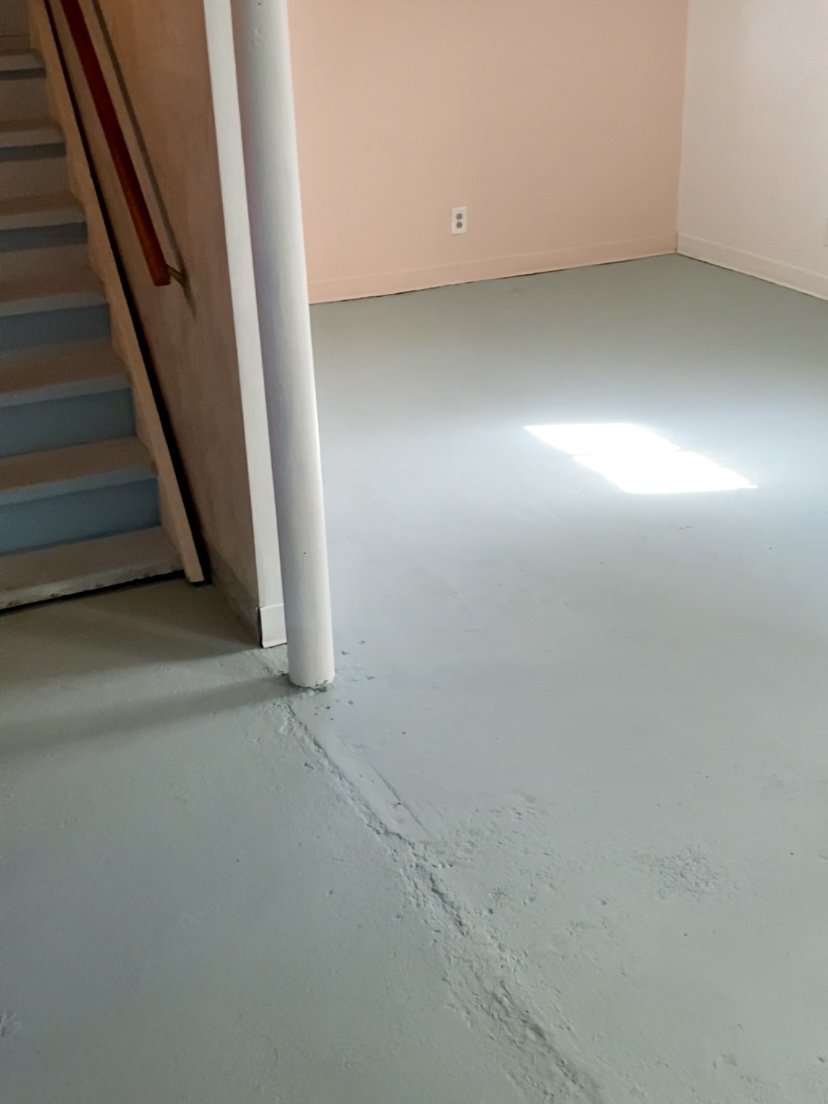
This all wrapped up at the end of July. Then in early October, revived, I started the painting process. I vacuumed, then poured this degreaser mixed with water directly on the concrete, using a stiff-bristled broom scrubbed vigorously, then rinsed. Rinsing was actually a little nerve-wracking because all the tutorials were for outside or garage applications where people just used a hose and sprayed down their concrete. That wasn’t an option for me so I just kept filling a bucket with clean water throwing it down, and attempting to squeegee it to the floor drain without ruining anything in the process. Honestly, not sure if I got all of the soap up, but it’s all I could think to do. After it dried completely, came another round of vacuuming. And then time for paint.
I chose Epoxy-Seal because it was a one-part application, so no need to mix products correctly, it would work on previously painted concrete, and most importantly it came in 38 different color options.
When it came to selecting a color my main objective was to avoid “basement grey.” This was going to be a playroom, and I had visions of color everywhere. The other consideration, though, was that it needed to work with the existing accents I already had: deep blue stairwell, sky blue stairs, peachy pink accent walls, mint green closet door, cobalt blue console table, sunshiny yellow shelving... you get it. Keeping that in mind, I narrowed it down to these two colors.


I waffled back and forth, mostly because I worried the Aqua Mist might in fact look just as dull and grey as I was trying to avoid. But as much as I loved the vibrance of Tropical Beach, it felt too loud and could potentially highlight the repairs and imperfections I was trying to cover. Luke’s vote was Aqua Mist, and though I’m prone to continue waffling long after asking for his opinion, I decided to, well, not do that. I got a gallon of Aqua Mist and went for it.

As you can see the imperfections are still visible, but the coverage is perfect. It feels clean and not at all like the dingy basement floor it was. And the color! I’m so happy with it. It’s the best soft blue/green/grey mix. Exactly what I was hoping for!
Rolling it on was a breeze. I just used an extension pole attached to a roller with a 3/4” nap roller brush. I made my best attempt to “keep a wet edge” as all the directions advise, and applied two coats. That’s it!
I left it alone for 3 days. Then, using the same method, applied a topcoat sealer. And full disclosure, I wish I hadn’t. For three days my basement floor was perfect and I was giddy. Then I applied the clear coat and – I’m sure it has to do with some misstep in my prep, or maybe just my application – I ended up with some highly noticeable white splotchy areas after it dried. Honestly, I was pretty crushed. But short of regrinding the floor to remove it and starting the painting process over there wasn’t anything else I could do.
So I did what I do best and started pulling rugs and filling the room with furniture from around the house to cover the floor. Still a ways to go before a final reveal, but it’s so much closer!
And because it’s always fun to watch an entire project unrealistically come together in about a minute, here’s a time lapse for your viewing pleasure.
Let me know if you have any questions about the process! Not a pro, but always happy to share what worked for me!