
The Console: Part 2 ("And I'm Back in the Game!")
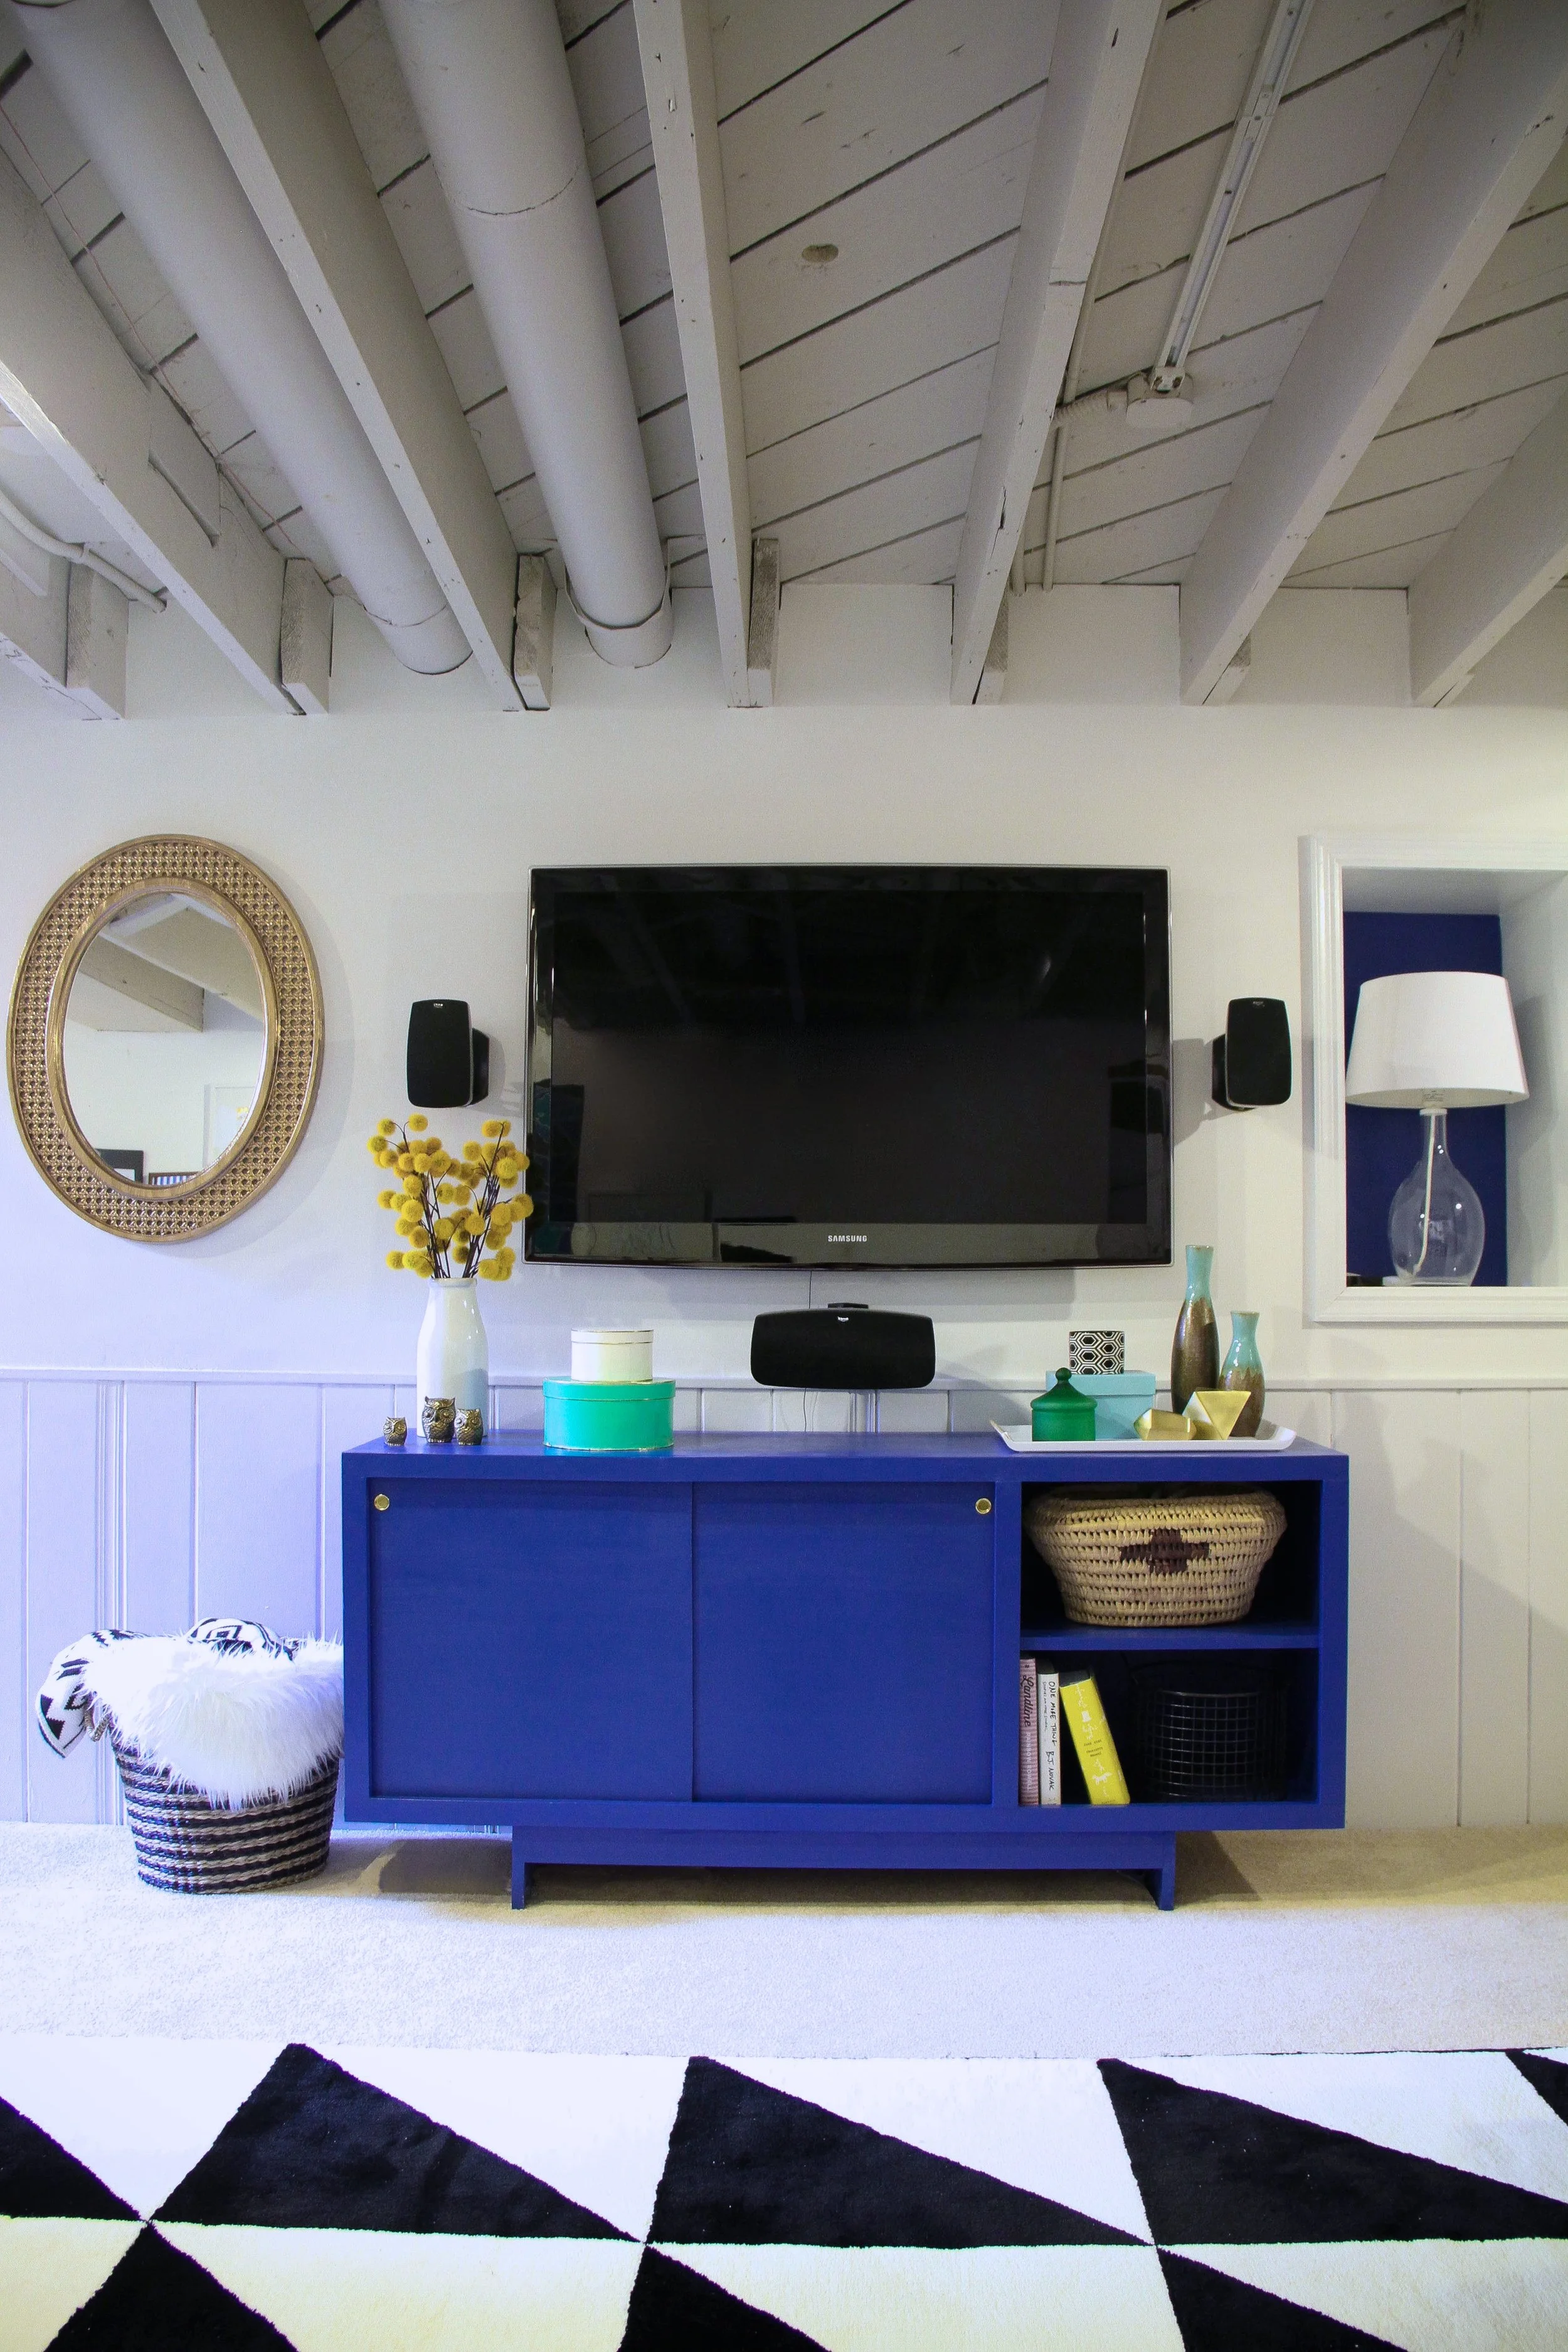
Photo: Bethany Gilbert
I worked it out! The hand-wringing and emotional duress can now cease because this cliffhanger is over.
A quick review: I built the cabinet easy peasy, had the doors cut at Lowes, primed and painted it all, then fumbled miserably attempting to attach the doors (or just read this if you haven't already). It was a real low point that took several days to recover from, but in the interim I did come up with a few ideas for salvaging my failure.
The not-so great first idea
Since I couldn't get all three doors to hang correctly, I considered just using two. I had a few scrap pieces of plywood from the initial build and thought maybe adding a center shelf could work.
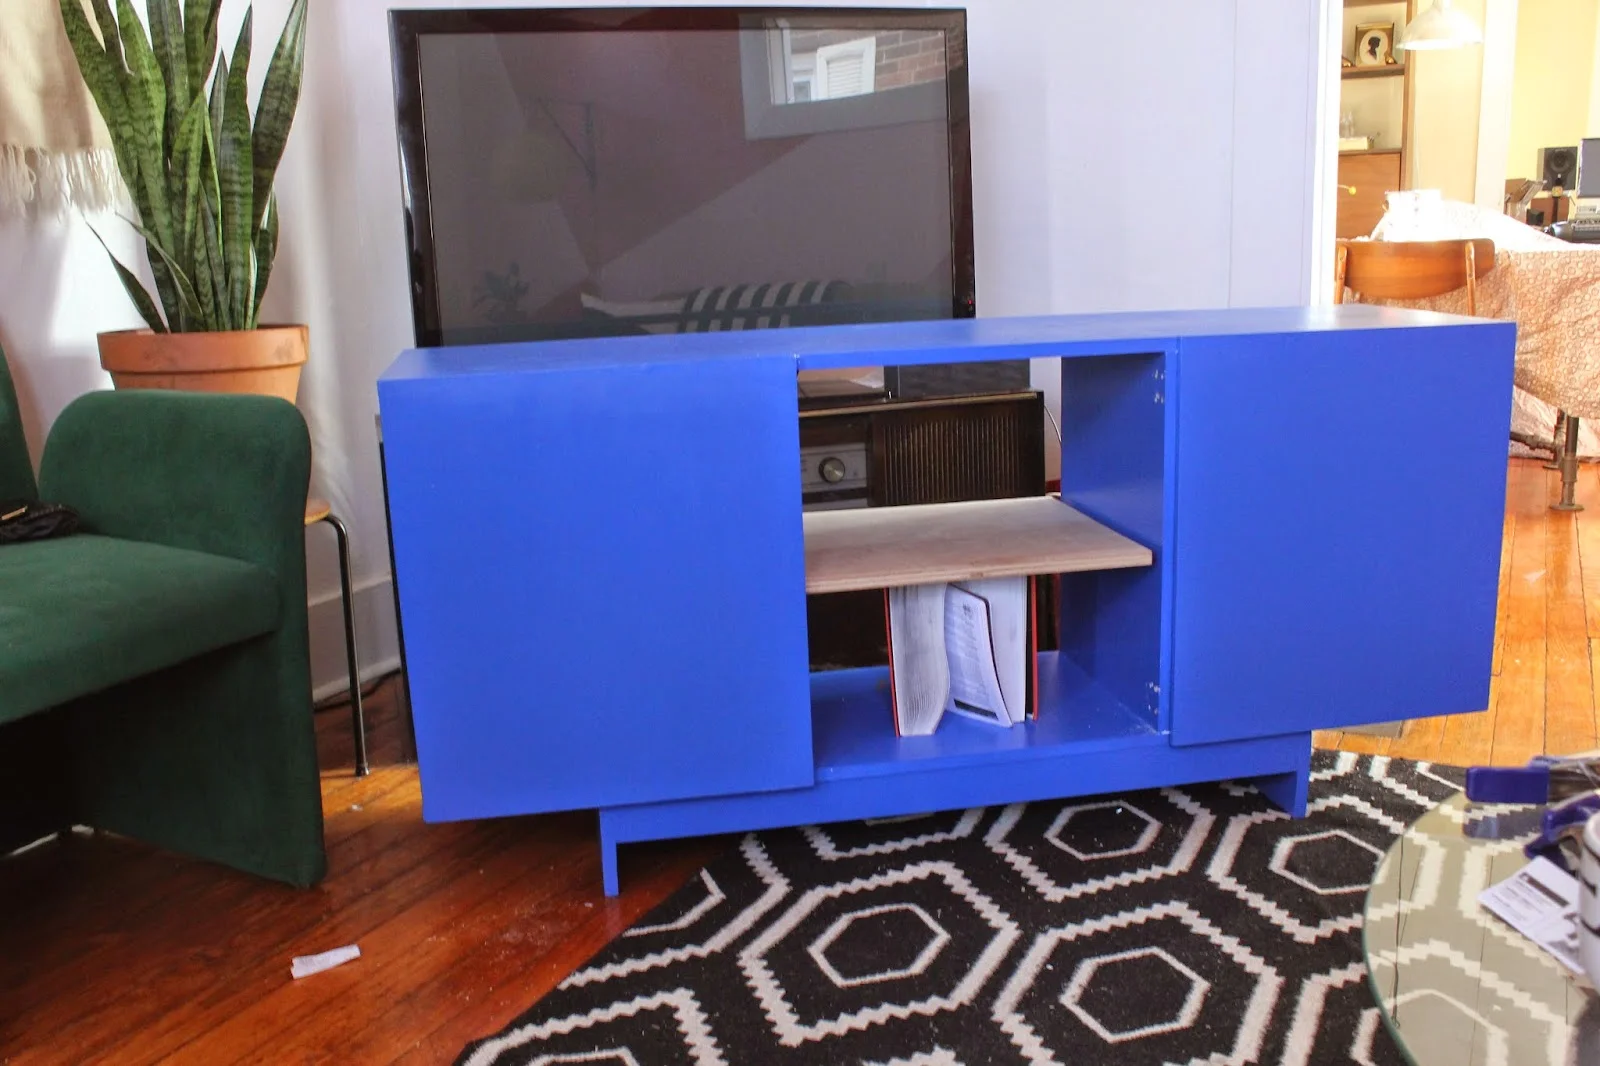
I hated it. The whole point was to build a simple console with a seamless facade. With the shelf in the middle it looked too generic like something I could find at Walmart, not the midcentury nod I was going for.
the actual good idea
Frustrated, I decided to peruse some design blogs and take a few hours off from fixating on my screw up. That's when I fortuitously stumbled upon a post by sfgirlbybay entitled "Crazy for Credenzas."
When I saw this image I knew there was hope. Sliding doors! Oh Yeah!!

I already had a face frame built for the cabinet so my next task was to find a way to make the doors slide. Traditionally, I'm pretty sure using a router to create grooves in the top and bottom of the cabinet is the way it's done. I decided that was probably too advanced so I kept searching for different options (look at me, I'm learning!). This jolly woodworker's YouTube video was especially helpful as he attached store-bought plastic tracks for his cabinet. None of the local hardware stores carried any, but I found some plastic track on Amazon. Getting.it.done.
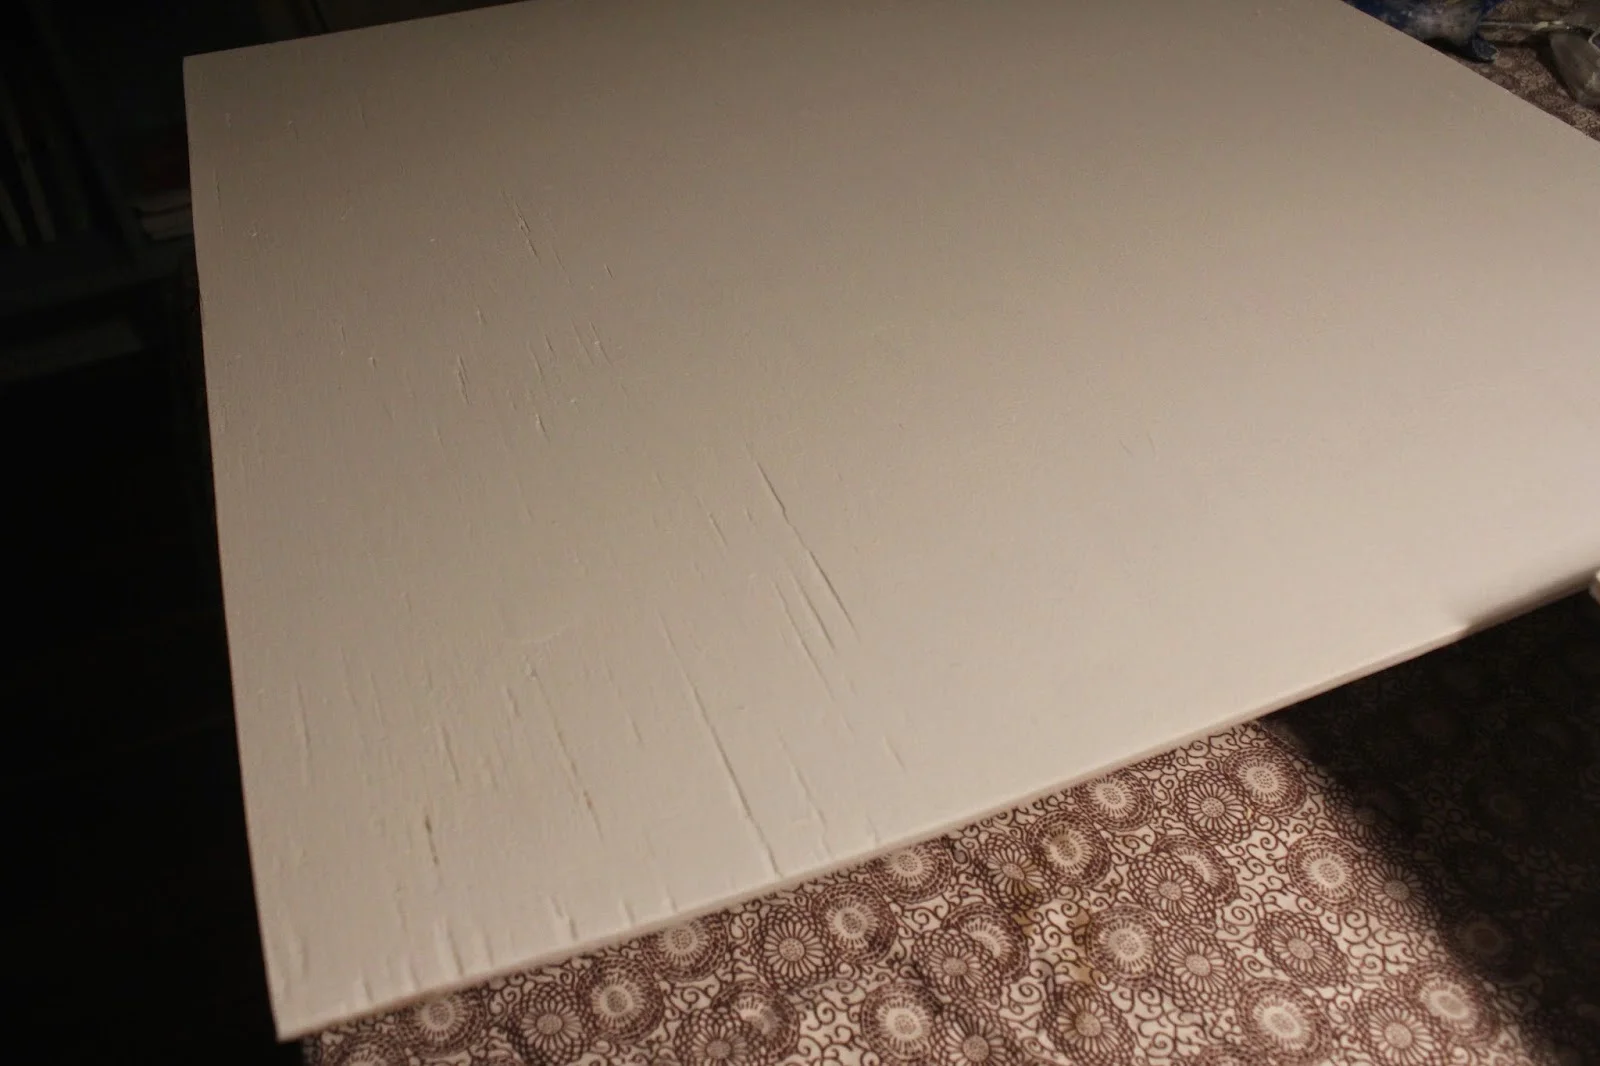
Finally, it was back to Lowes for more plywood to make more doors. This time around I used 1/4" plywood and since I was painting it opted for the cheap and ugly kind. Mistake. They say don't spend money on the nice hardwood plywood if you're painting it, but this is what my doors looked like after two coats of primer on the cheap stuff, followed by copious amounts of wood filler:
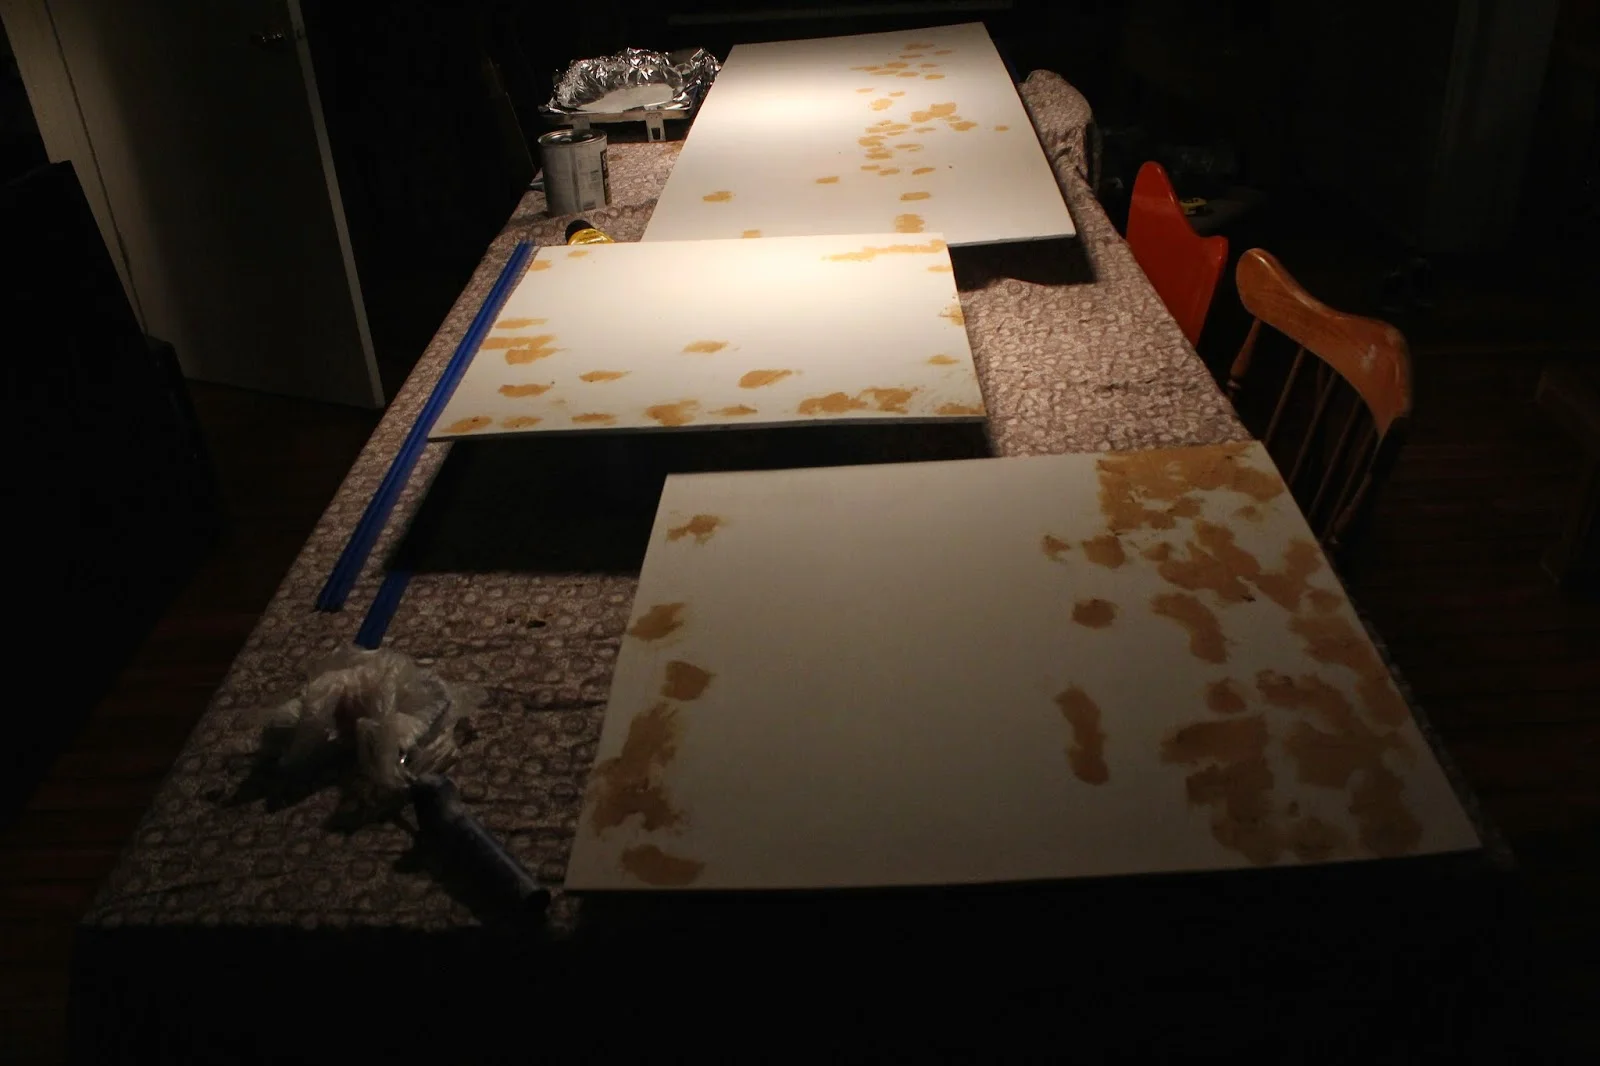
I didn't get them perfect, but at least better. Then more priming, more painting, oh, and now 4 coats of polyurethane. By this point I was freebasing on get-this-done momentum, which I guess explains why the only remaining process photos I have are the crucial shots of me setting up my newly purchased nail gun and compressor. I'll spare you.
Basically, here's what happened next: I attached the plastic trim to the top and bottom of the cabinet, nailed the back on, added brass pulls to the doors and installed the doors into the track, then glued and nailed the face frame over everything. All of this occurred three minutes before Bethany arrived to help transport it to her house. Huzzah!
And now it is out of my house, the frustration, panic, and general console-creating neuroses have ended, and my husband will start talking to me again. Here are some lovely photos of the blue beaut in her final resting place:
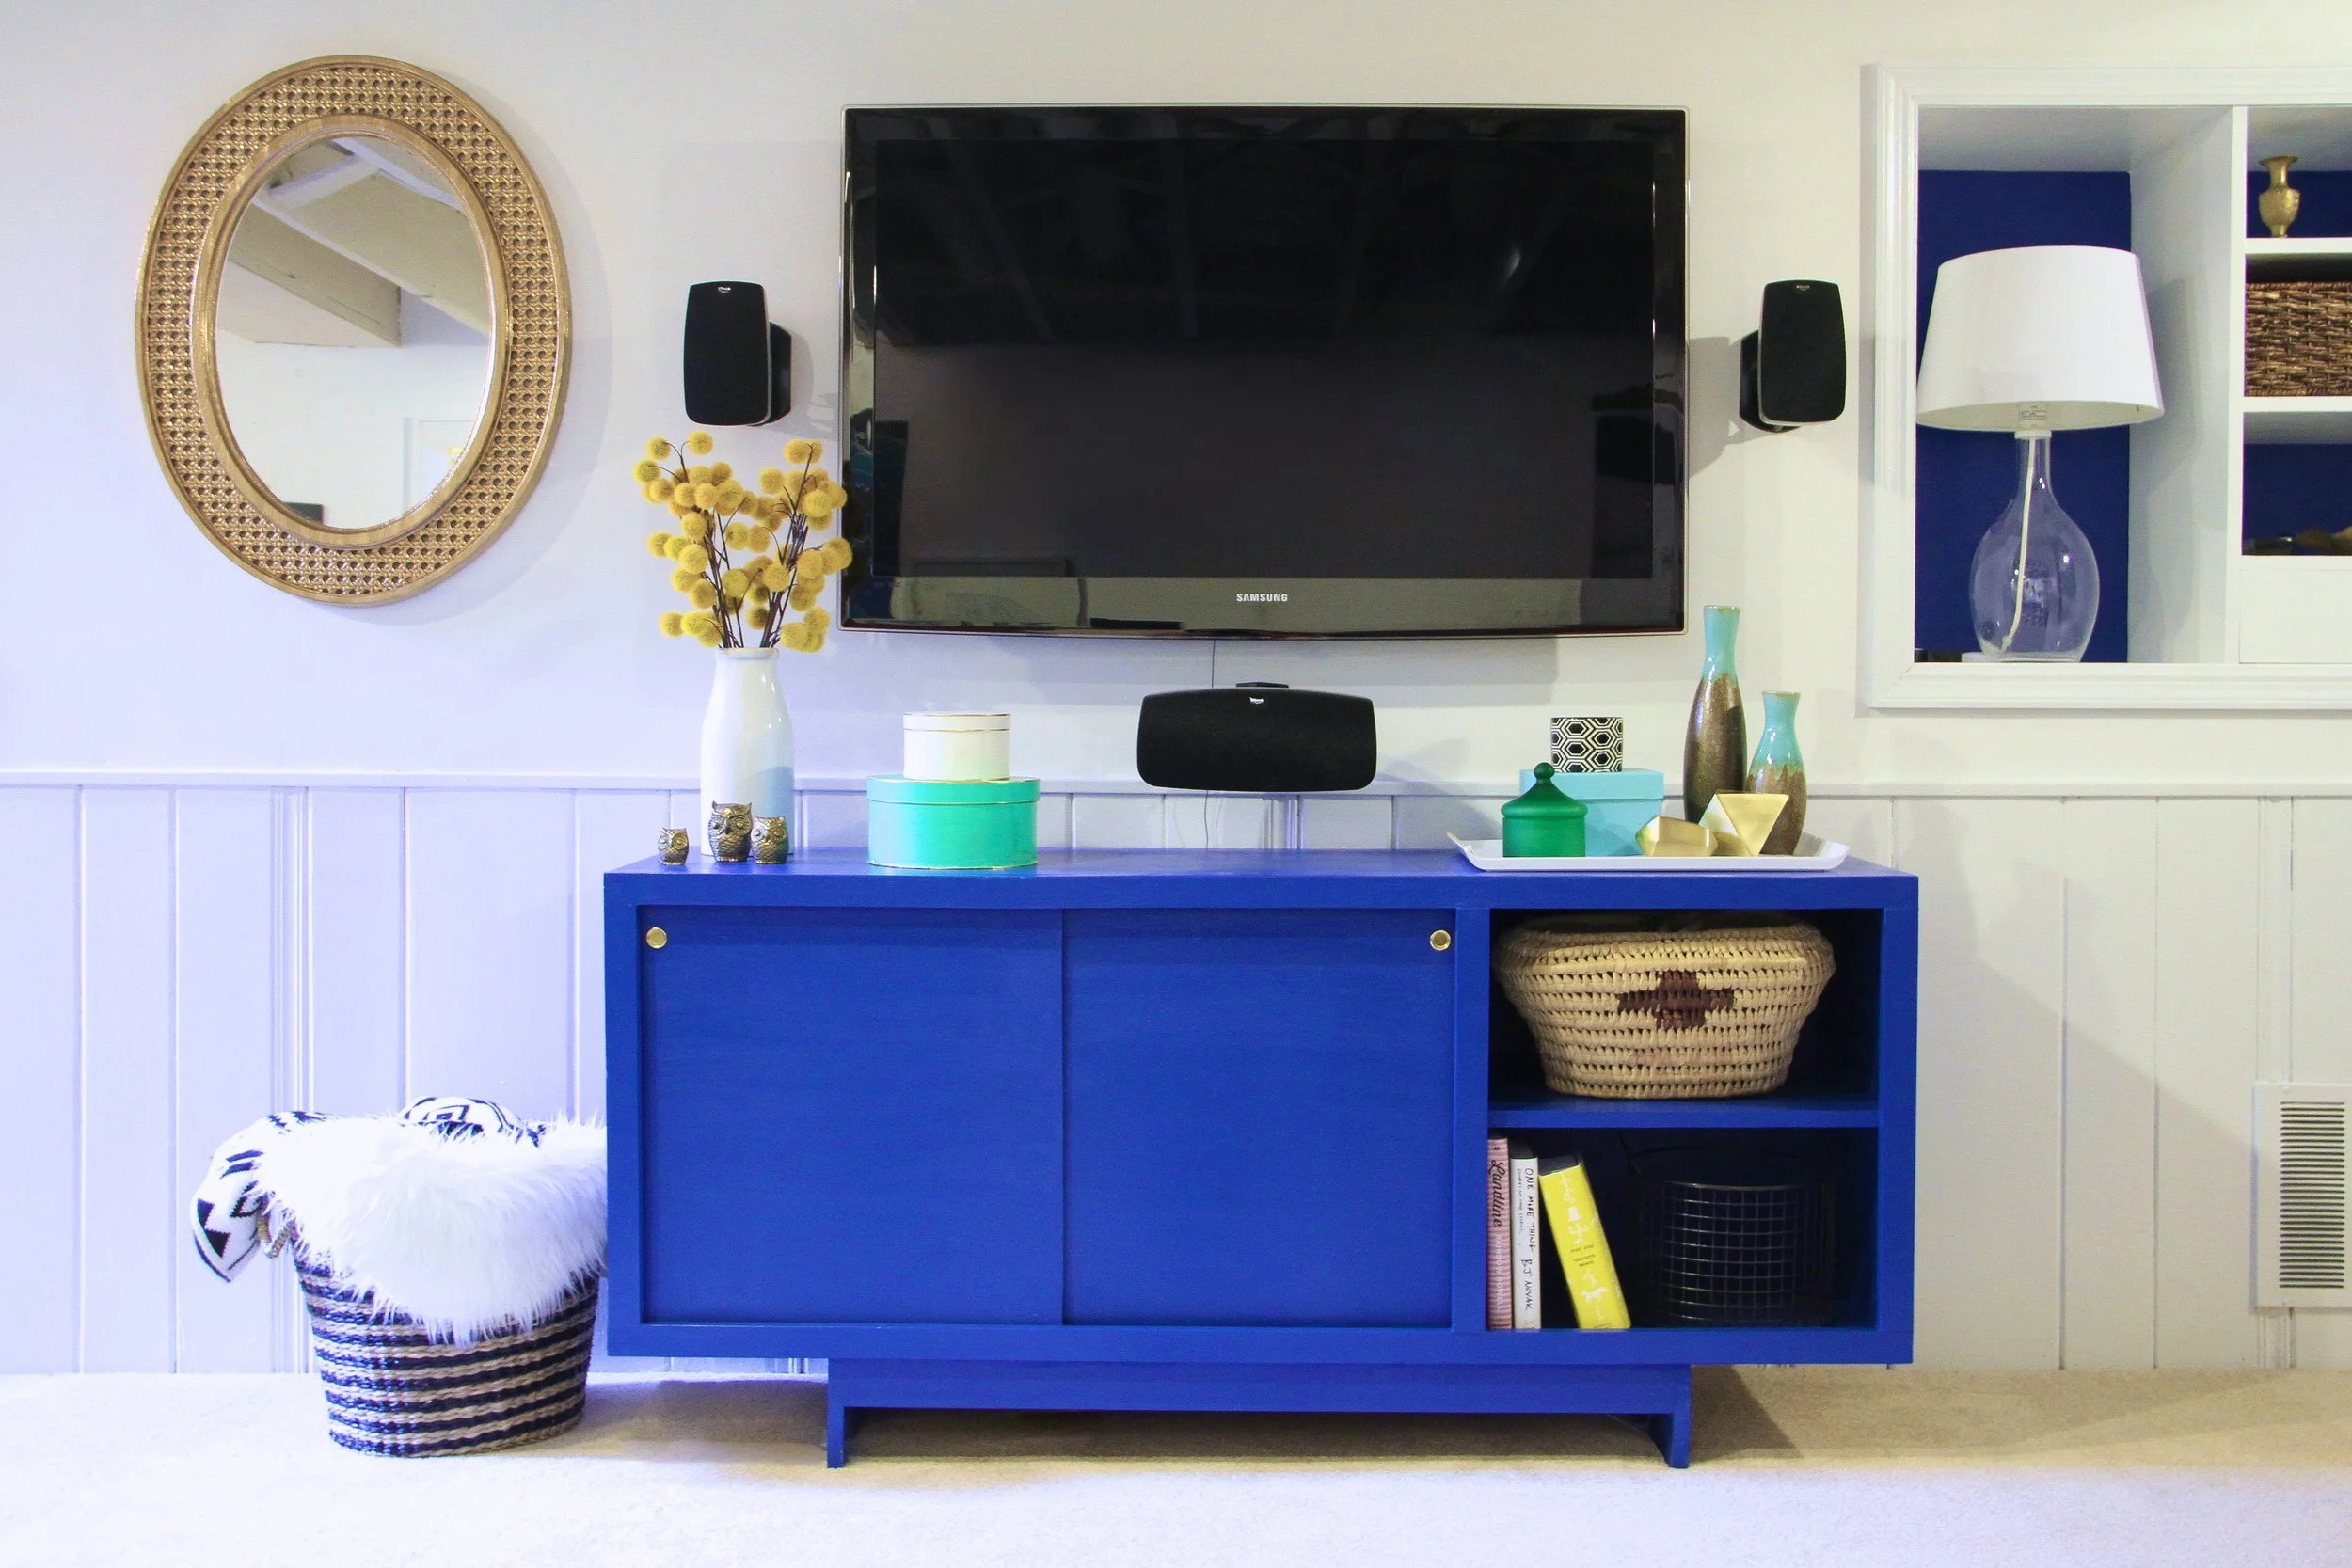
Photo: Bethany Gilbert
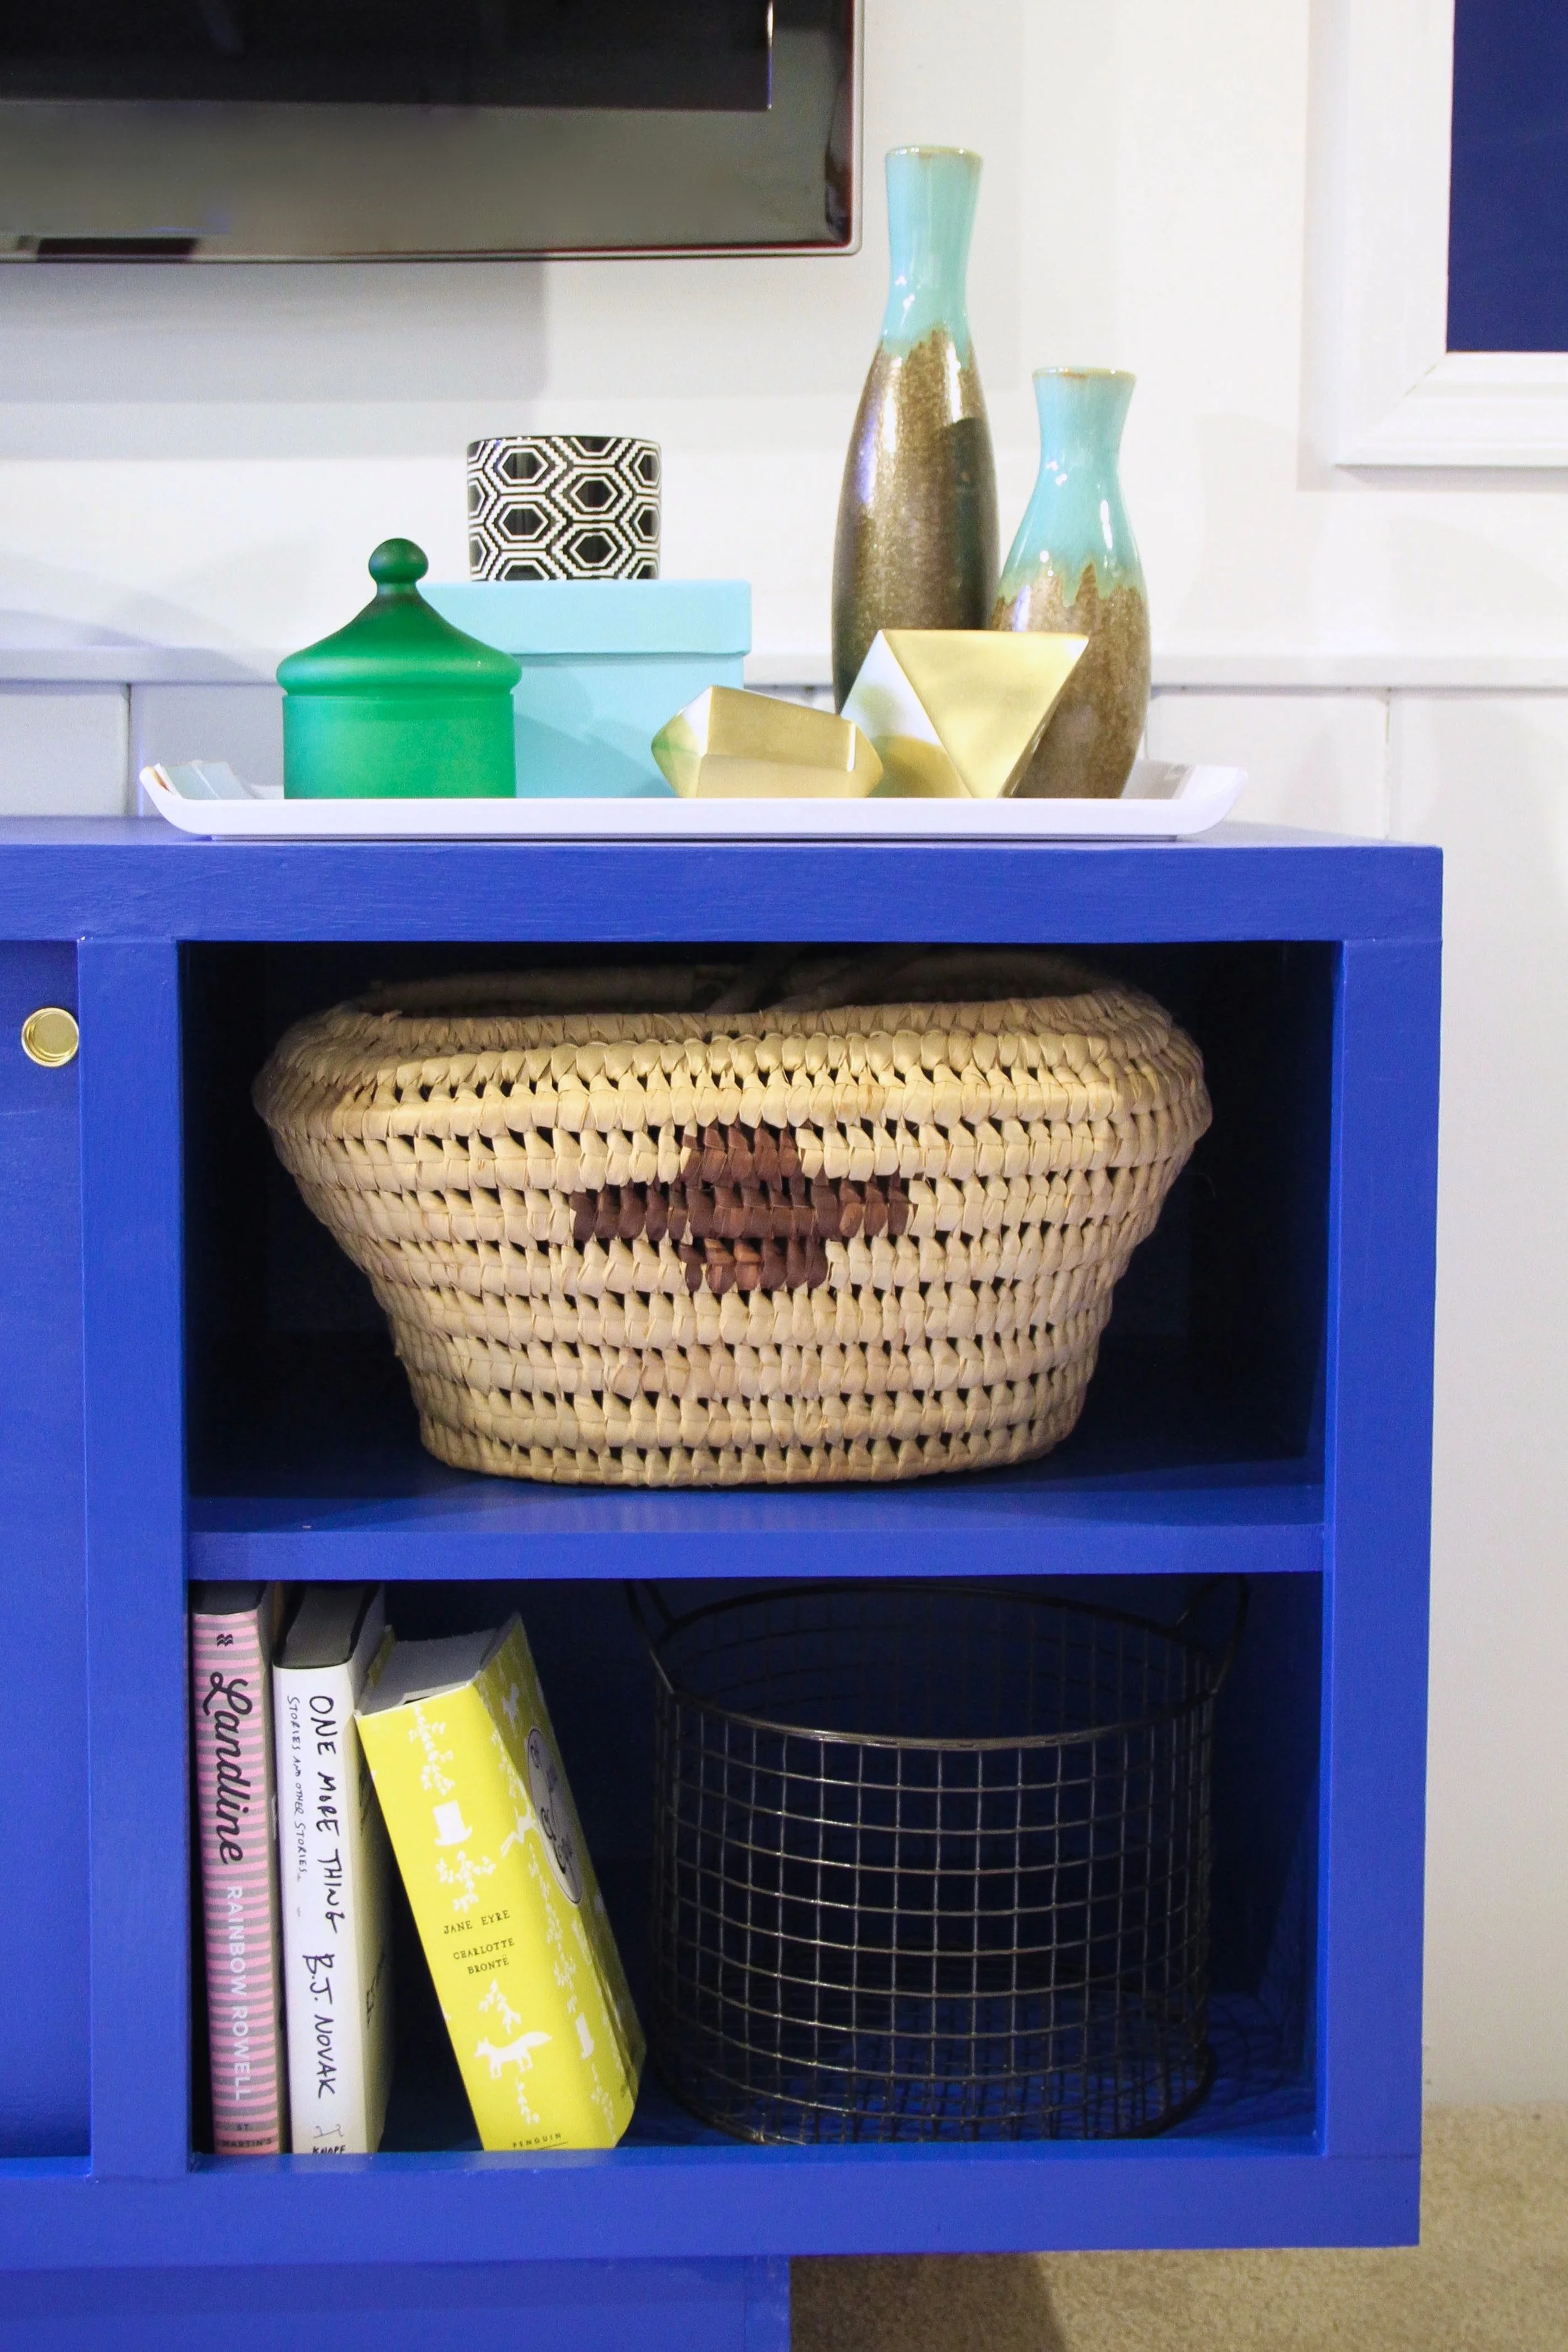
Photo: Bethany Gilbert
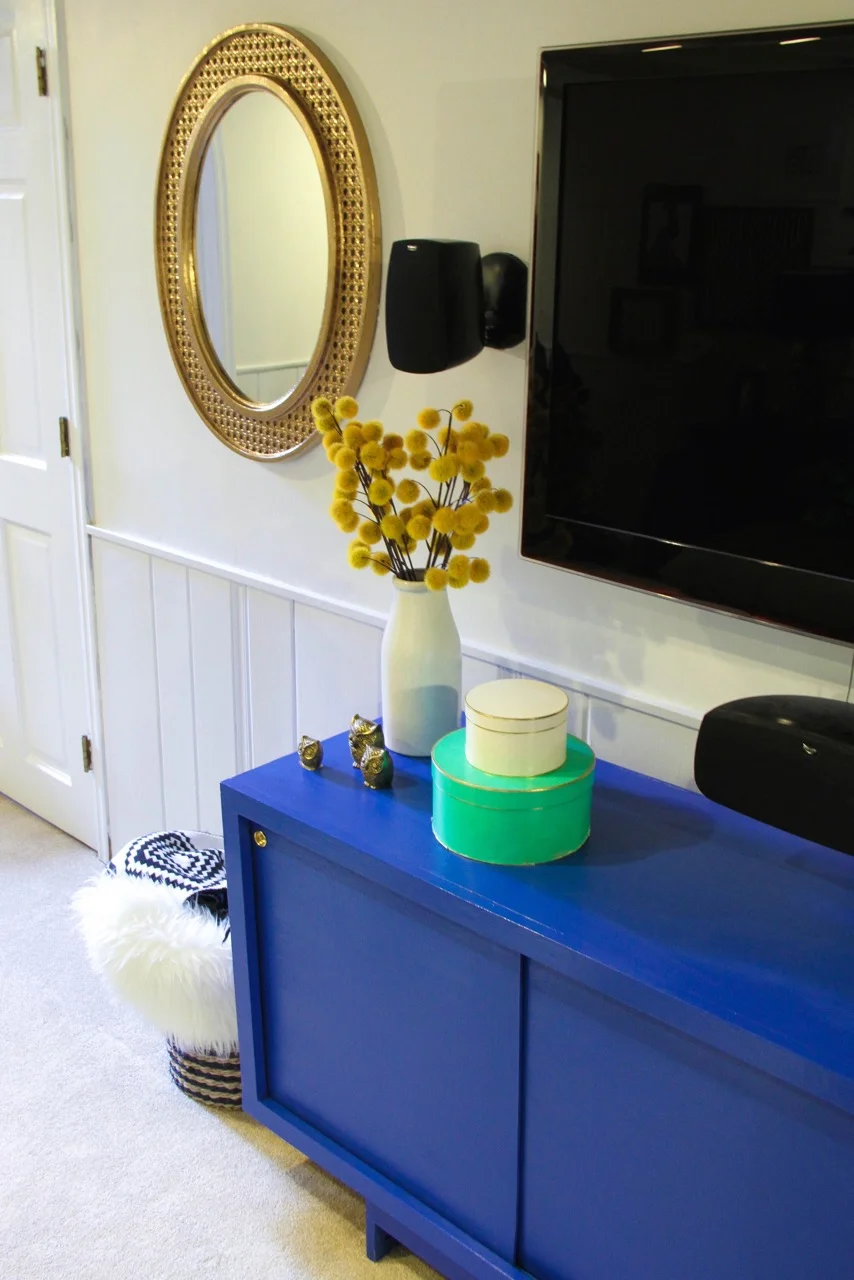
Photo: Bethany Gilbert