
Building the Whimsical DIY Play Tent of (My) Dreams – The Kids Like It Too

This post contains affiliate links. I may make a small commission off purchases made through the links I’ve provided. Thanks for supporting my small business!
Last November – yeah, we’re going back a bit – I saw a gift guide featuring the DocATot x Morris & Co Tent of Dreams. I was besotted. The classic play tent, now, magically transformed via iconic William Morris prints; *sigh*. Because transforming the basement into our playroom was/is top of mind, I couldn’t resist the idea of trying my hand at creating my own, albeit more financially attainable, version.


I documented the complete process in real-time from conceptualization to completion over on Instagram, but felt it deserved a place of its own (on a site I own) here. Plus! It provides a big sneak peek into the current status of the basement following my last post about repairing and painting the concrete floor.
I’m proud of this one! If you’re interested in making one yourself, or just curious how something like this comes together, keep reading.

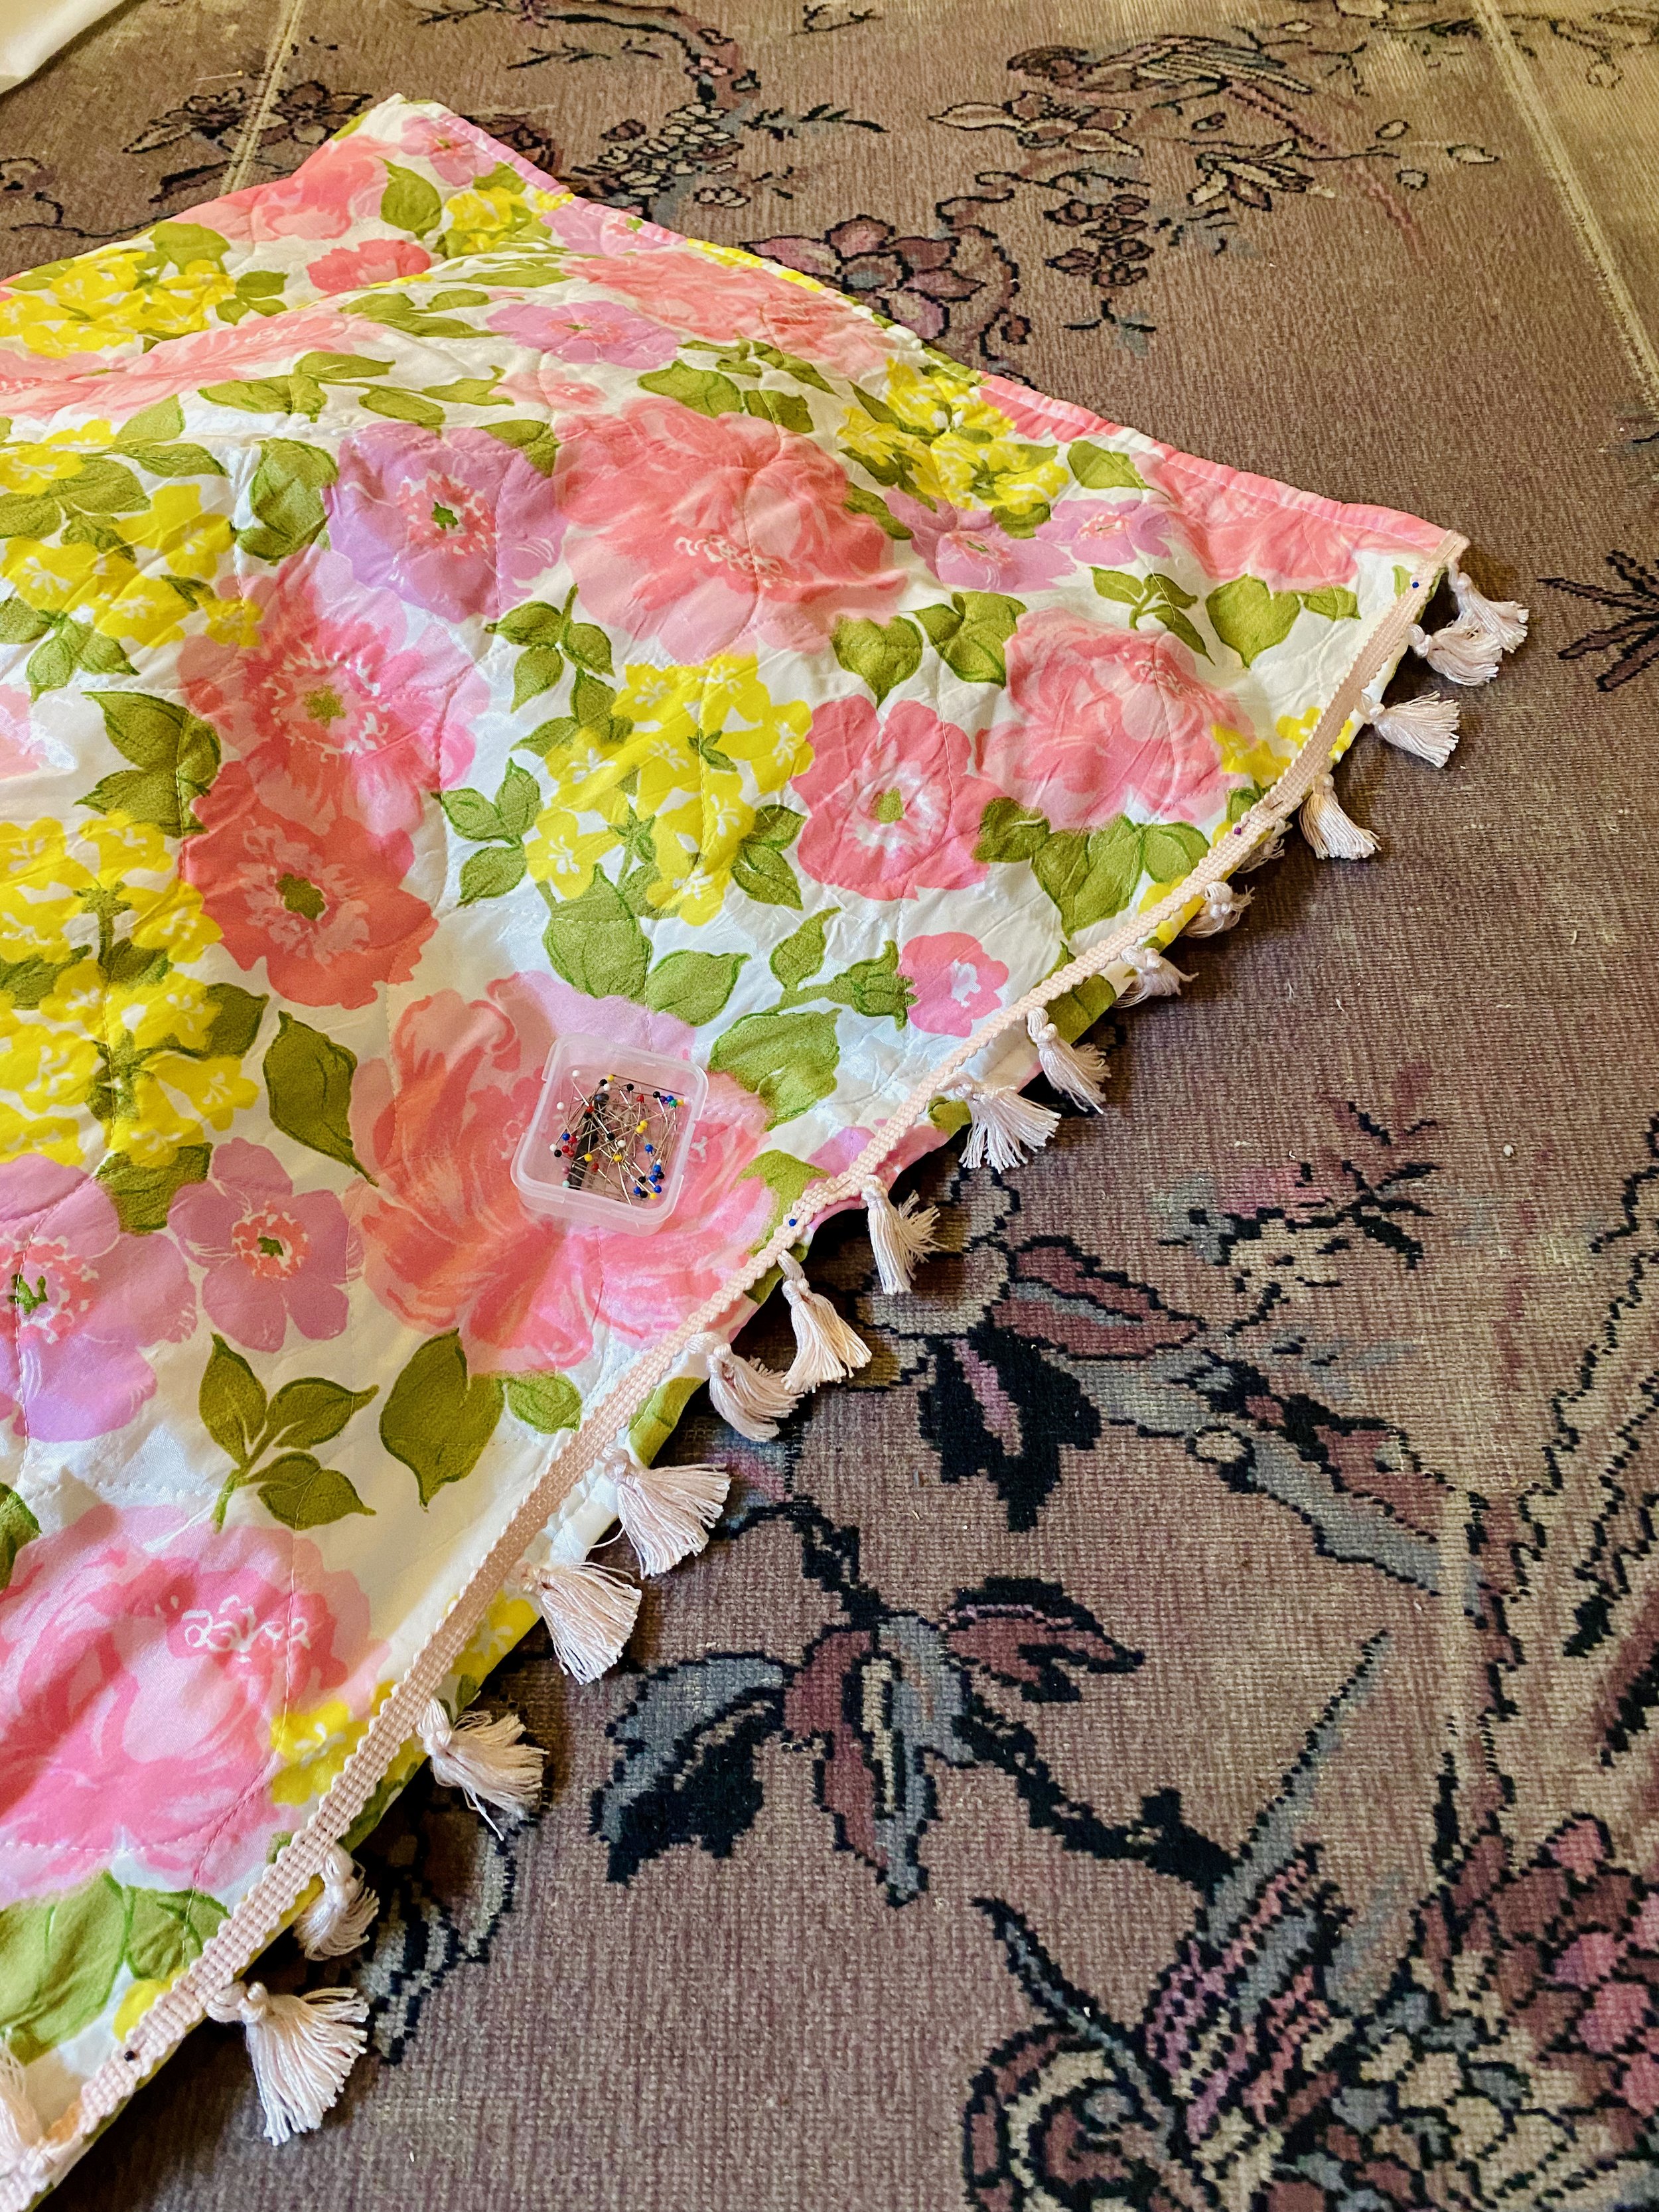
It started with a thrifted bedspread. This vintage 1960s goodie to be precise:

I was thrilled when I snagged it and a matching set of drapes over the summer. Apart from a thorough wash and a briefly styled photo of it on our bed (followed by Luke’s prompt “NOPE”), it didn’t see the outside of the linen closet for months.

But I like to think it was just biding its time, knowing it was meant for this application all along.
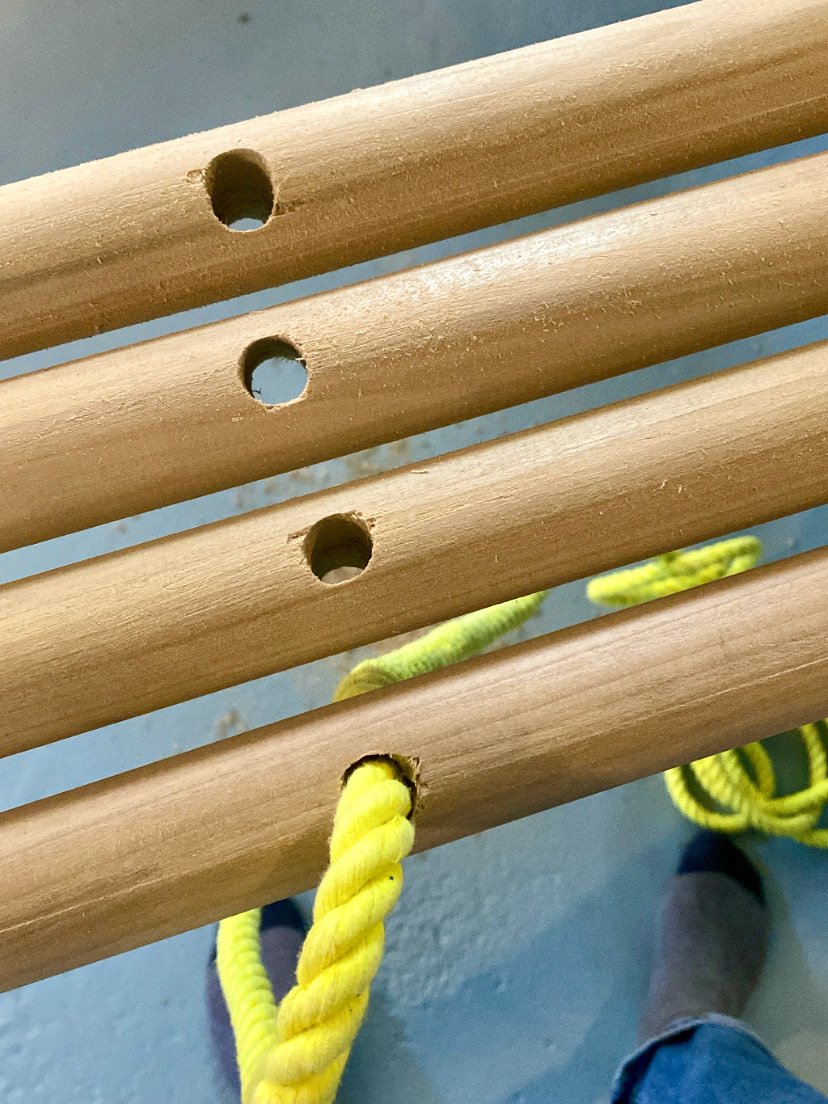
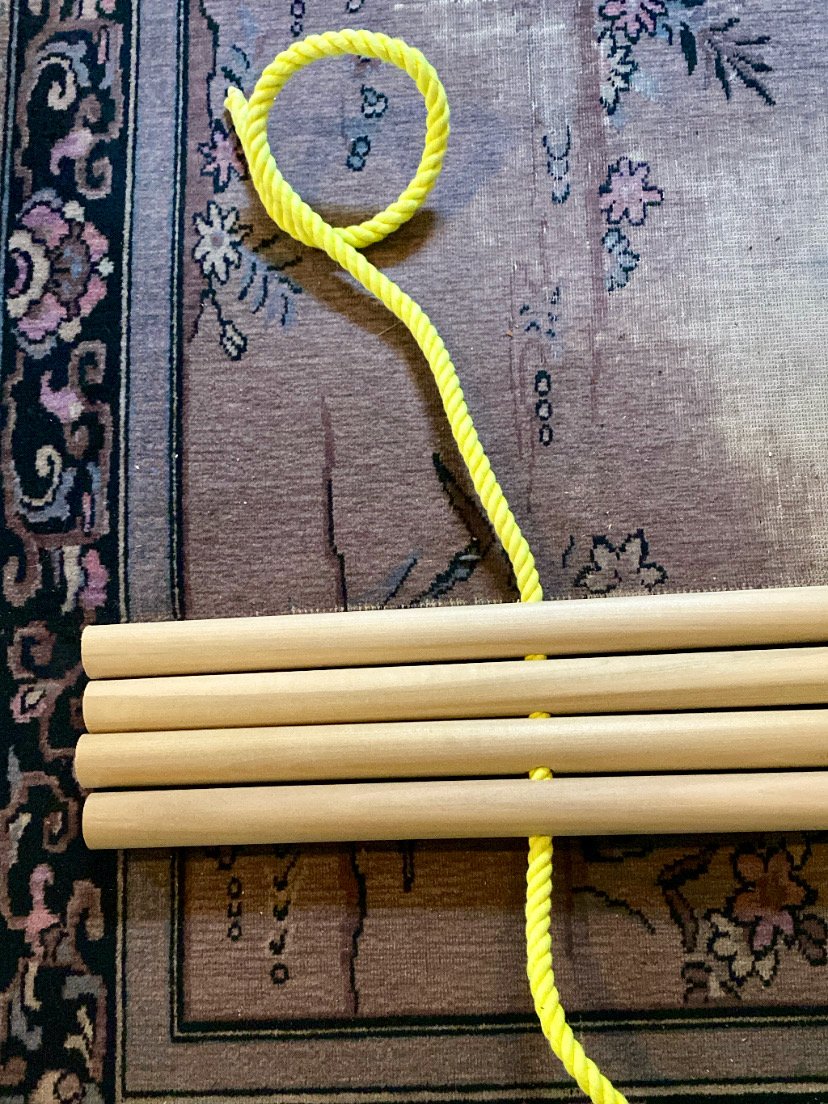
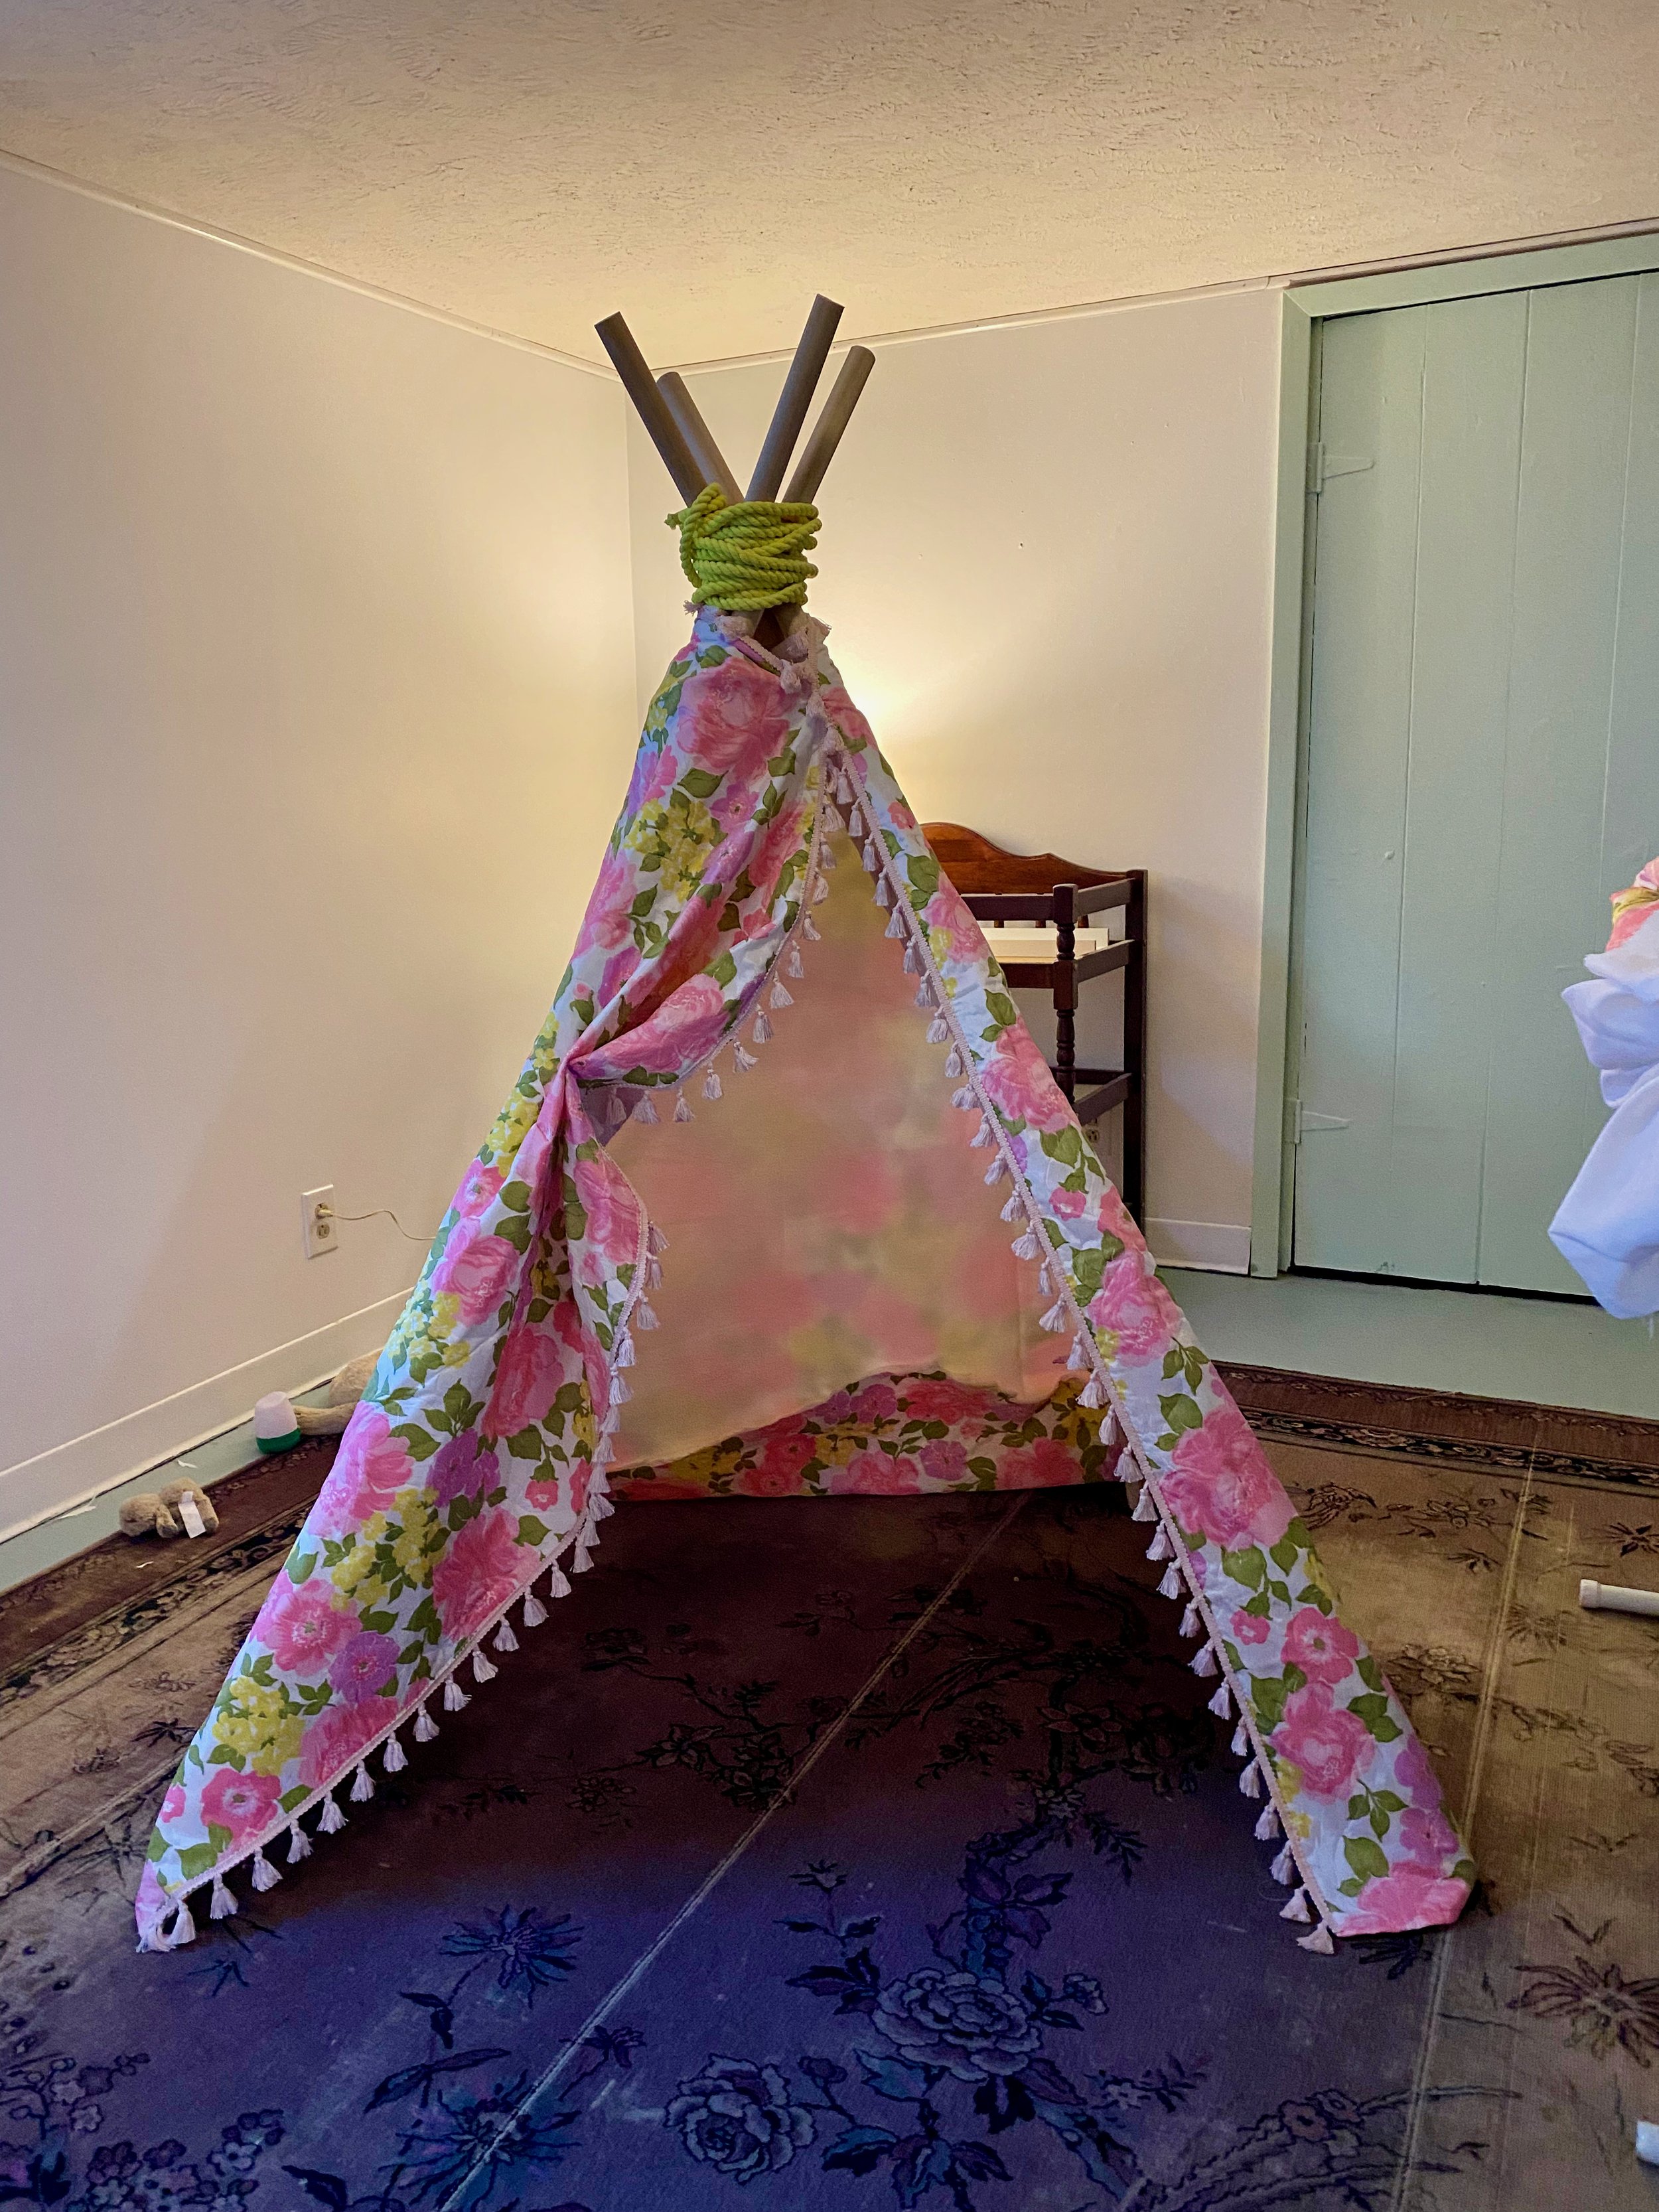
To begin, I grabbed four 1 1/4” x 72” dowels at Lowe’s and drilled a hole in each one 10” from the top. Had I owned a drill press this would have been a neat and tidy little process, but not to worry, I just worked my way up using varying sizes of drill bits, until an ever increasing hole presented itself. With some fluorescent yellow rope I had on hand, I threaded the dowels together, stood it up, and wrapped the rope around each dowel individually as well as around the entire grouping.

After I had the structure built, I started on the lining. It wasn’t completely necessary, but the underside of the bedspread was that not-so-soft white batting, so I thought I’d add a layer of white cotton to keep it cozy. I didn’t take detailed photos of this step because it was truly a whole lot of trial and error. The basic course of action involved me draping the white fabric over the dowels, pinning it to create pockets around the dowels, and then closing the structure like an umbrella followed by attempting to shimmy the whole thing off without losing any pins/my mind. After it was removed, I sewed it as pinned then shimmied it back onto the dowels and voila – a tent.
Next, I draped the bedspread around, pinning it to the lining and trimming it in place as needed. This step was a little nerve-wracking as it was the first time I was cutting into my chosen (non-replaceable) vintage fabric. But I’m happy to report, both the fabric and I made it out unscathed. Then came the fun part – adding a tassel trim border along the front!
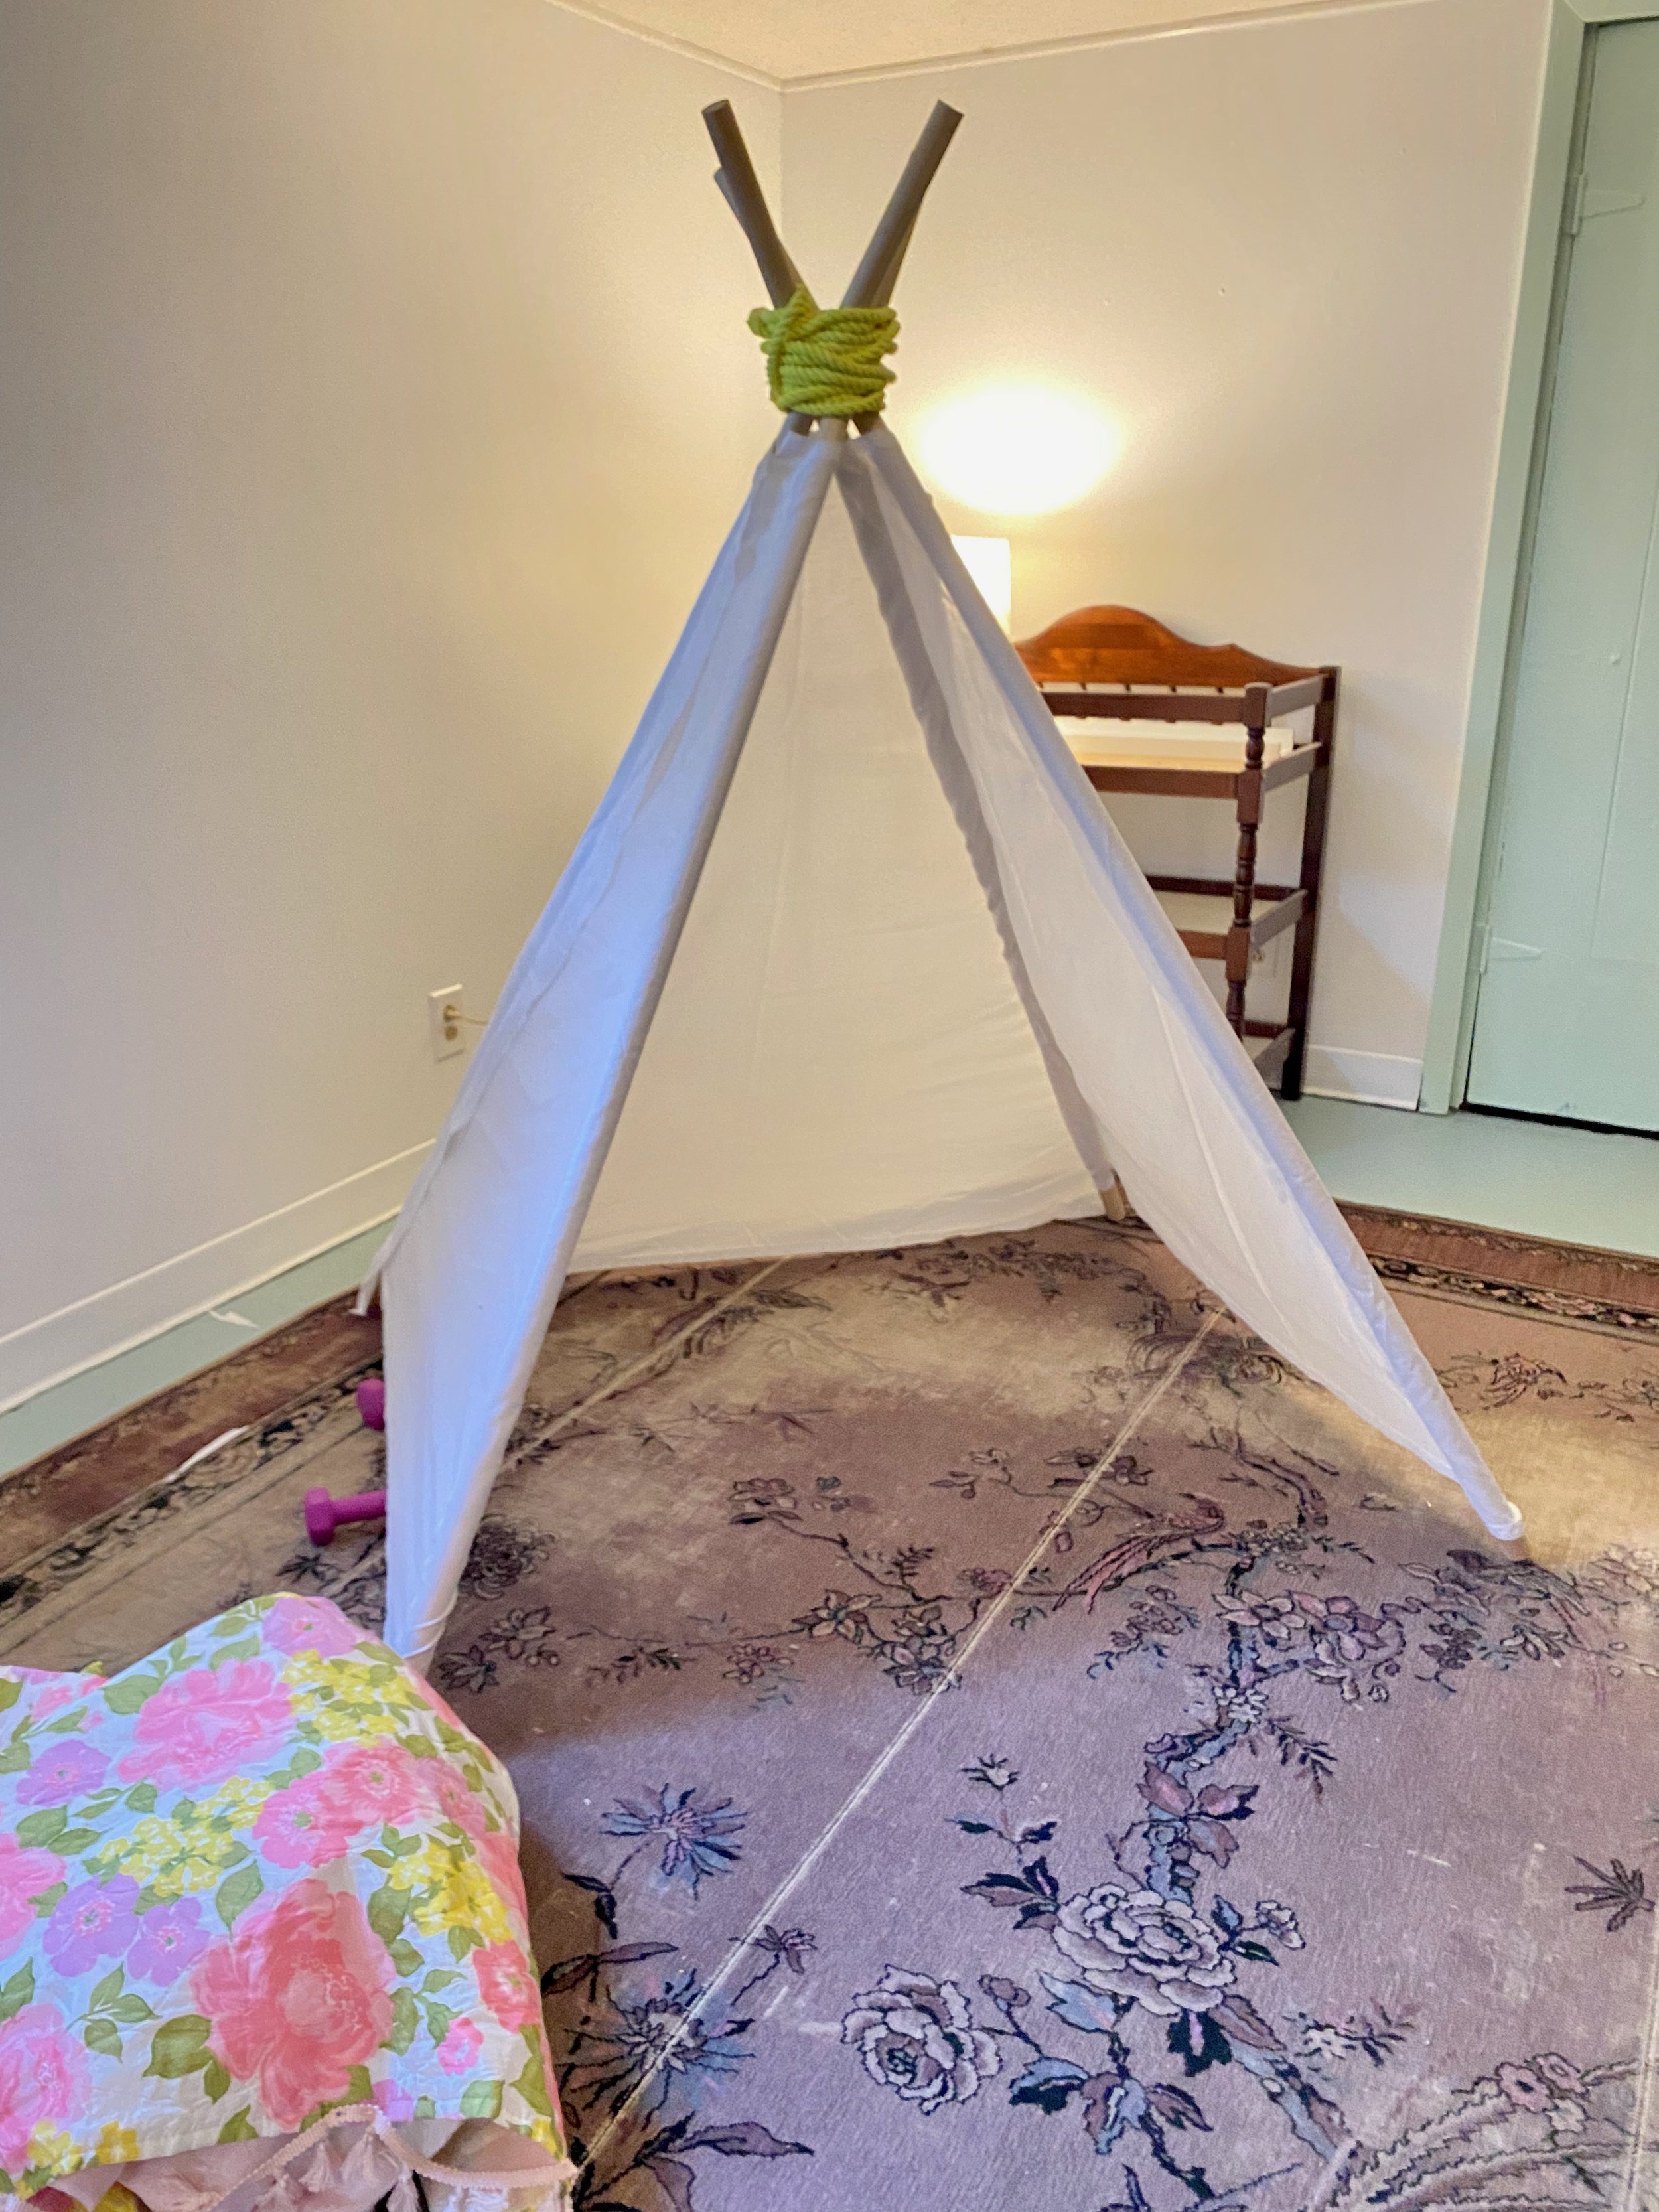
Here she is, draped in place, still unhemmed, but starting to look cuuuute!
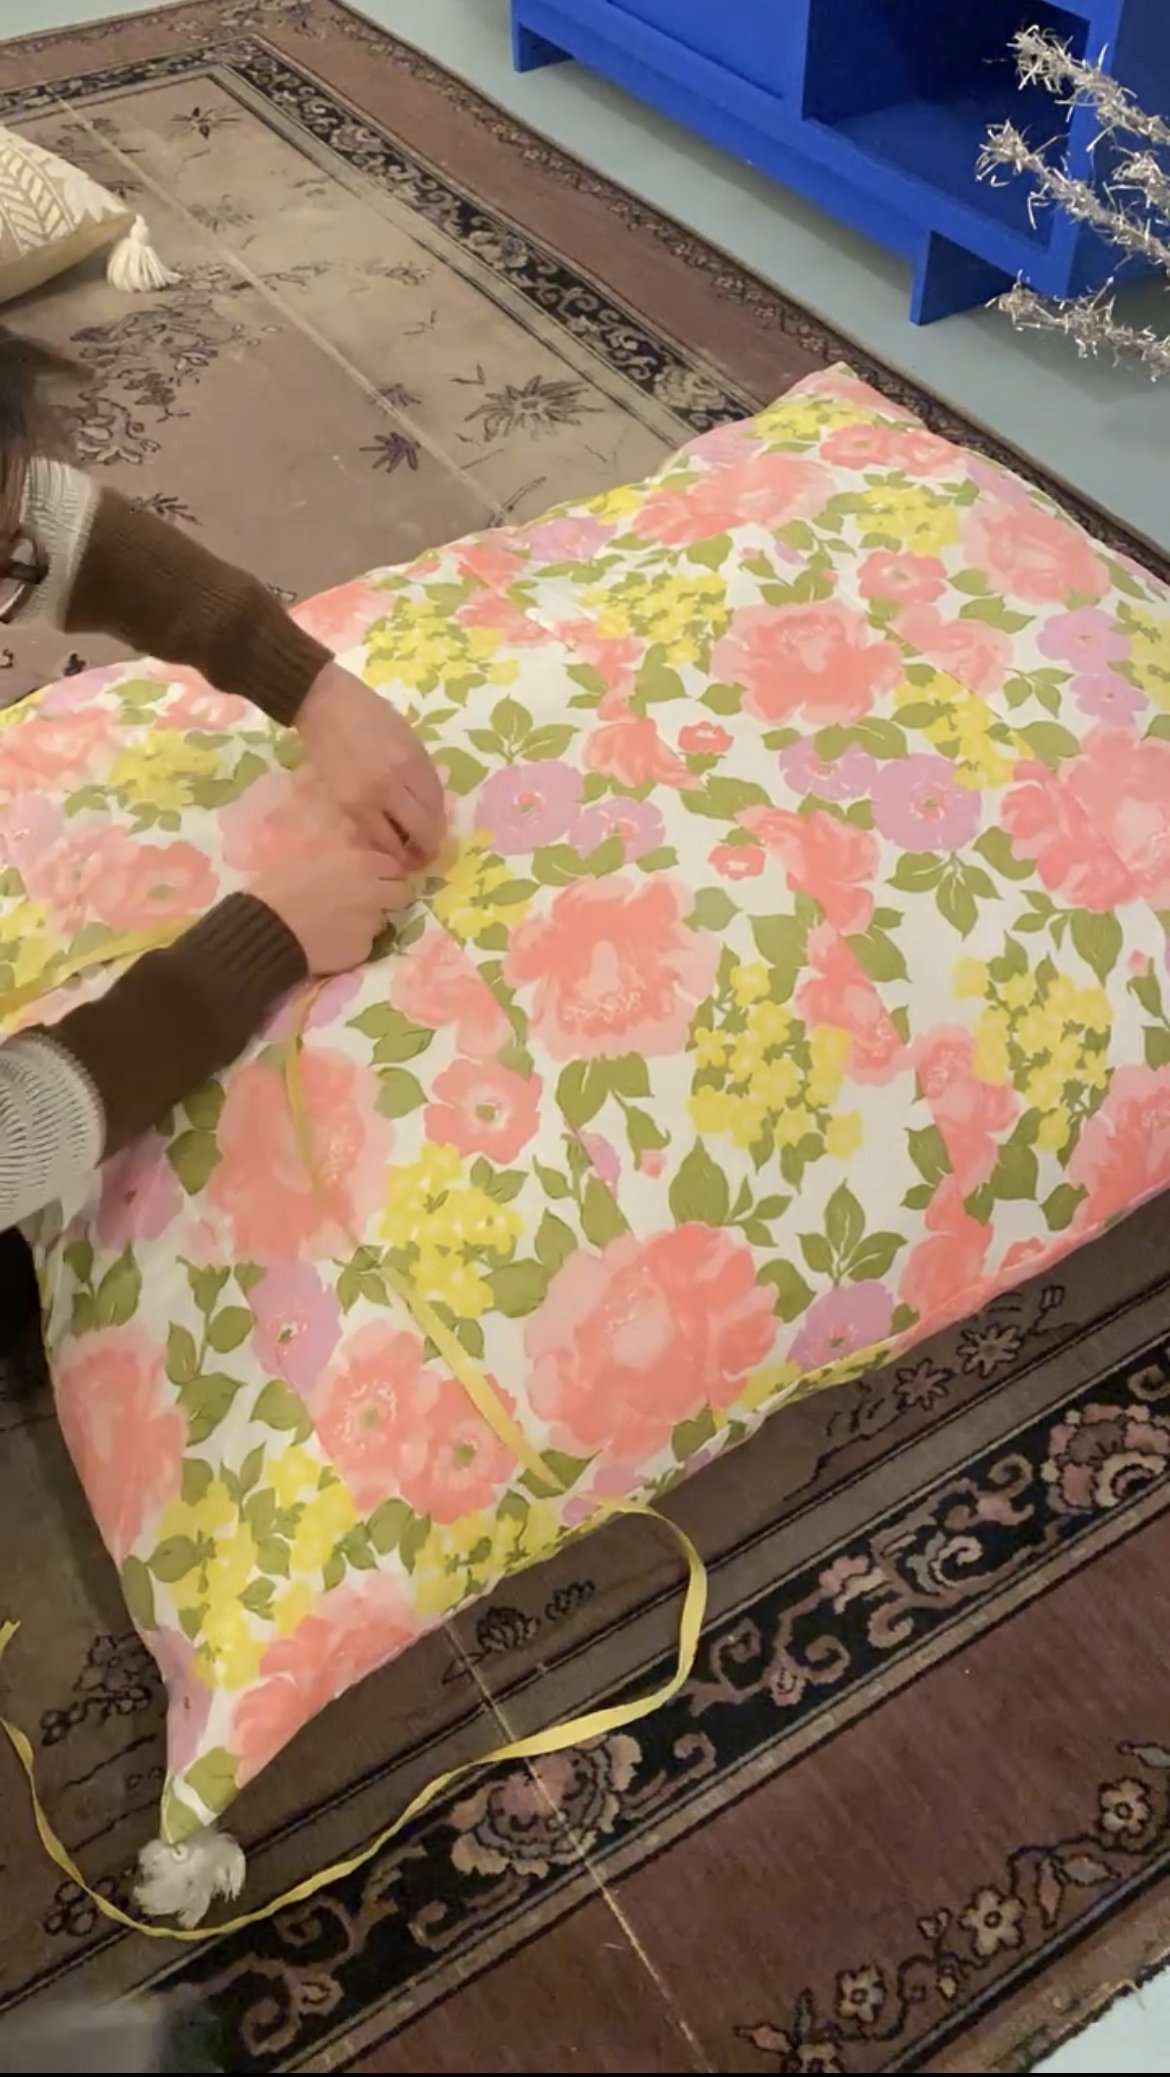
It’s at this point, I thought, why stop here? Let’s make this more complicated/way better by adding a matching floor pillow! I had enough scraps leftover from trimming the floral fabric for the tent. With them pieced together, I was able make a cushion large enough to fit the entire base.

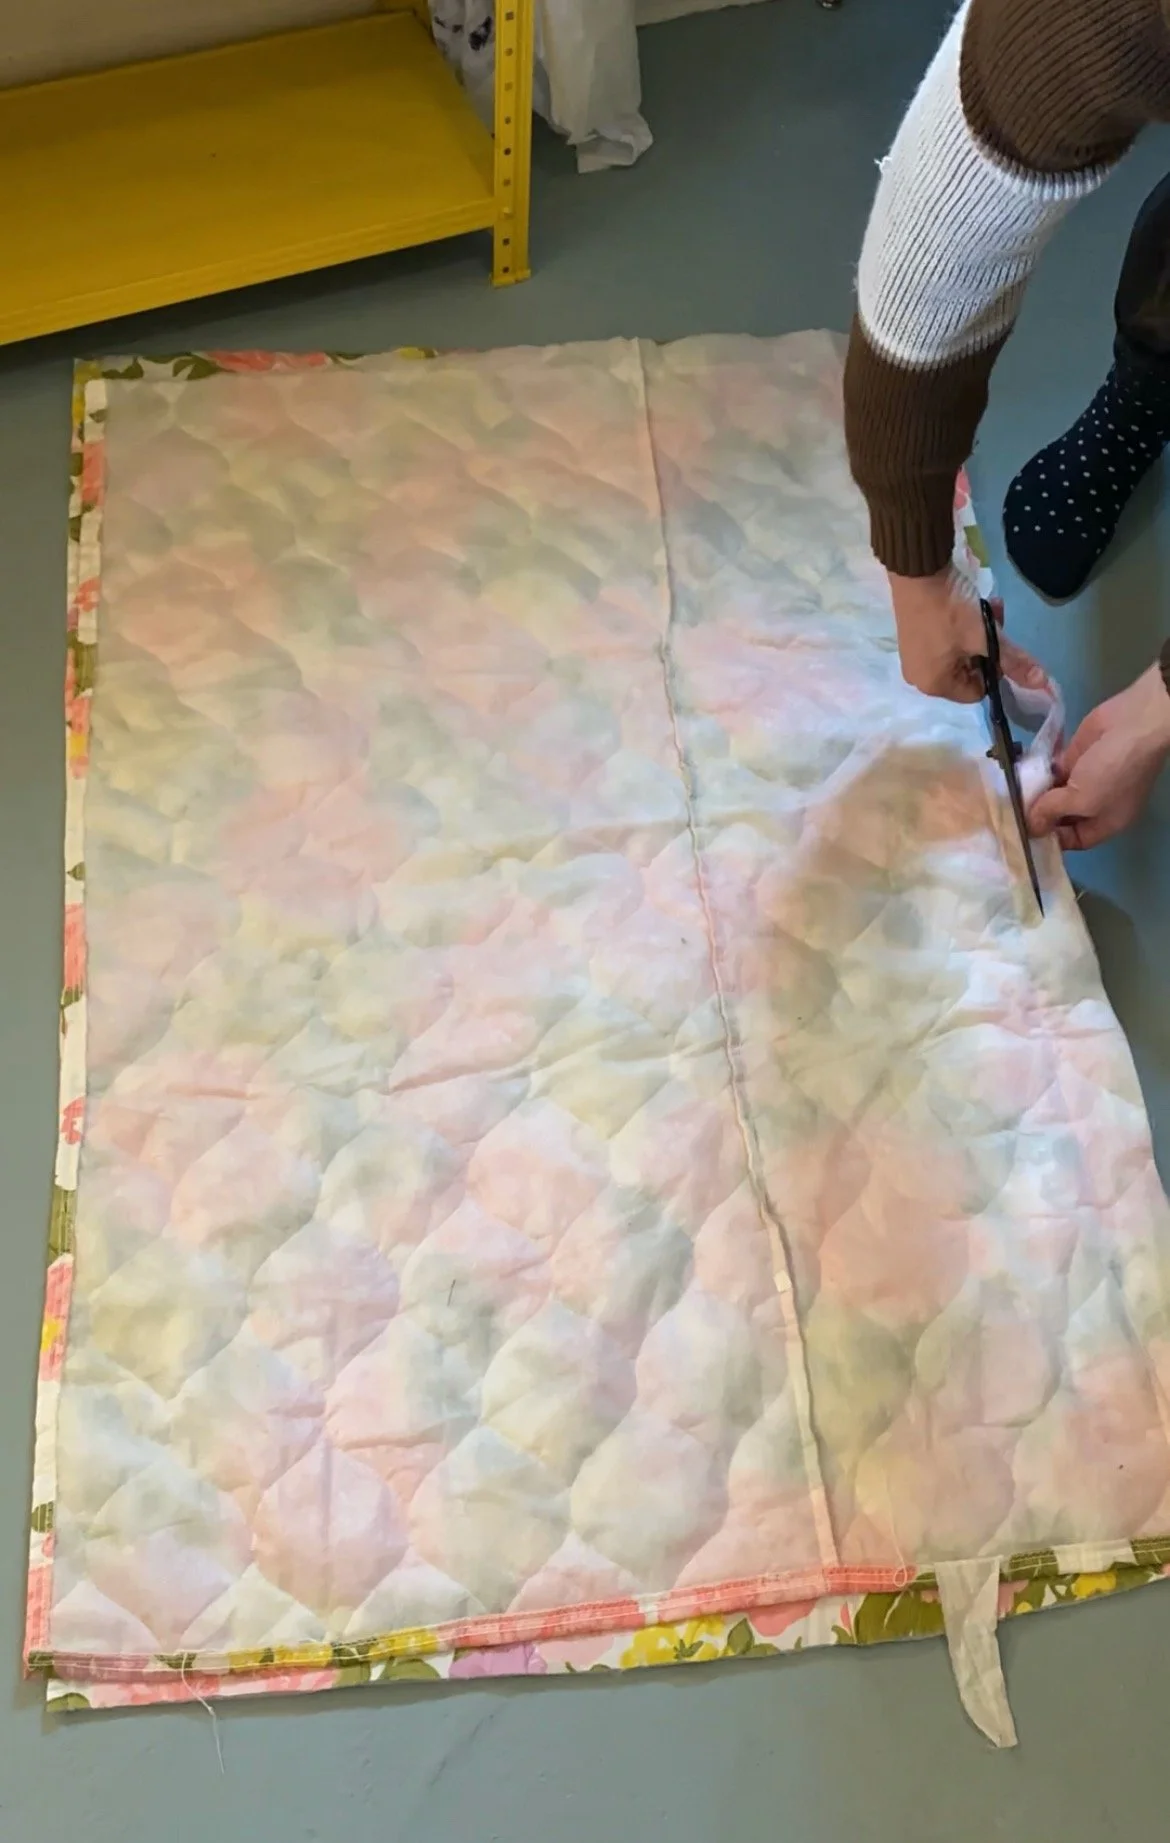
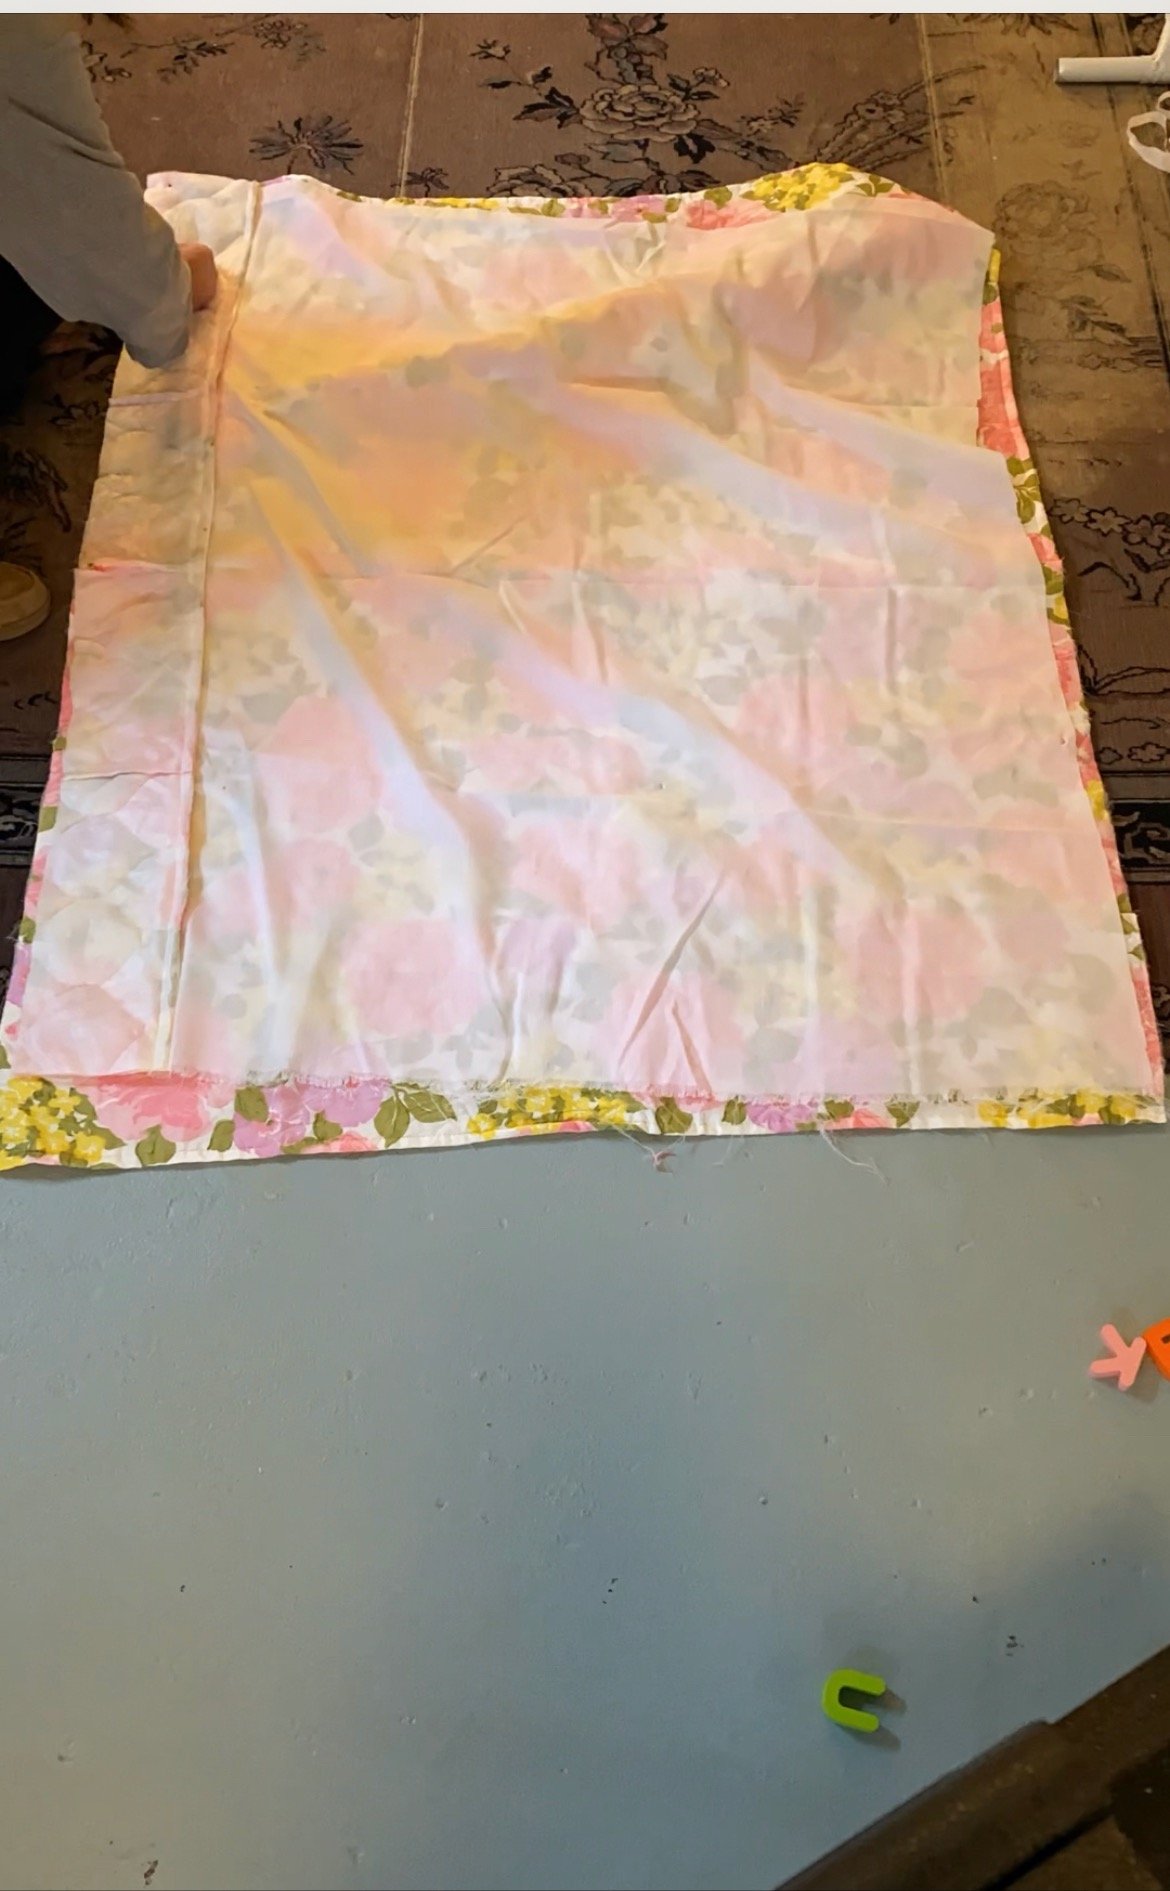
Once I had the size I needed for the top layer, I folded the ends and added two more seams evenly spaced with the middle ones. This way it would look like an intentional design element and not like I’d Frankensteined a bunch of separate pieces together.

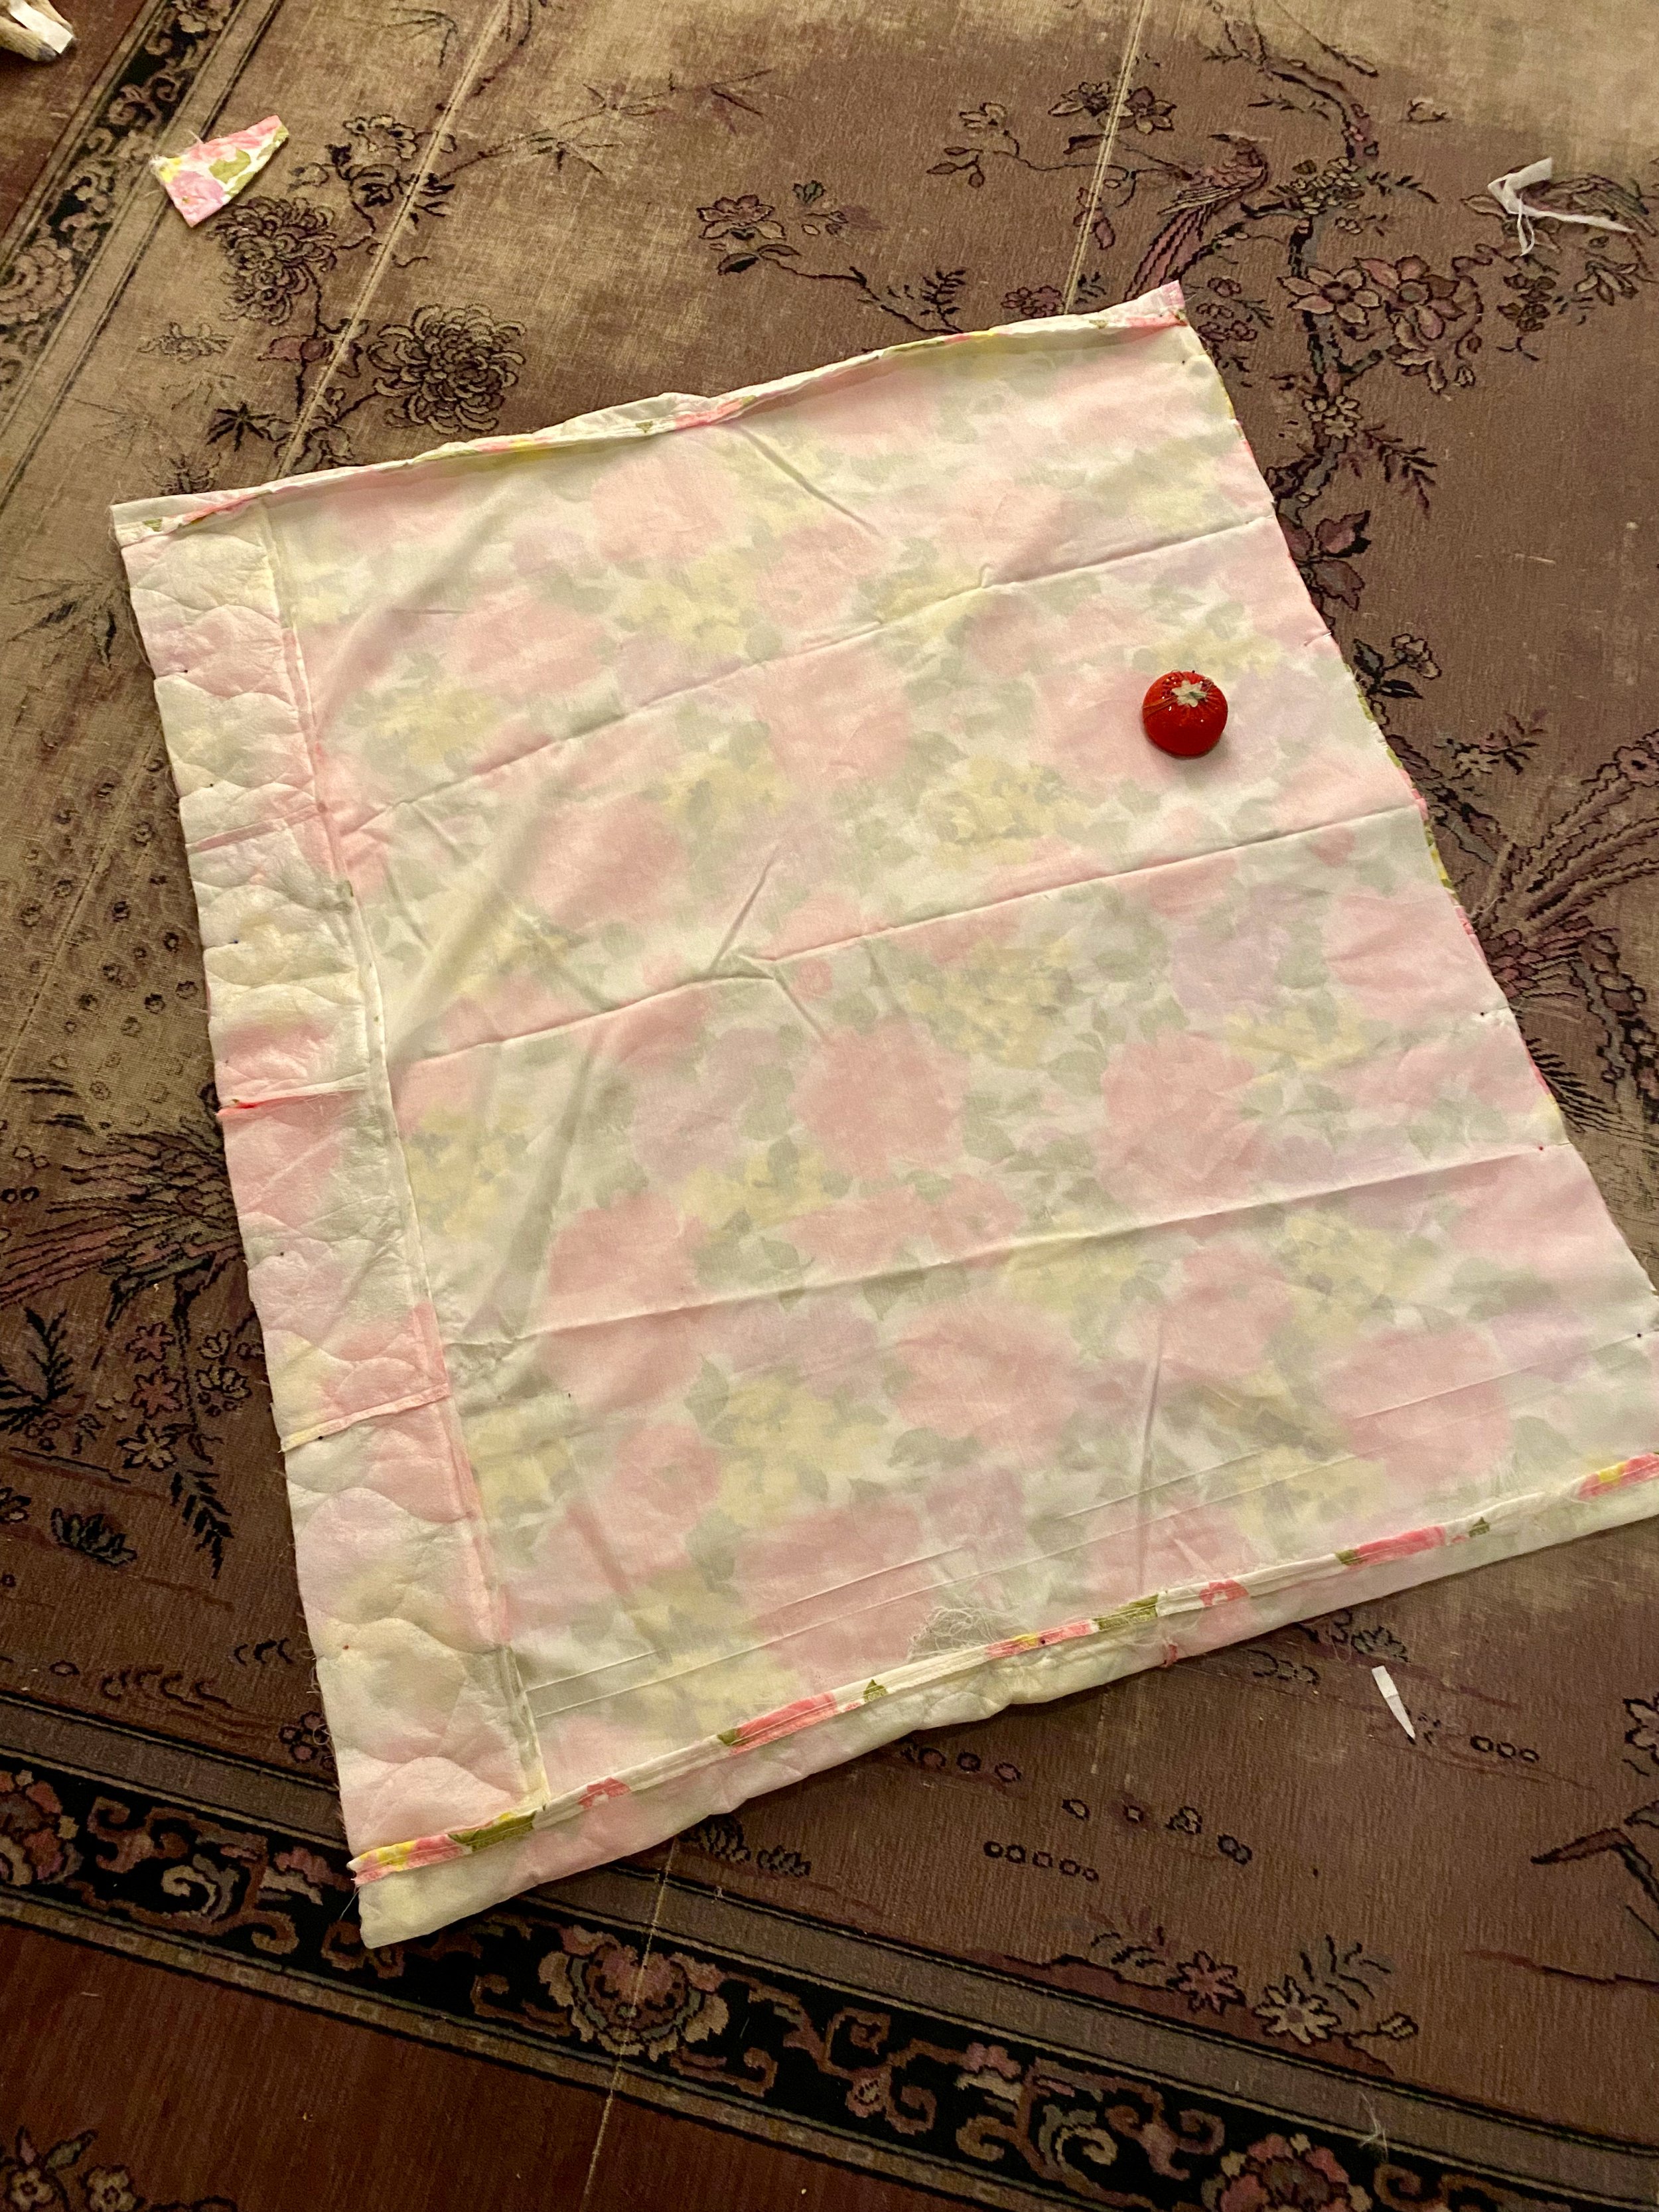
I didn’t have enough of the floral fabric to make the bottom layer. So, to keep the white cotton underside from being visible, I added a 5” thick band of floral fabric to the front. I cut the bottom layer a couple inches narrower than the top, attached some white tassels foraged from an old on hand basket, then sewed the top and bottom pieces with right sides together, leaving a small opening for pillow fiber.

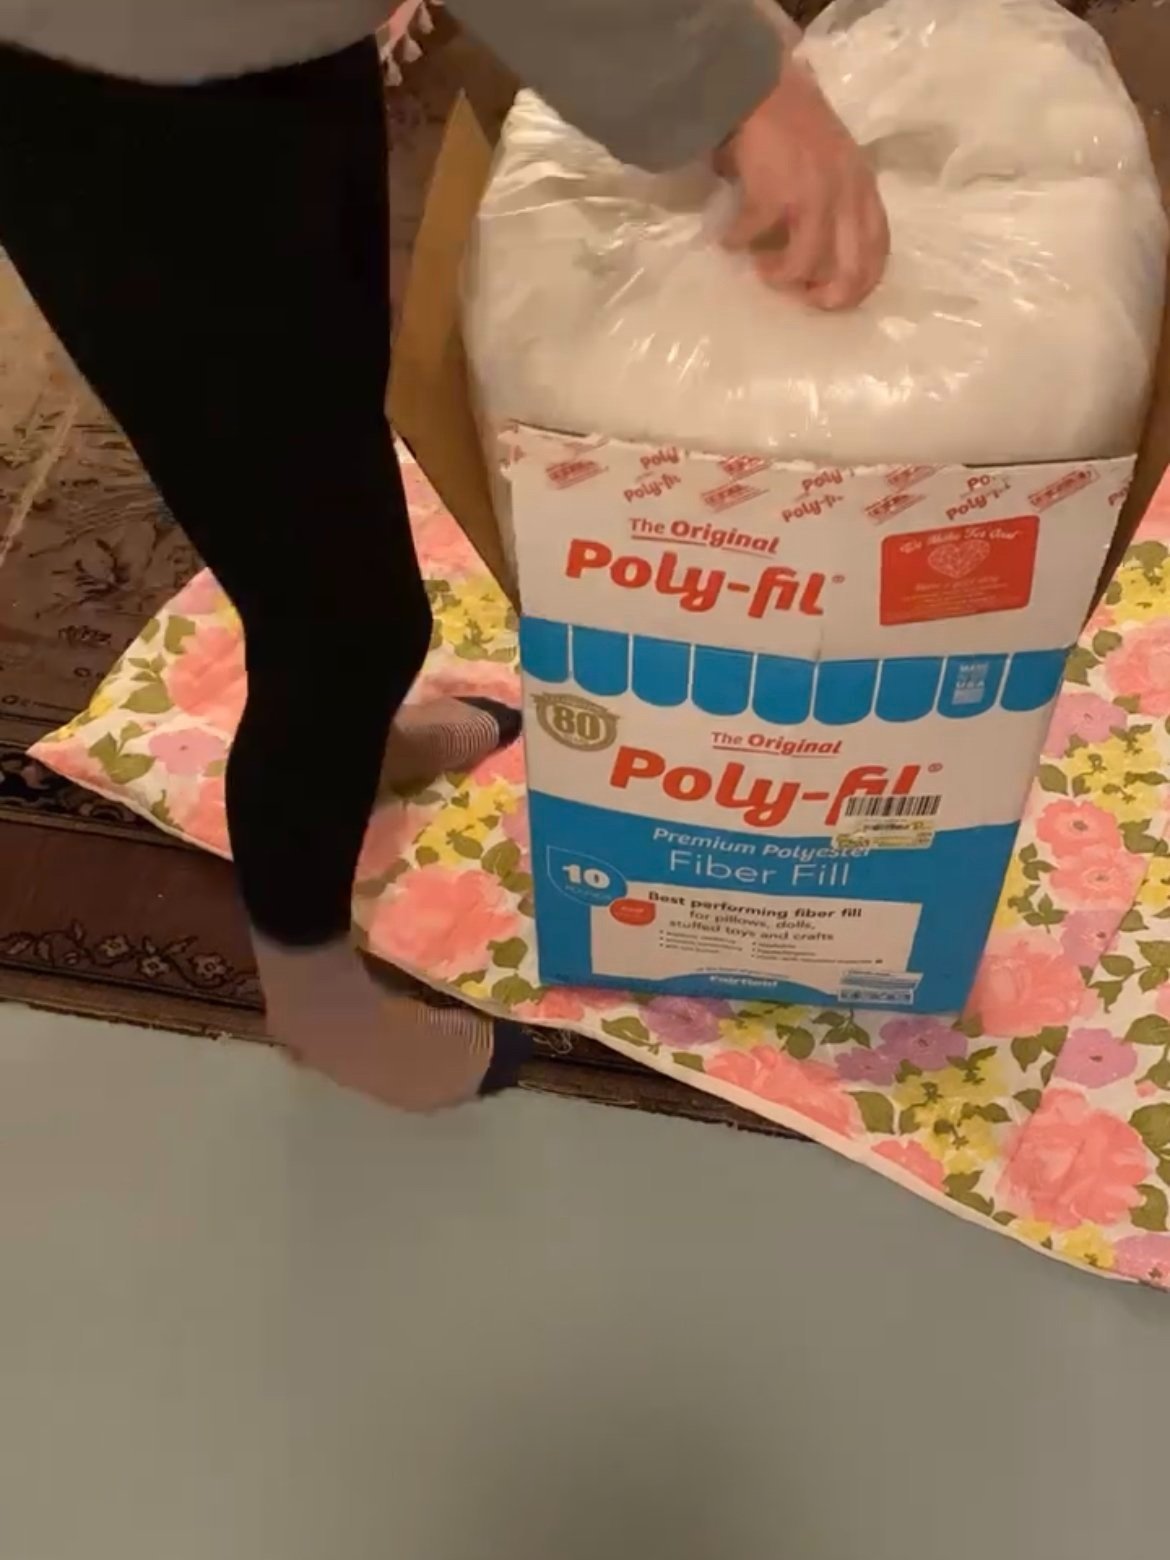
Here is a picture of the comically large box of Poly-fil I accidentally ordered. Perhaps it’s hard to see just how much there is, but trust, 10 lbs of something that essentially weighs the same amount as air is a lot!
Once I had the cushion stuffed, I then began the not-at-all-fun task of using a button making kit to make 15 covered buttons. It’s not hard, but so tedious. And small. All these tiny little parts you’re trying to force together into more tiny little parts without tiny little ears hearing all the choice words being muttered.
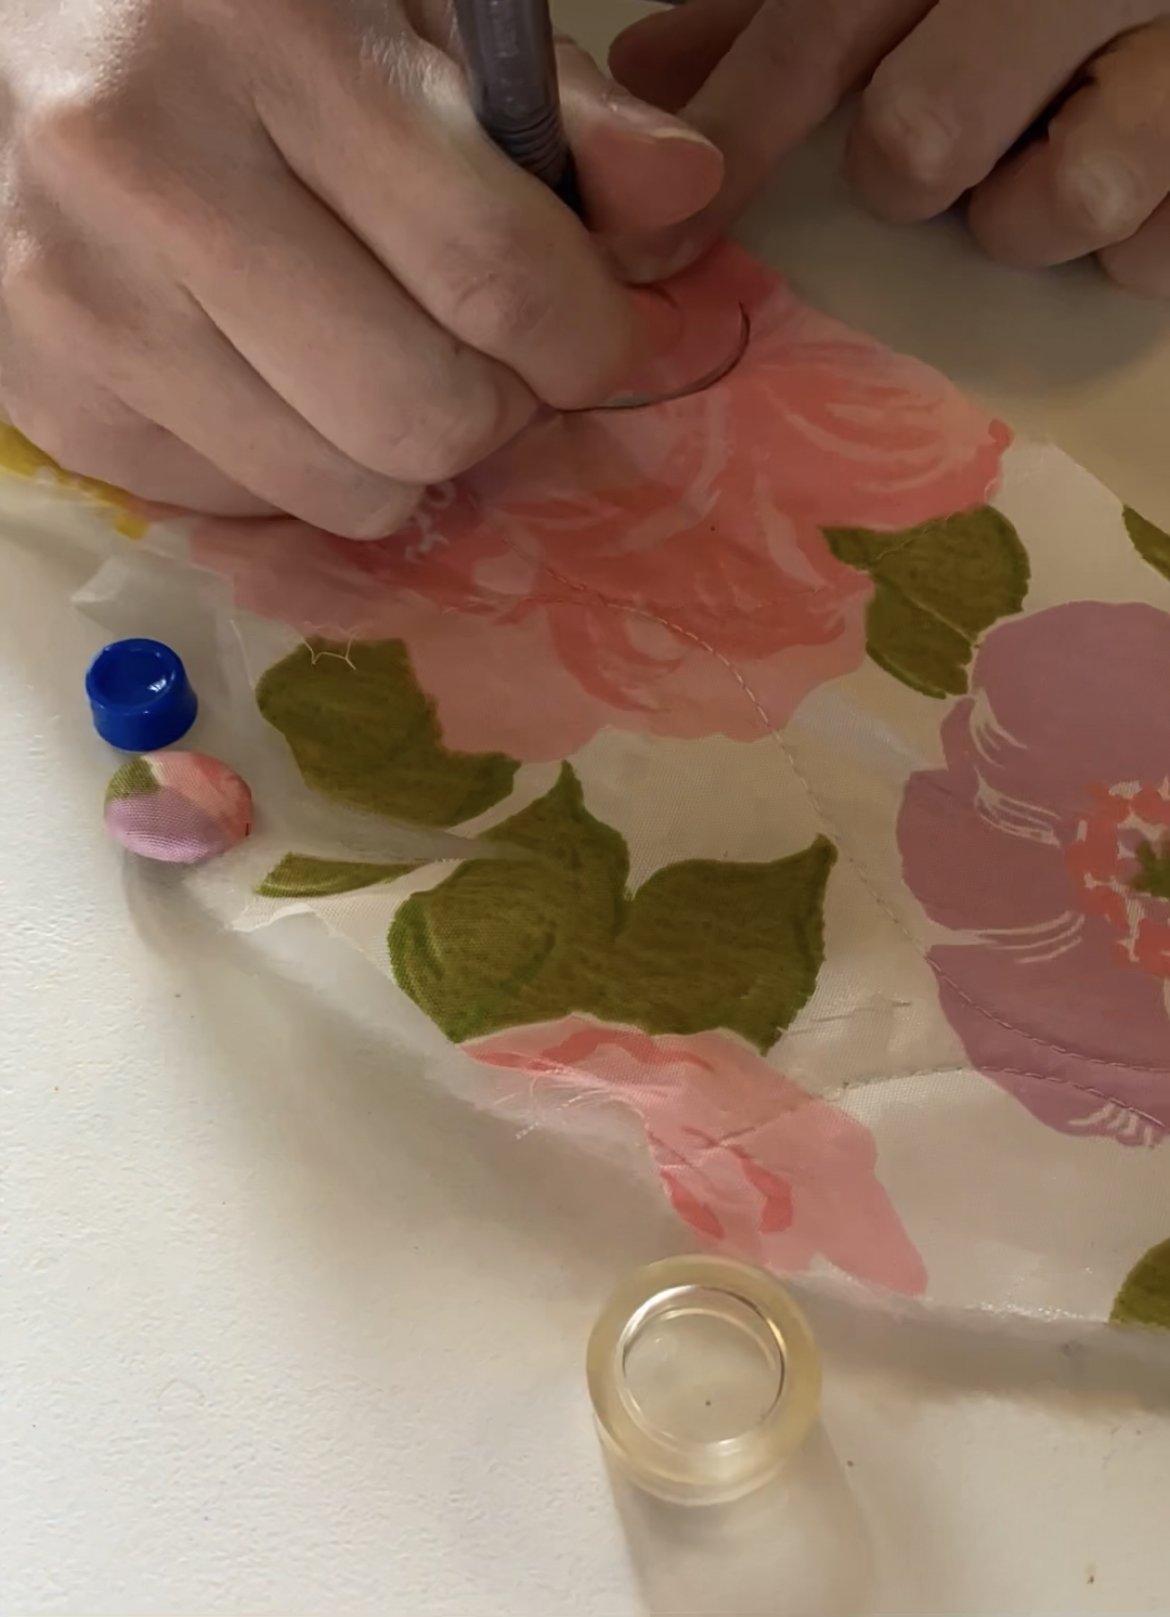
Then came the exciting part - tufting! This, too, was not without its frustration, but after some tears, and a couple of YouTube videos, I got the hang of it.

And finally it was done!


The girls have been loving it, which is all I could ask for. And it’s actually quite comfortable so I too find myself perched in there frequently. So far it’s been the perfect spot to receive a doctor’s checkup, attend a tea party, and read and reread the current book du jour.
