That Time I Started a Basement Renovation on a Whim: Part III – We Built a Wall and Now It’s Officially a Playroom!

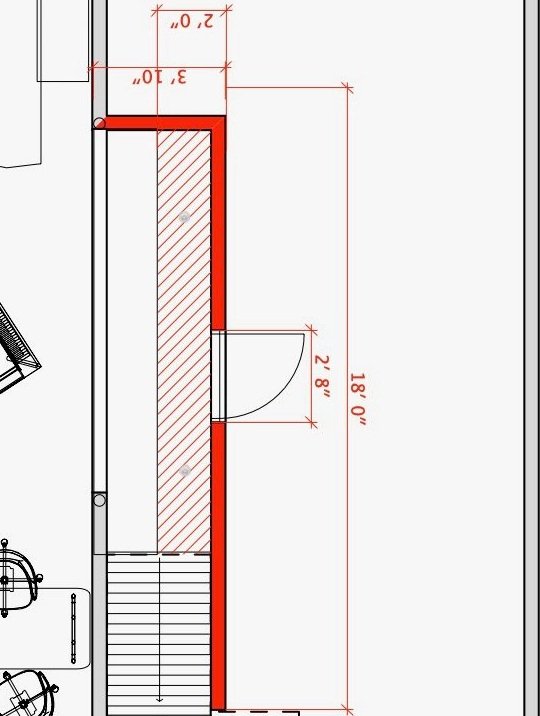
I knew from the moment I first walked our house I wanted a wall to keep the unsightly utility side of our basement hidden. A seemingly common feature in early 20th century bungalows, our back door is three steps down from the main living level, and then another short set of stairs lead into the basement. There’s no door closing it off, so you immediately have a clear view into the cobweb-riddled concrete cave below.

Thankfully, the previous owners had framed and drywalled the walls and ceiling on one side of the basement. Unfortunately the stairs remained on the other, so to get to this semi-finished oasis you still had to wade the unwelcoming dimly-lit depths. Building a wall enclosing the staircase with the finished side and adding a door for access to the utilities was my solution.
I’m not shy undertaking some DIY, but building a wall felt beyond my handy/scrappy abilities. We enlisted the services of a handyman/contractor for the job and it was the best decision! What I’d spent years dreaming about and would have taken me months was finished in just a few short days.


By the end of the first day they had everything framed out, and by day two, drywall and electrical were up.


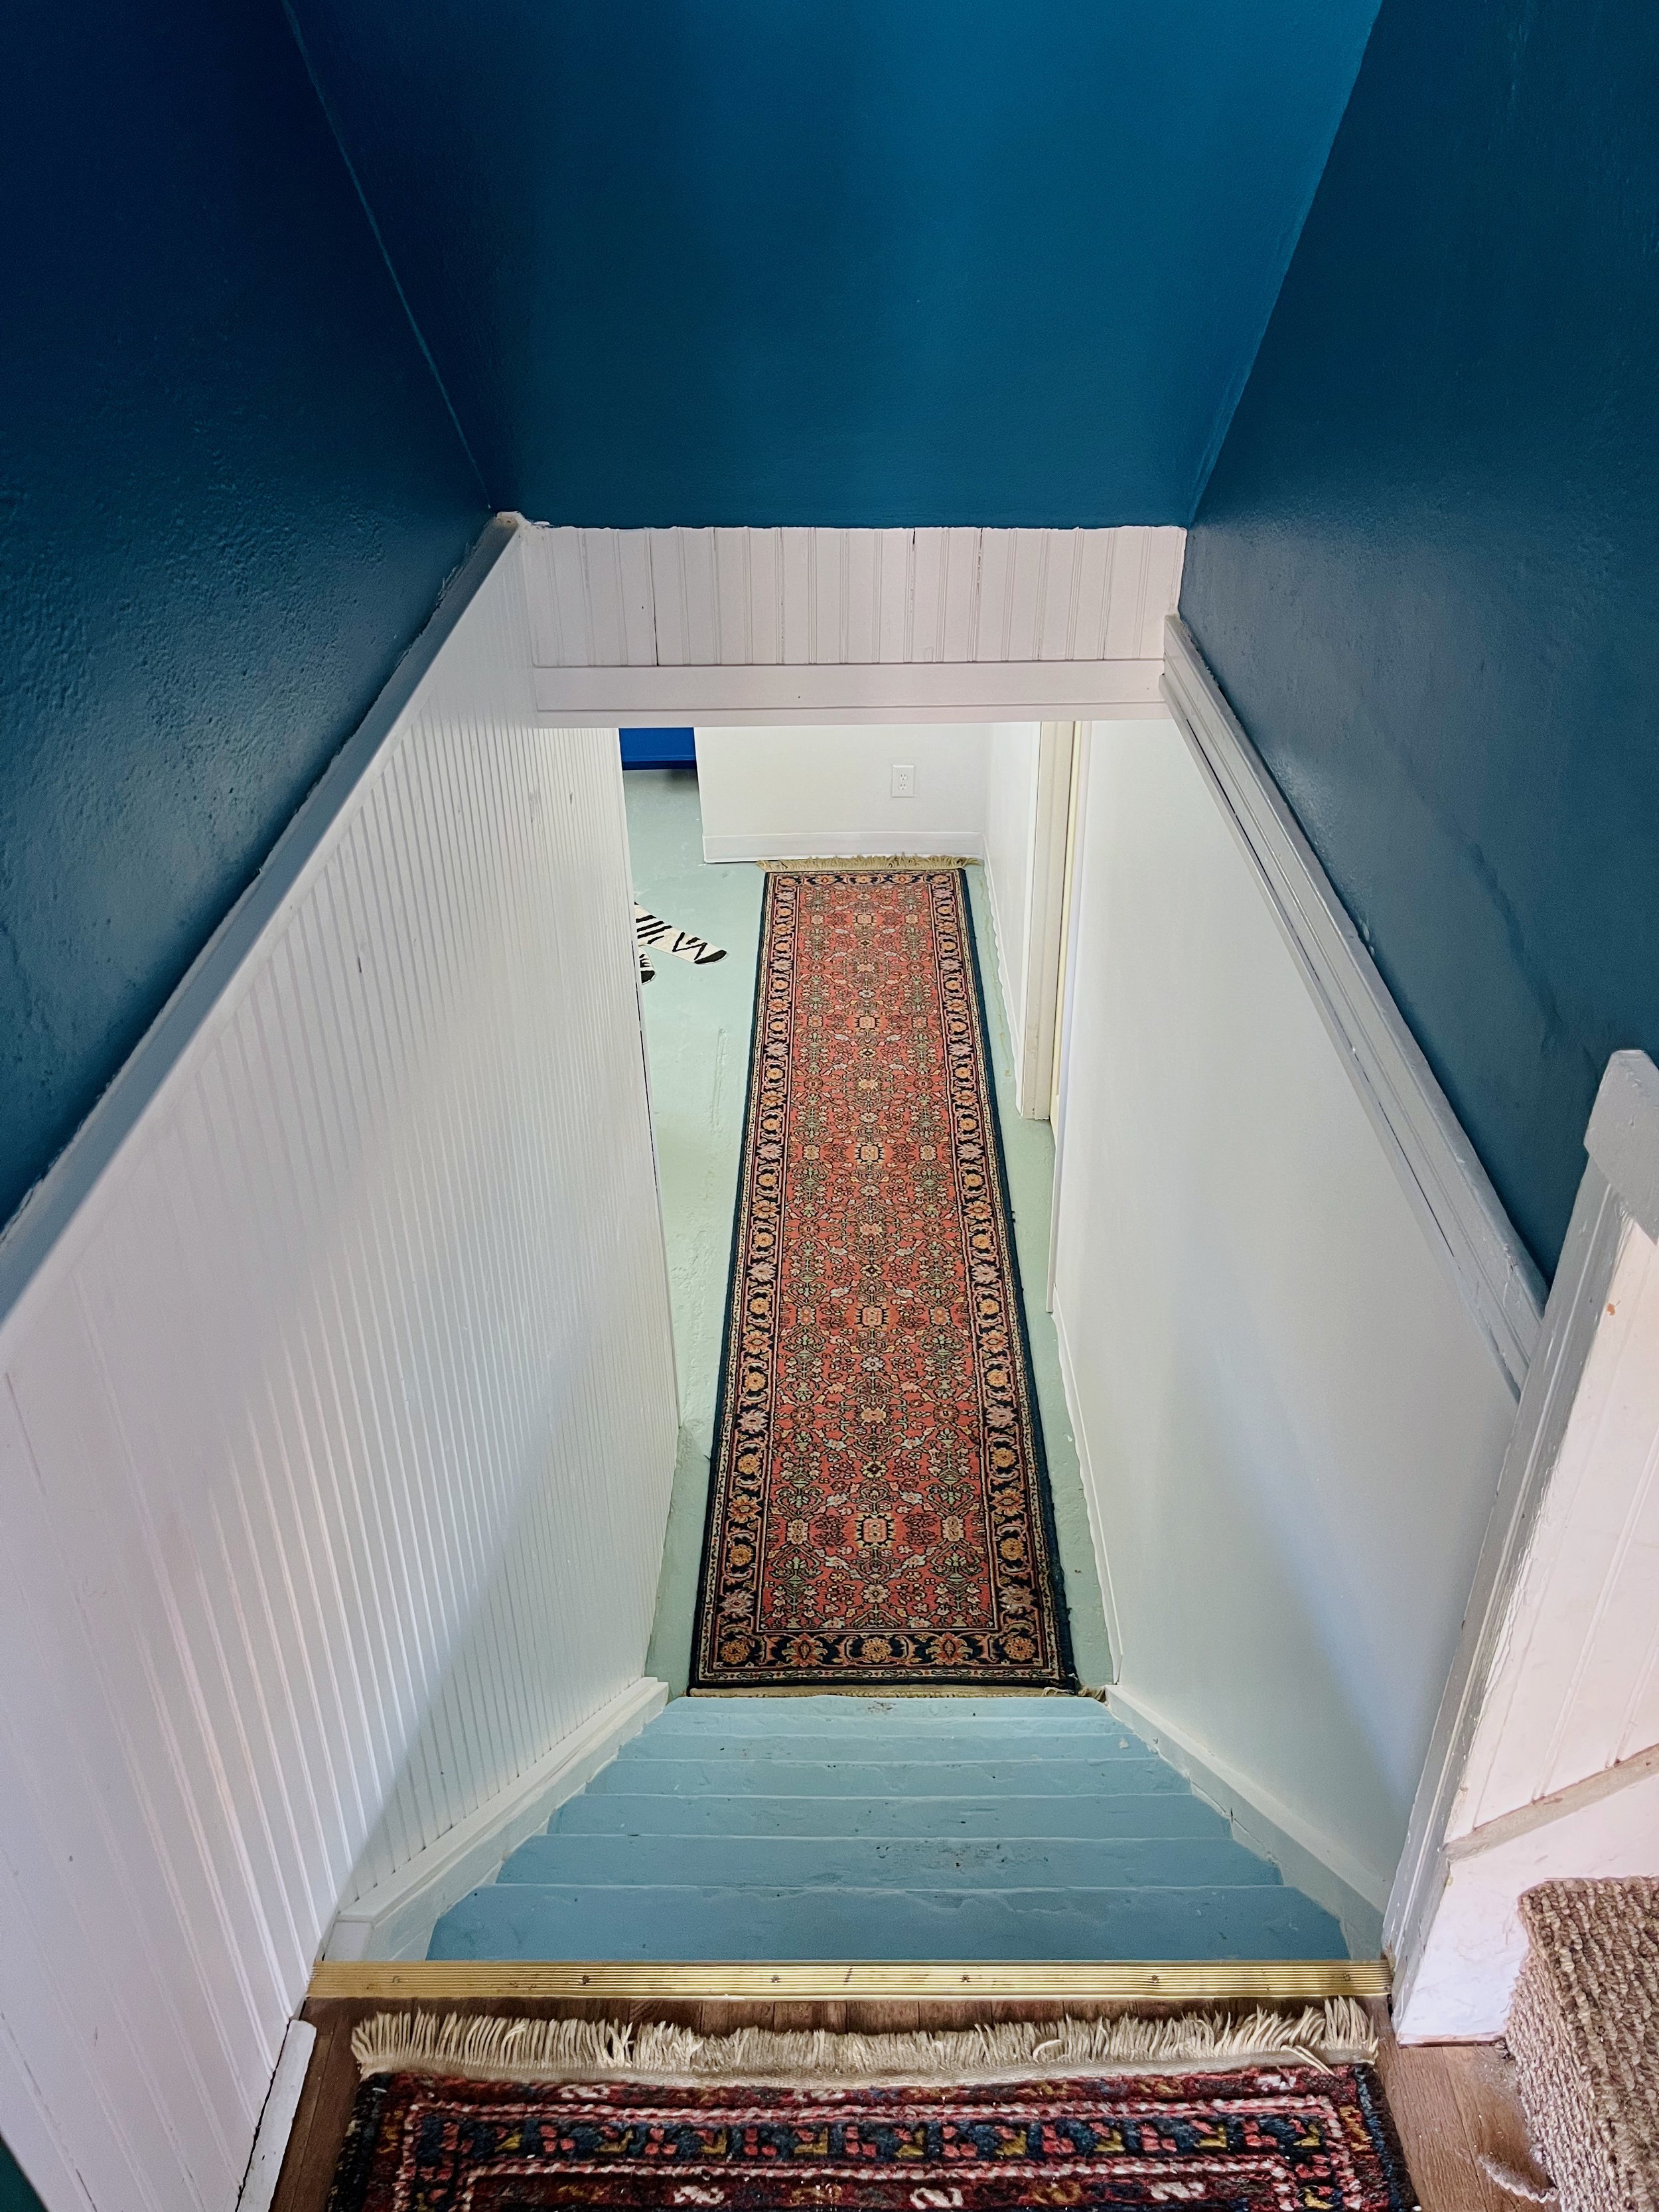
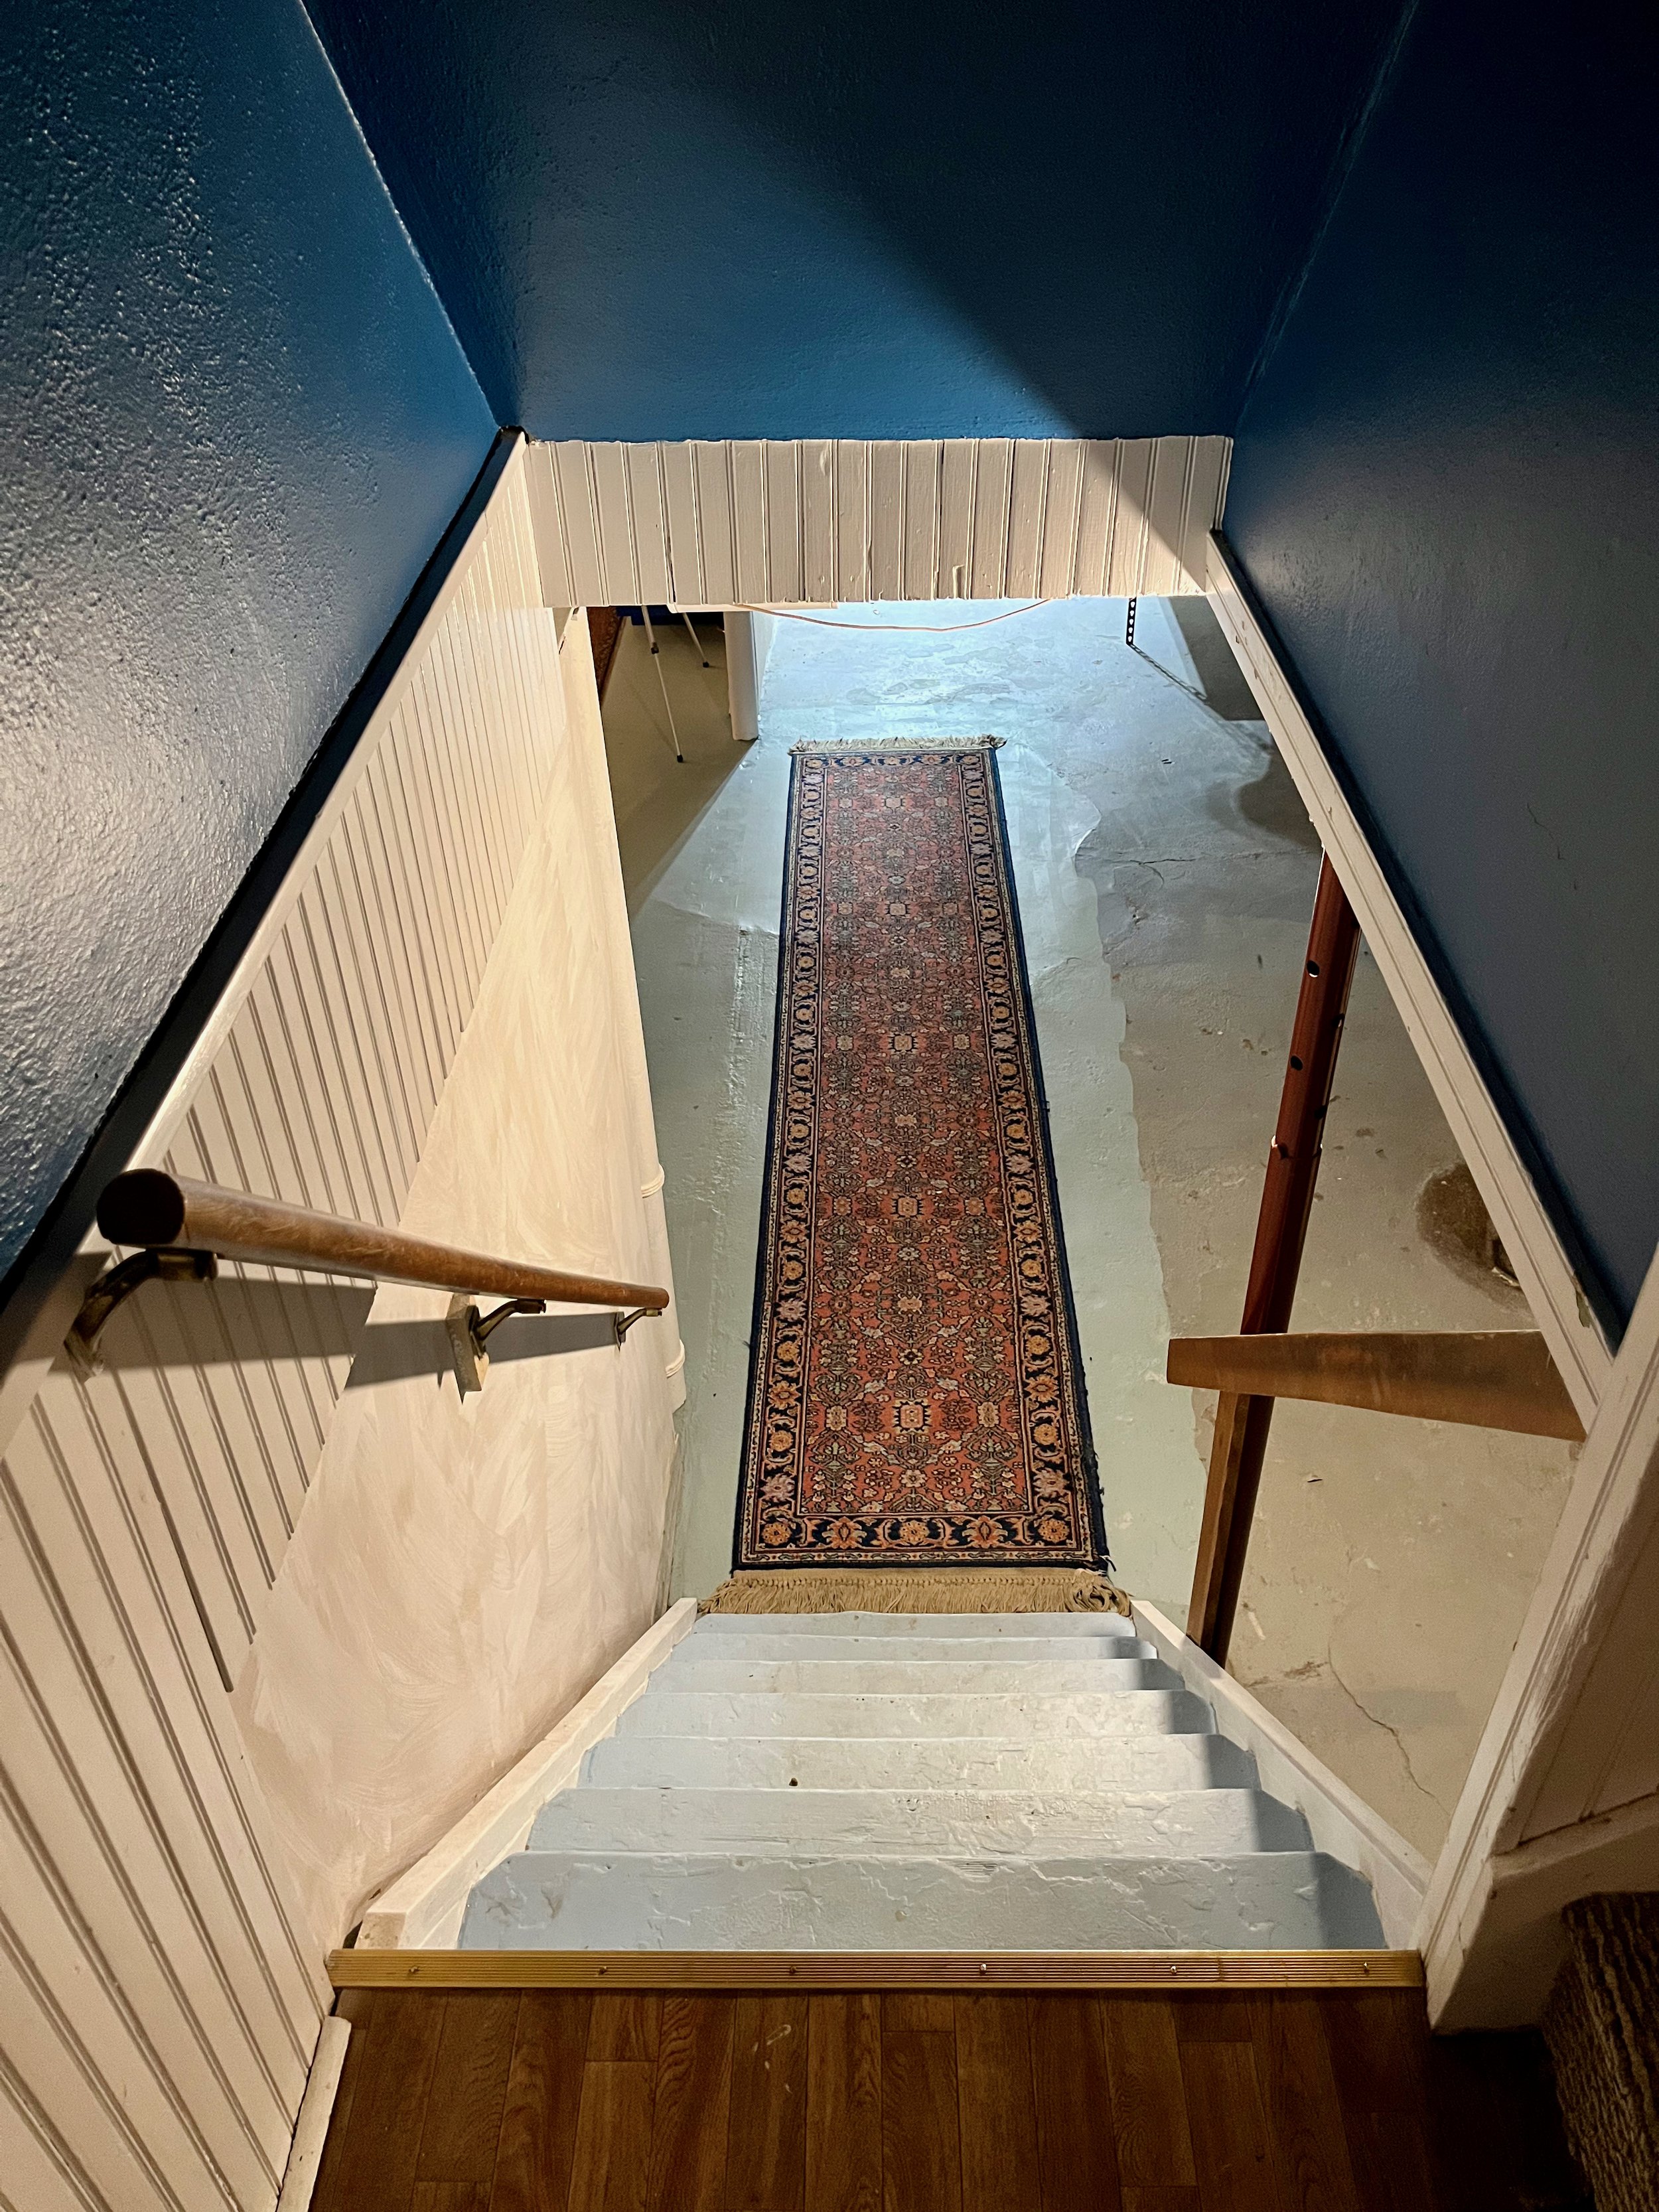
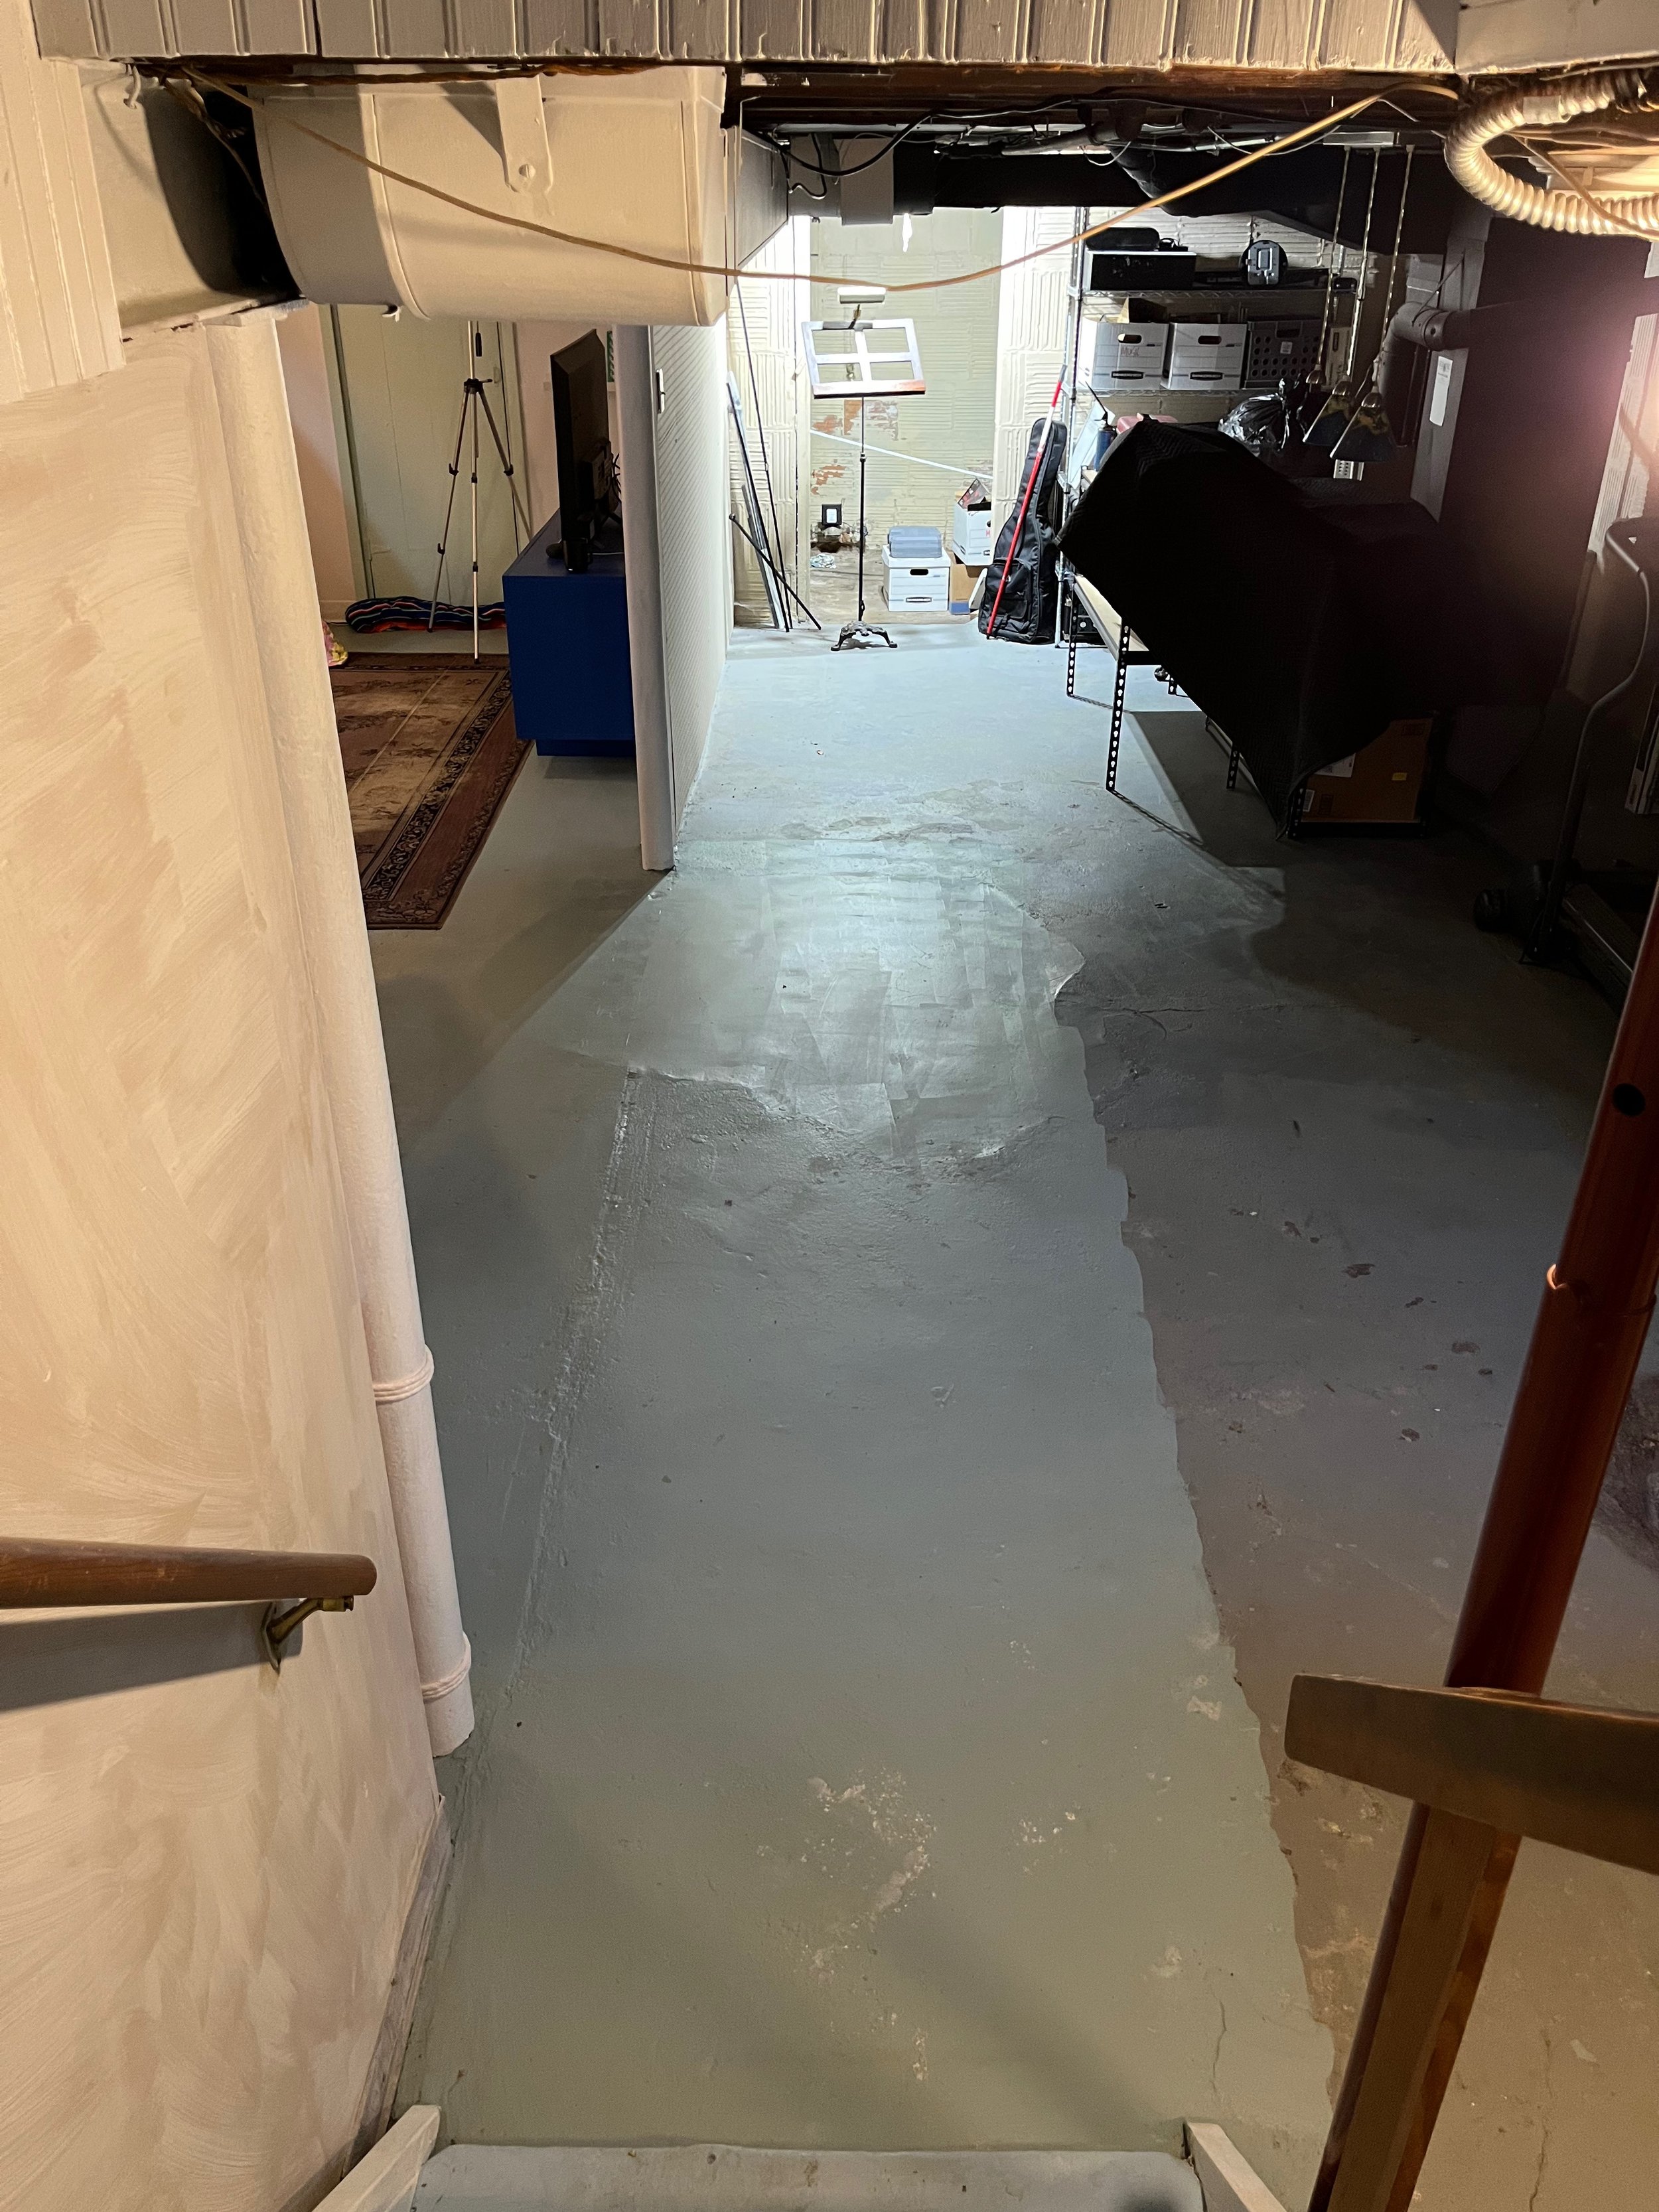
Next, bead board was installed on the existing stairwell wall.

There was already bead board in the tiny vestibule by the back door, but it laughably only continued enough to cover the portion of the I-beam that was visible on the stairs.
I’d originally planned to do this job myself because it seemed manageable enough (ok, but really, to save money). Once I saw how fast our handyman could put it up, I knew future me would be soooo much happier if I just stopped being cheap and let the professionals handle it.


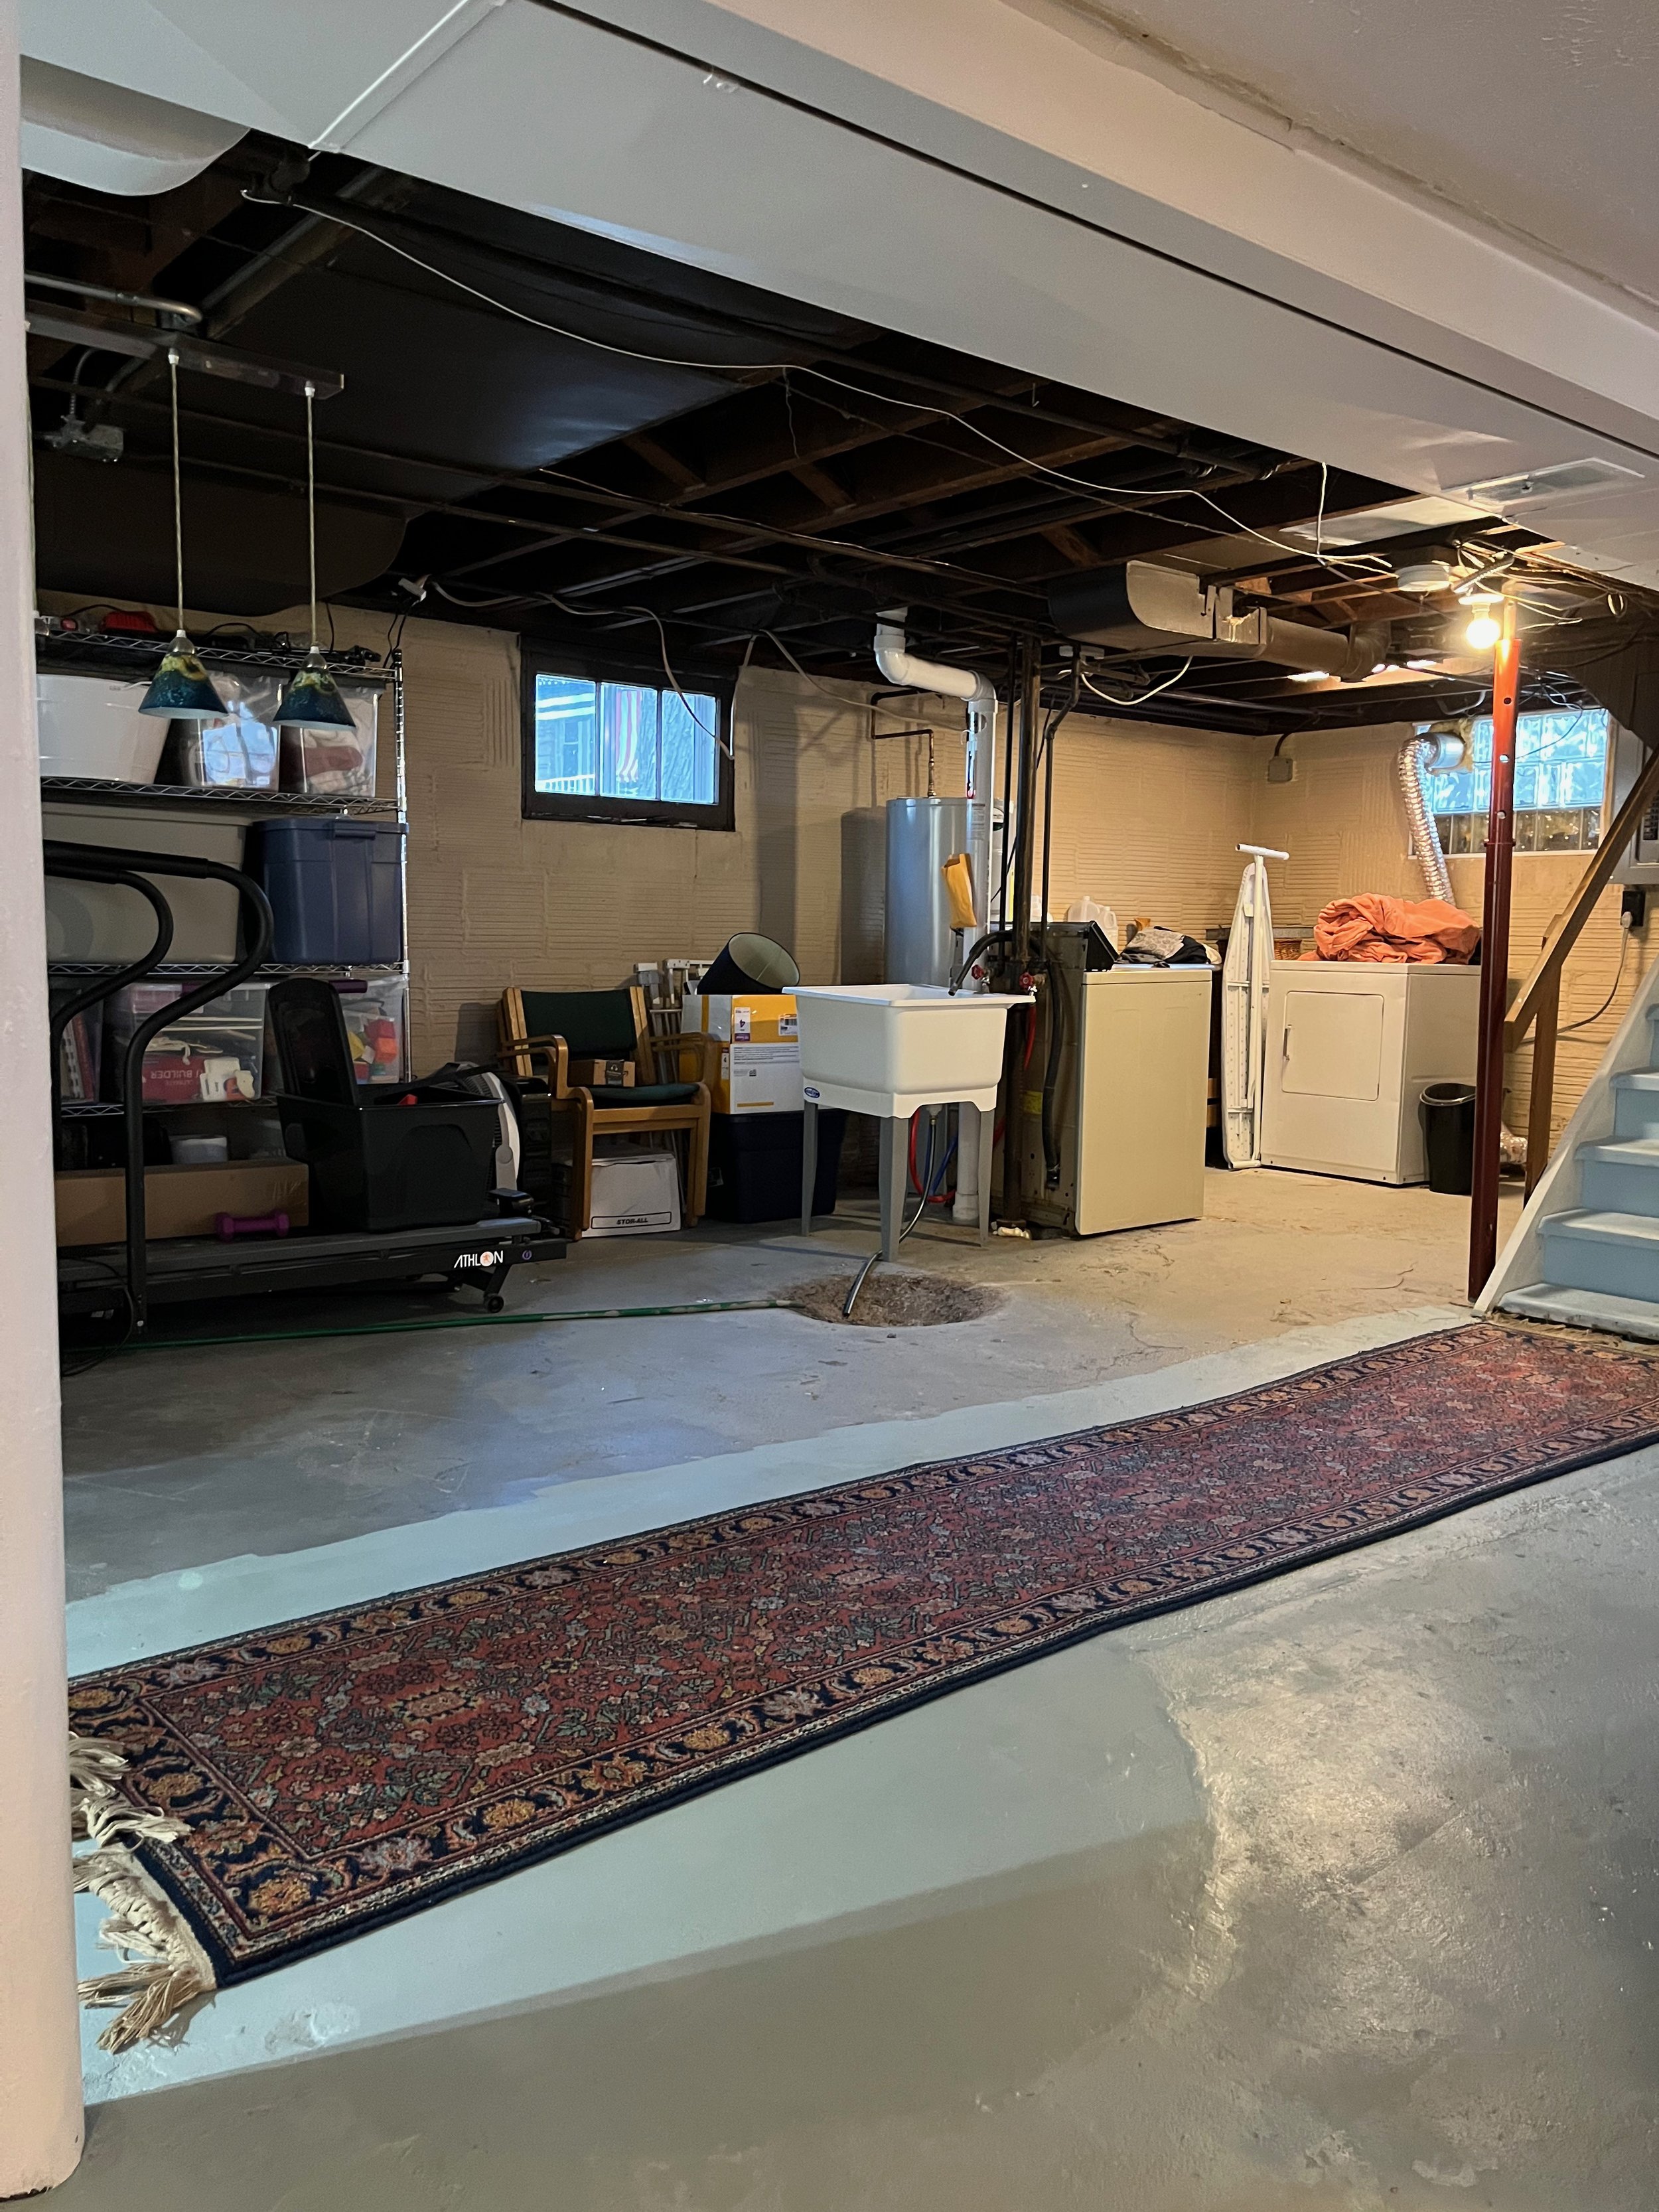
We left the duct exposed overhead because if we were to wrap it with drywall the ceiling would have been way too low. As it is now, both Luke and I can walk under it, but it couldn’t be even a smidge shorter for fear of Luke unceremoniously smacking his head whenever entering the basement.


And see that space below between the support post and drywall? That was the other item on my wishlist. Xanthe was constantly shimmying her tiny toddler frame in and through that cranny; it seemed inevitable her adorably oversized noggin would get jammed. I’m so happy with how they were able to frame around the posts and wrap them with the drywall. It’s a much cleaner look and just makes sense.


It feels really good to have this major part of the renovation complete – and very satisfying to get the thrill of the transformation without putting in the hours myself!
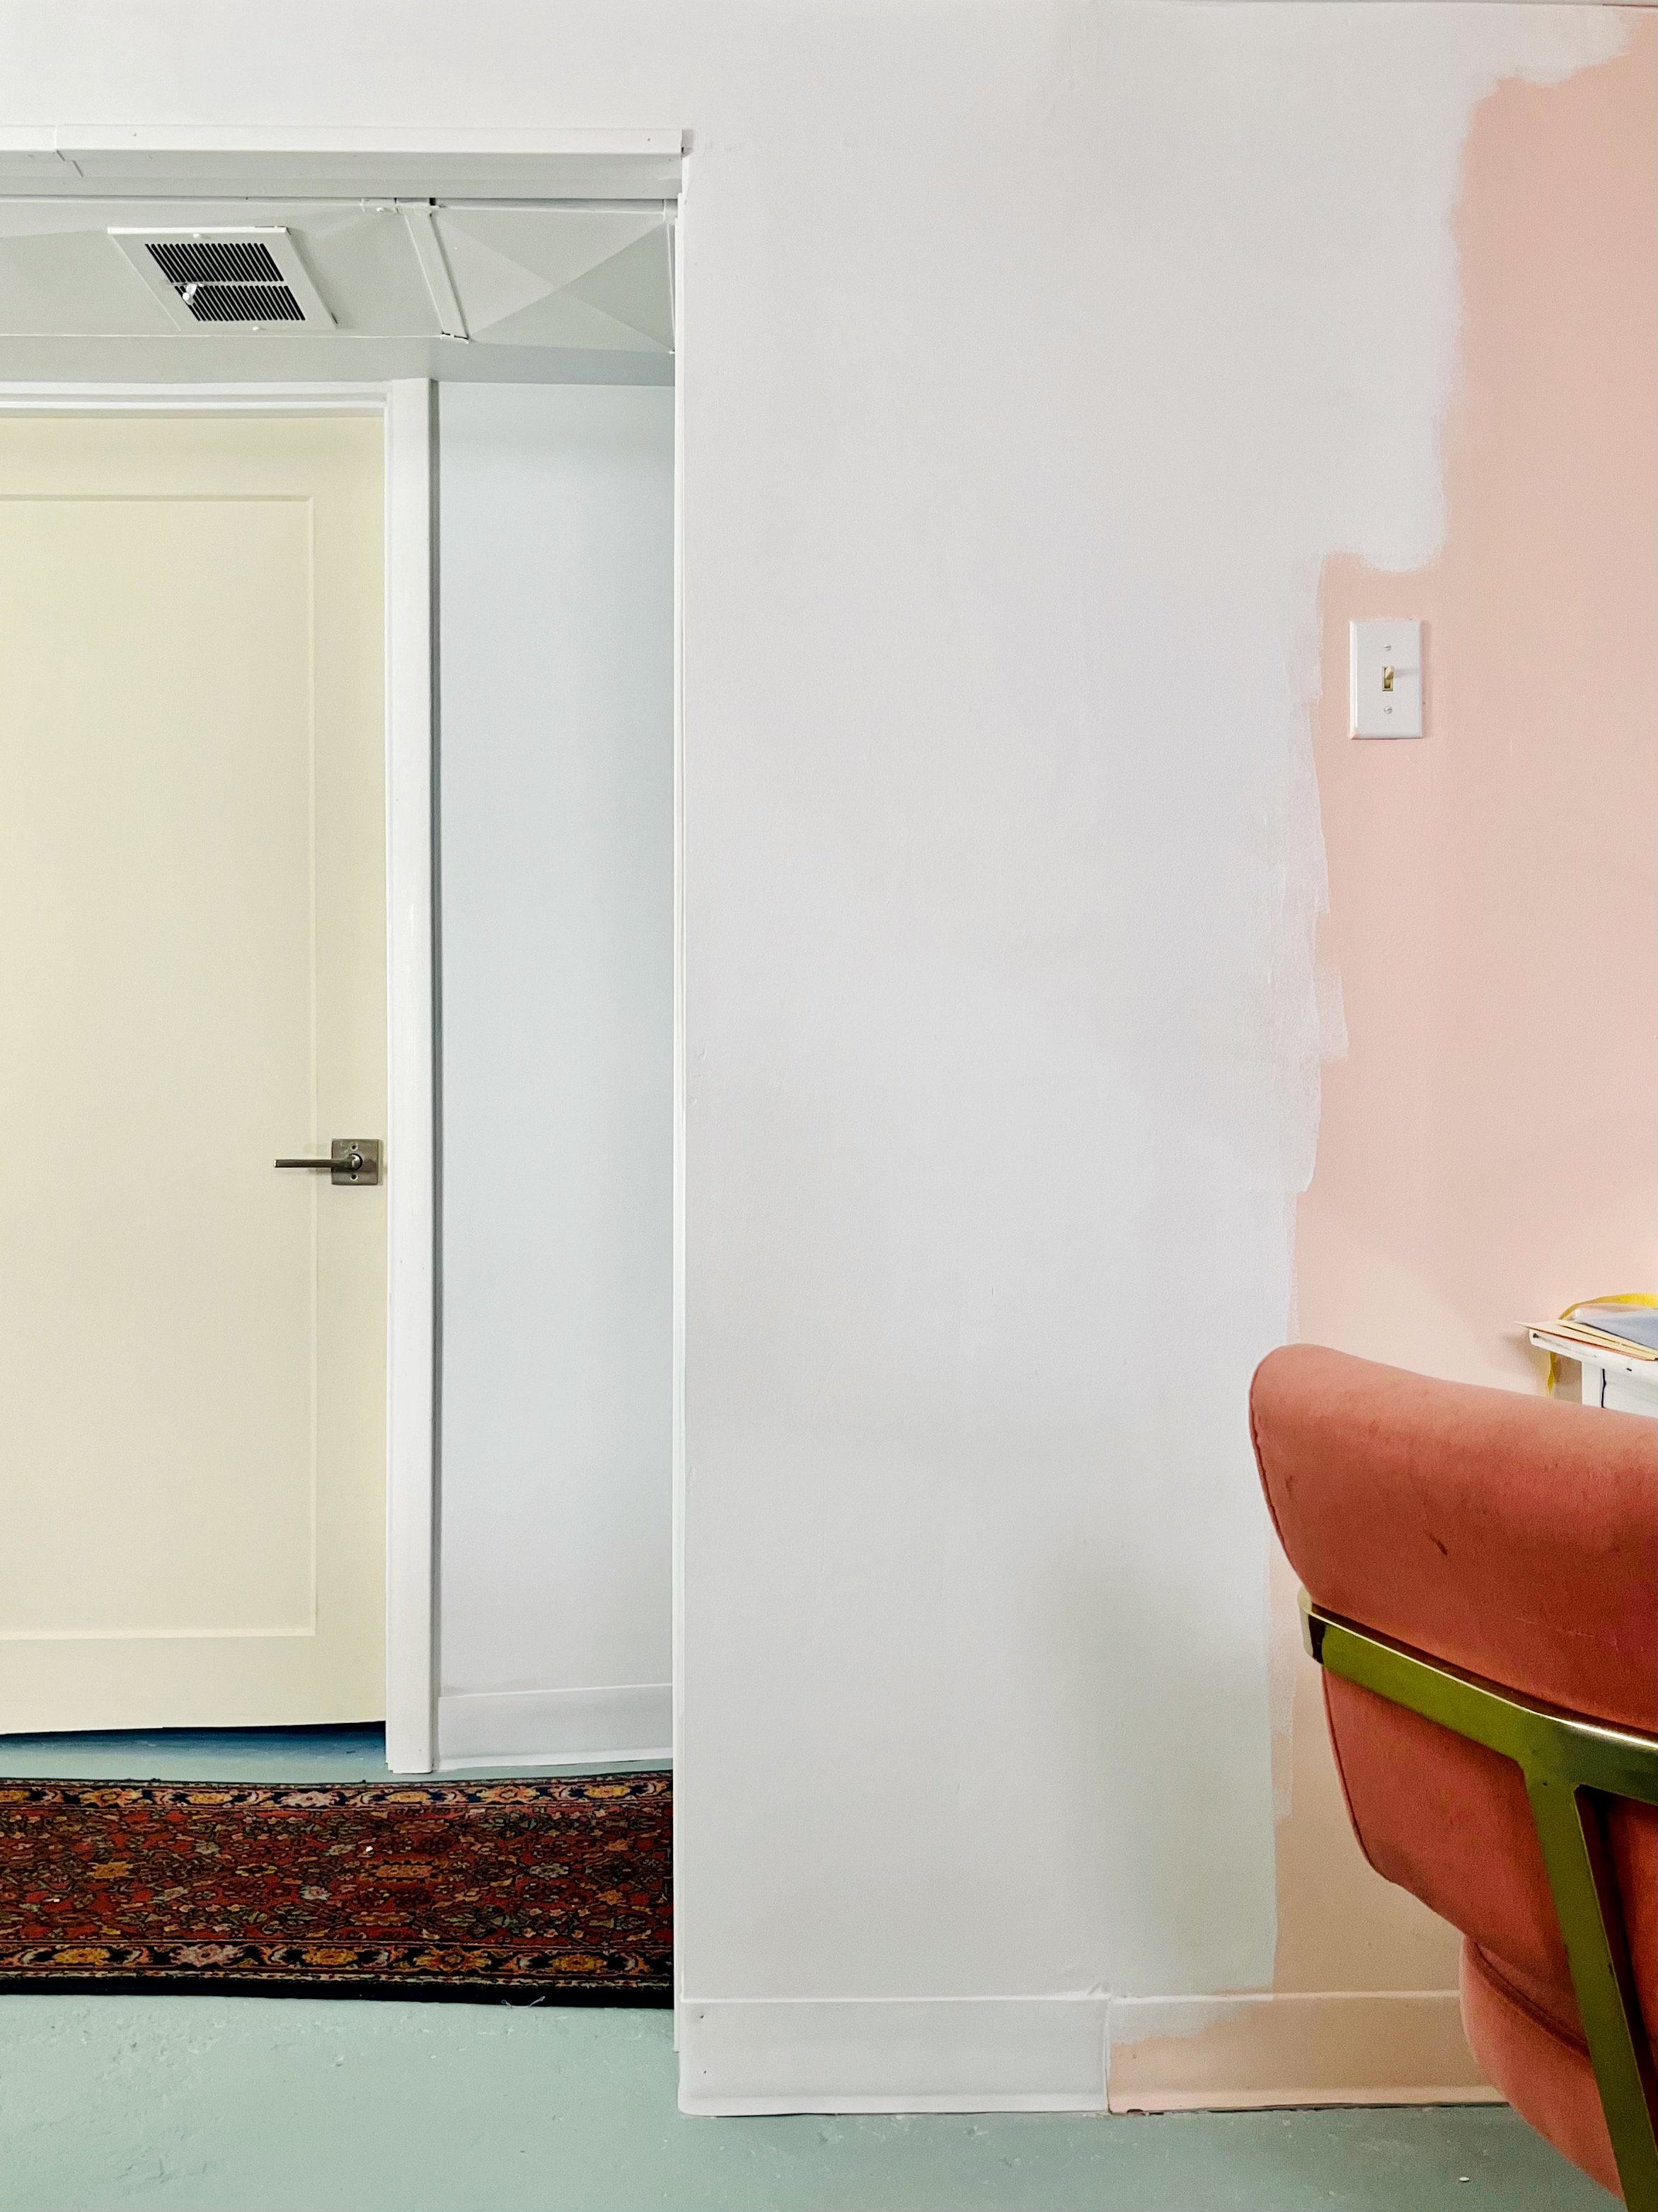
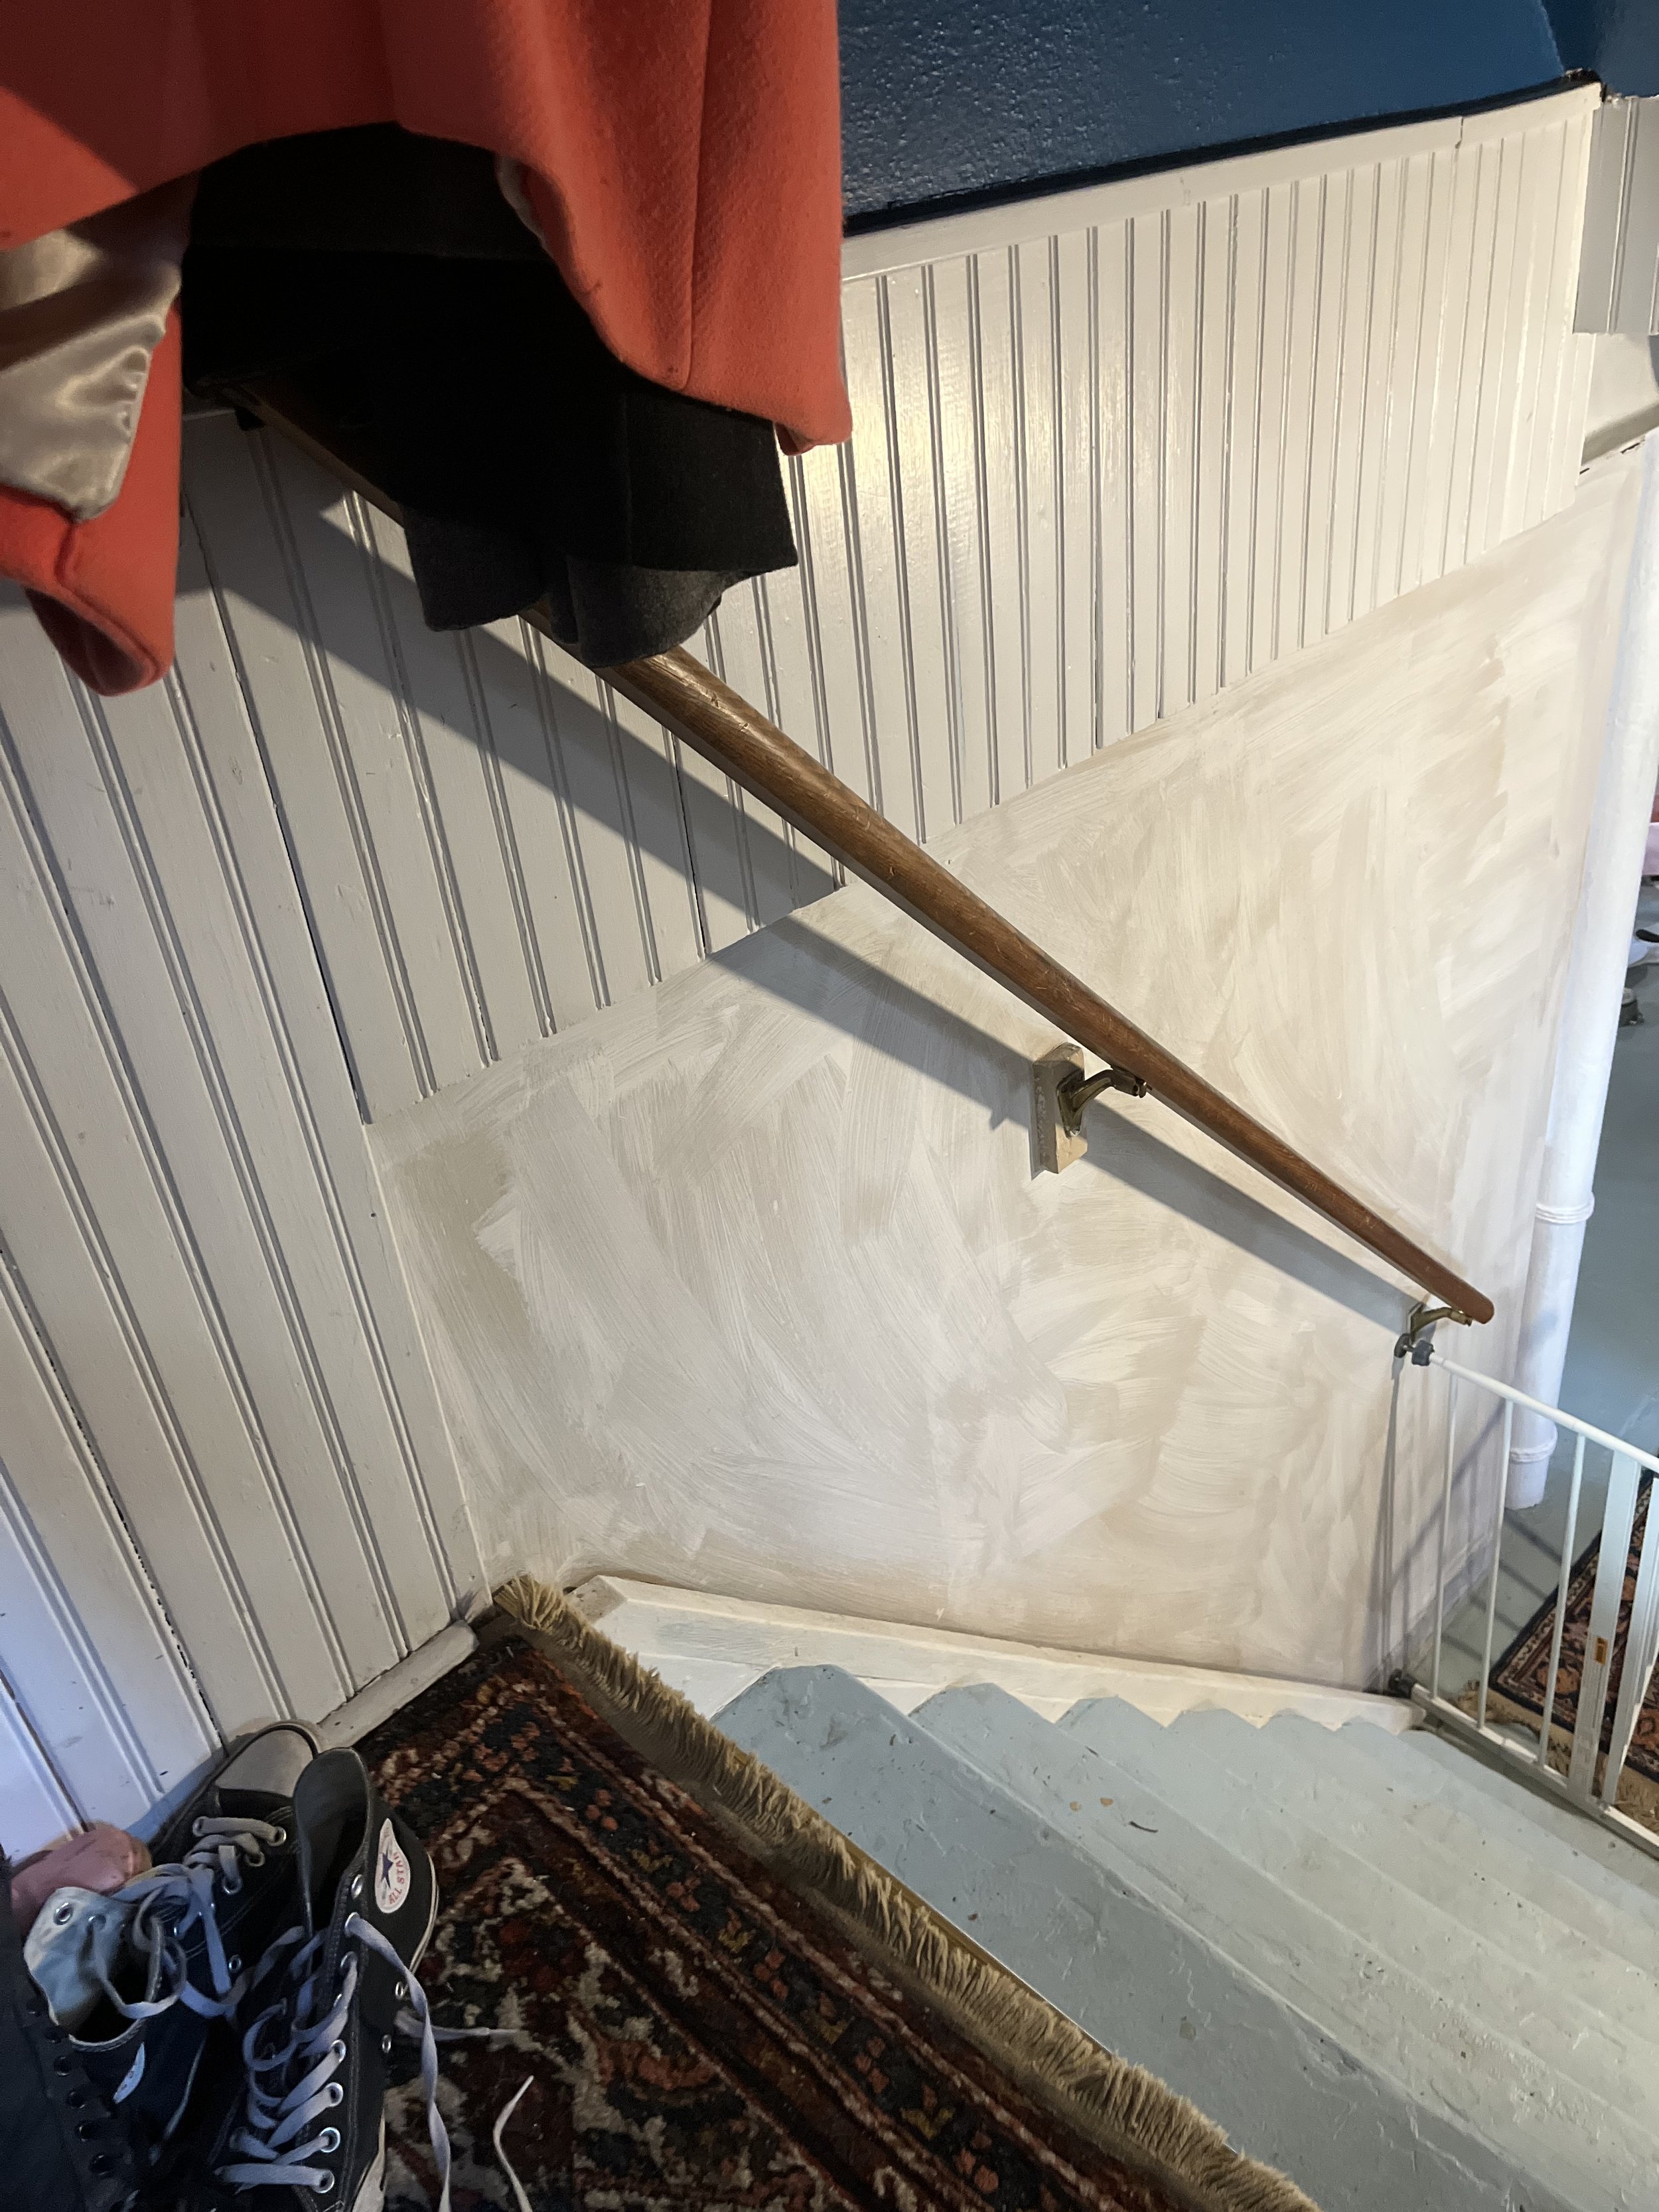
I still have work to do. This is just primer on the walls, so there’s a couple top coats, copious amounts of caulk and filler, and some repair patching on the bead board needed. Oh, and no, your eyes are not deceiving you, the door is definitely cream. I’m not sure if this was a mistake on my end or a straight up miscom, but I cannot abide that door. It will definitely be getting painted.
The stairs also need another few coats of paint (the lack of a runner has not been good to them), and I have to touch up the floor where all the work took place. (Heartbreakingly I didn’t even think to put something down to cover the concrete I so painstakingly repaired. Why?!?!)
Still, even with that remaining and rather lengthy to-do list, I couldn’t resist cleaning the space up and snapping photos to show how far it’s come!